Drilling into a concealed cable is always a nasty shock – and it’s seriously dangerous if the wire is live. Electrocution can result when a live cable is damaged and makes contact with the drill, forming a circuit through the user’s body.
Another danger is fire risk resulting from damage to wiring. If you drill through part of a cable without realising (or without getting it fixed afterwards), this could cause the wiring in your electrics to spark and start a blaze.
At the very least, drilling into wiring is disruptive and costly. You’ll need to call in an electrician to investigate and fix the damage, which often involves removing a section of the plasterwork and installing a new cable.
It’s clearly best to avoid drilling into wires, so we asked an electrician and a wire detector manufacturer for their advice. Read on for guidance on how to locate the electrical cables in your walls, how to minimise the risk of drilling into wiring – and what to do if you hit a cable.
Electrical work is hazardous, and the proper condition of your household electricity system is essential to your safety. Carefully consider your own capabilities and safety requirements before making any decisions which involve your electrics, and consult with a qualified electrician if you have any doubts or concerns.
Shop tools for safer drilling into walls
Plan and prepare before you drill
Turn off the electricity supply to nearby circuits
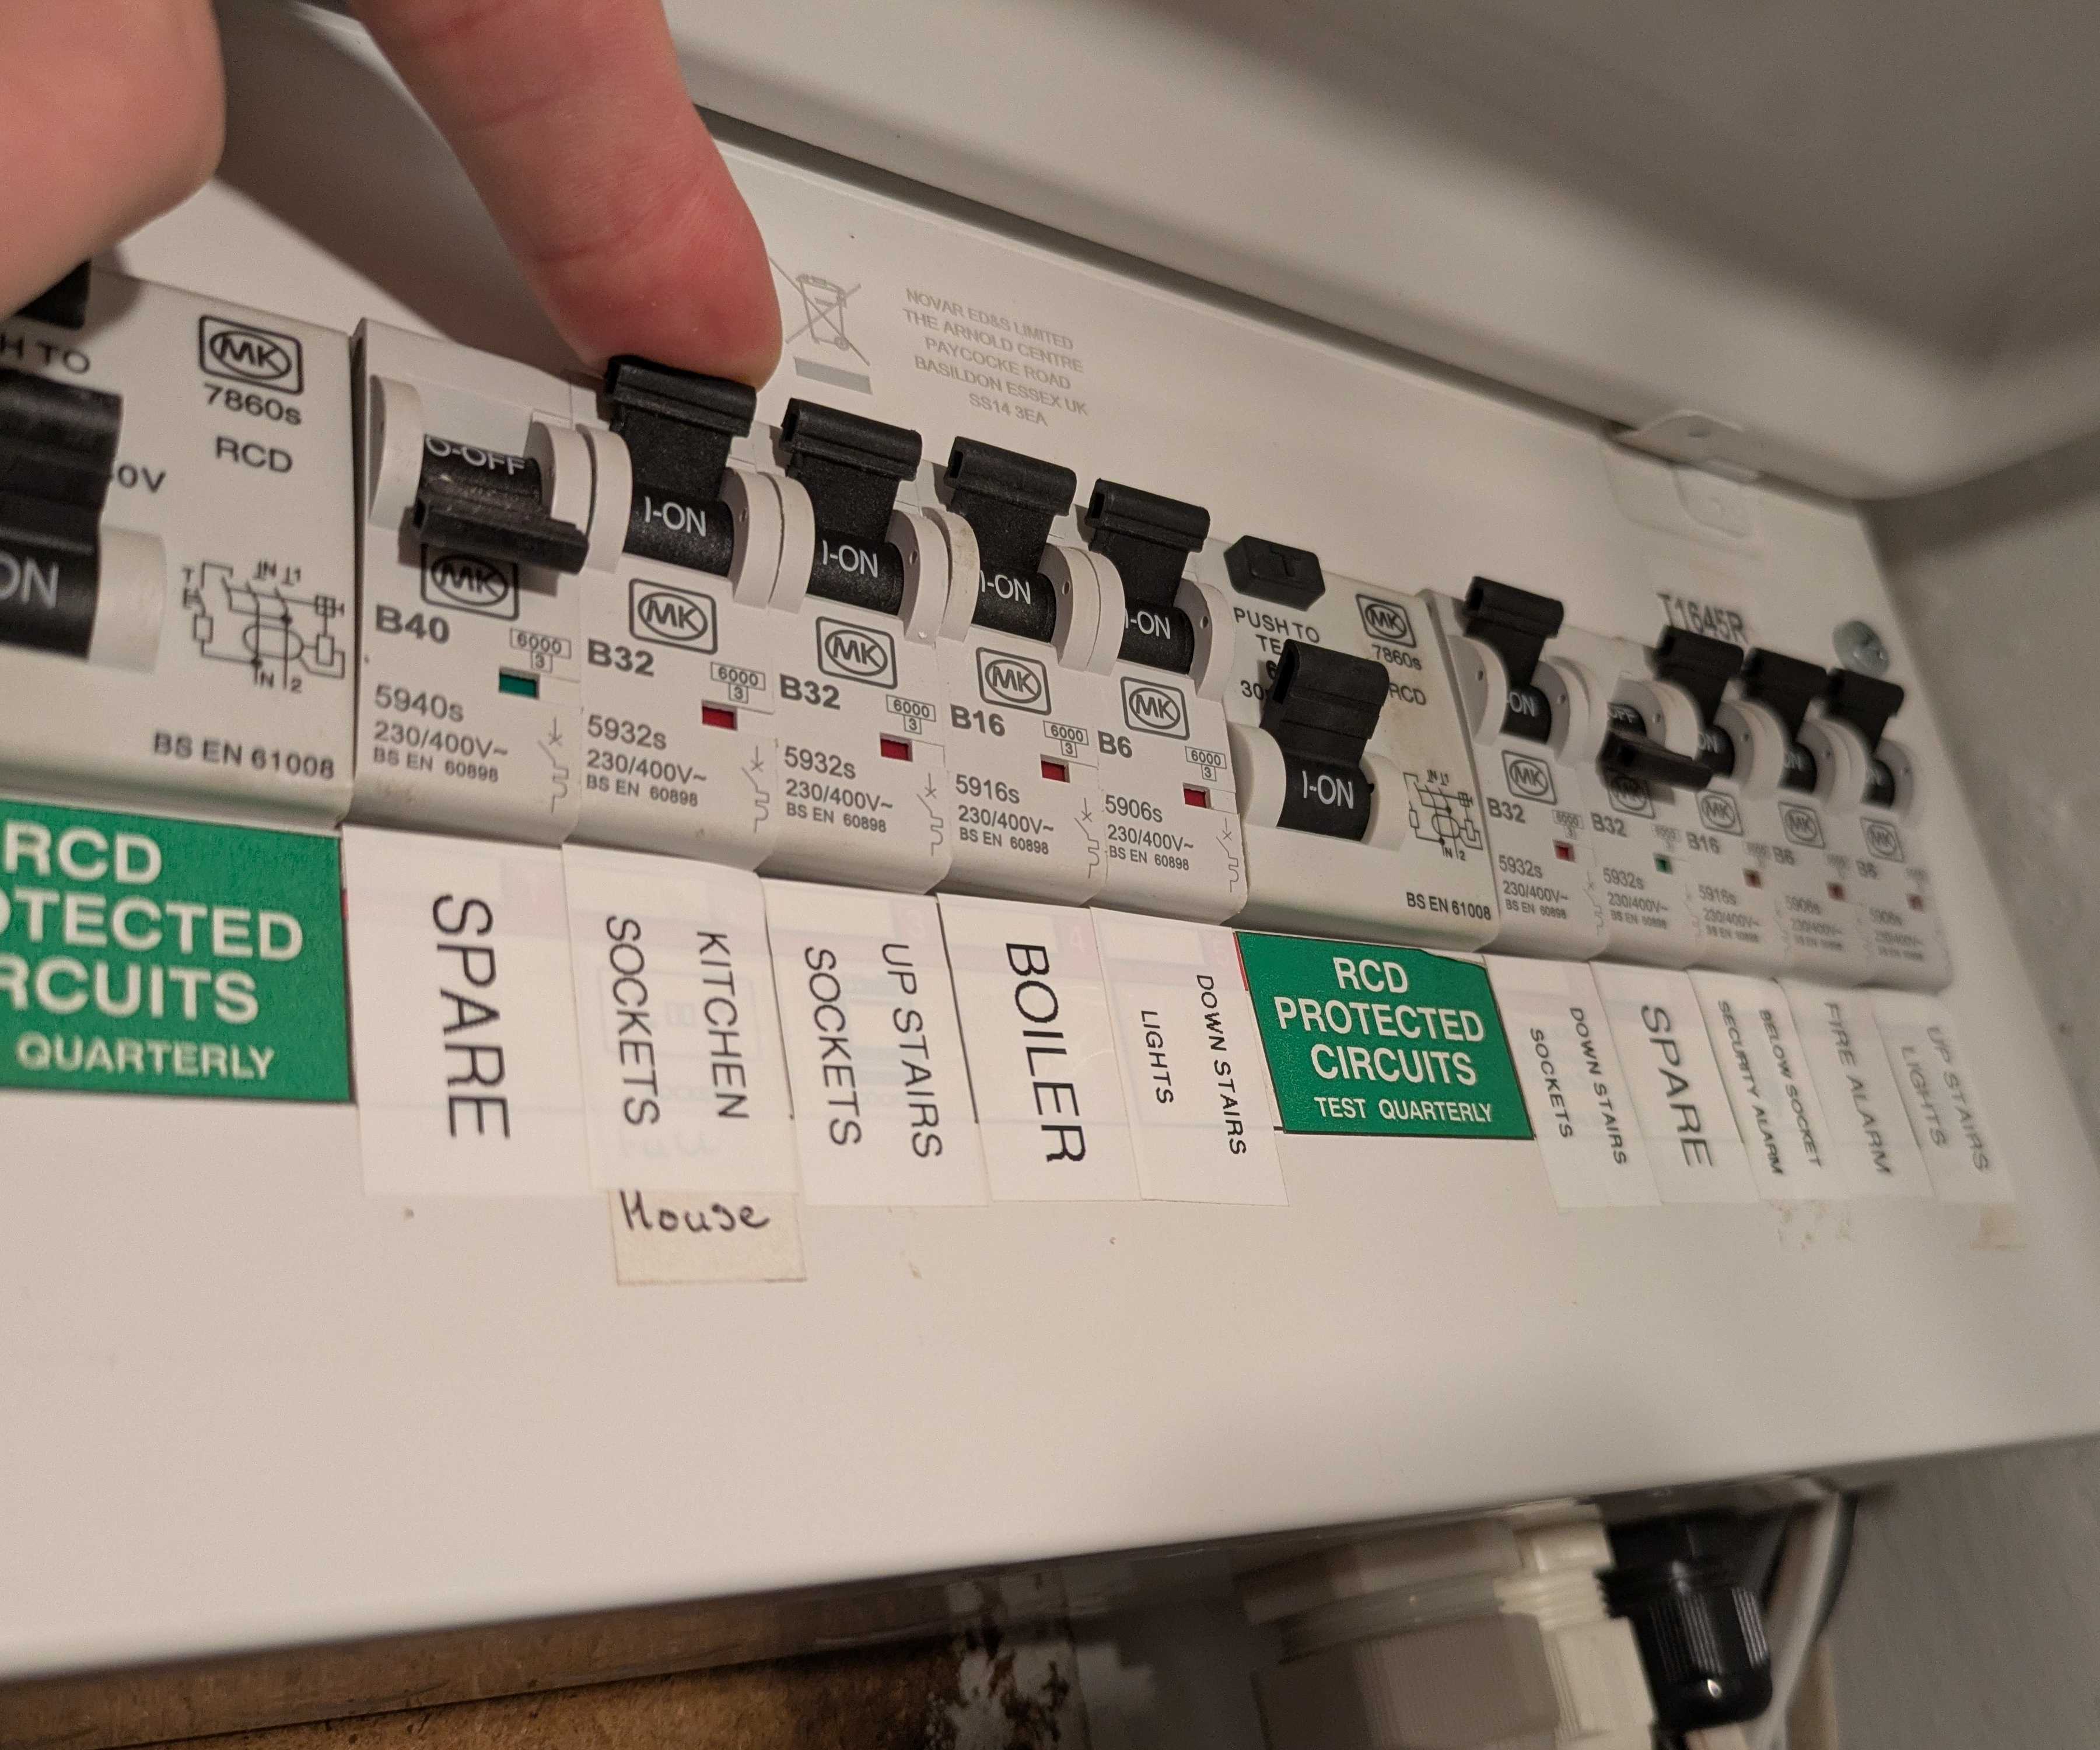
Before you drill, remember to turn off the power supply from your consumer unit to any electrical circuits that may run through affected areas of walls or ceilings.
A consumer unit is the modern equivalent of a fuse box. It distributes electricity to all of the circuits in the building, which usually include dedicated supplies for:
- power outlets in individual rooms
- lighting for multiple rooms
- large appliances such as combi boilers
Each circuit should be clearly labelled to say what it powers, e.g. ‘boiler’, ‘upstairs sockets’, ‘downstairs lights’. (If the circuits are not clearly labelled, you’ll need to get that addressed by an electrician.)
Bring your dream home to life with expert advice, how to guides and design inspiration. Sign up for our newsletter and get two free tickets to a Homebuilding & Renovating Show near you.
Flip the individual switches to turn off the supply to any relevant circuits. This precaution is important, as it mitigates some of the worst risks involved in drilling into walls.

Dan Collinge is Director of ADS Electrical, a Yorkshire-based company providing electrical services to homes, businesses and industrial premises.
Identify the location of circuits
According to electrician Dan Collinge of ADS Electrical, the location of wiring varies significantly depending on the age and type of building.
“In newer or purpose-built homes, wires are typically run in standard “cable zones” (e.g. horizontally, about 150 mm below ceiling lines or vertically to and beside switches),” he says.
“Older properties or ones that have been altered over time can have unpredictable wiring routes. Renovations, added power outlets and concealed extensions often lead to cables in non-standard places.”
If you’ve had rewiring work done or are in contact with the previous owner, you might have access to a wiring diagram for the property.
“A professional rewire includes comprehensive as-built circuit diagrams, which help homeowners, landlords, and service contractors to safely locate circuits,” says Collinge.
“At A.D.S, we always provide digital or paper circuit diagrams after a rewire, ensuring clients have accurate documentation and can avoid mistakes in the future.”

Draper Tools is one of the UK's best-known tool brands, based in Hampshire and family run since 1919. As head of marketing, Sarah Hartland has a vast knowledge of the firm's tools, which range from power tools and hand tools to voltage detectors.
How to detect cables using a metal, voltage and stud detector
There are various tools that can help with detecting wiring within a wall, from DIY-grade voltage testers to pro-quality thermal imaging devices.
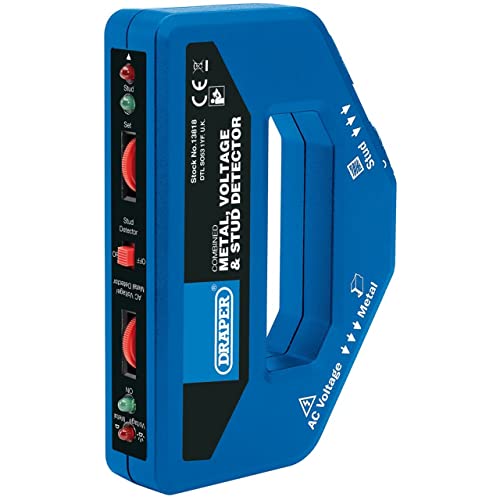
Sarah Hartland, Head of Marketing at Draper Tools, has kindly agreed to walk us through how to use a popular detection tool called the 3-in-1 Metal, Voltage and Stud Detector that is available on Amazon, step-by-step.
1. Prepare for effective detection
Before you attempt to detect wiring using your device, make sure you know how it works.
“Preparation is key and every device will be slightly different, so read the instructions carefully and keep hold of them to refer back to,” says Draper Tools’ Sarah Hartland.
“Also ensure that your device is not positioned near any metal objects or current-carrying conductors (especially wires) when you switch it on.”
2. Test the detector
“You should always test the device on a known voltage source before attempting to detect unfamiliar sources,” says Hartland.
Temporarily turn back on the power supply from the consumer unit to circuits near where you intend to drill.
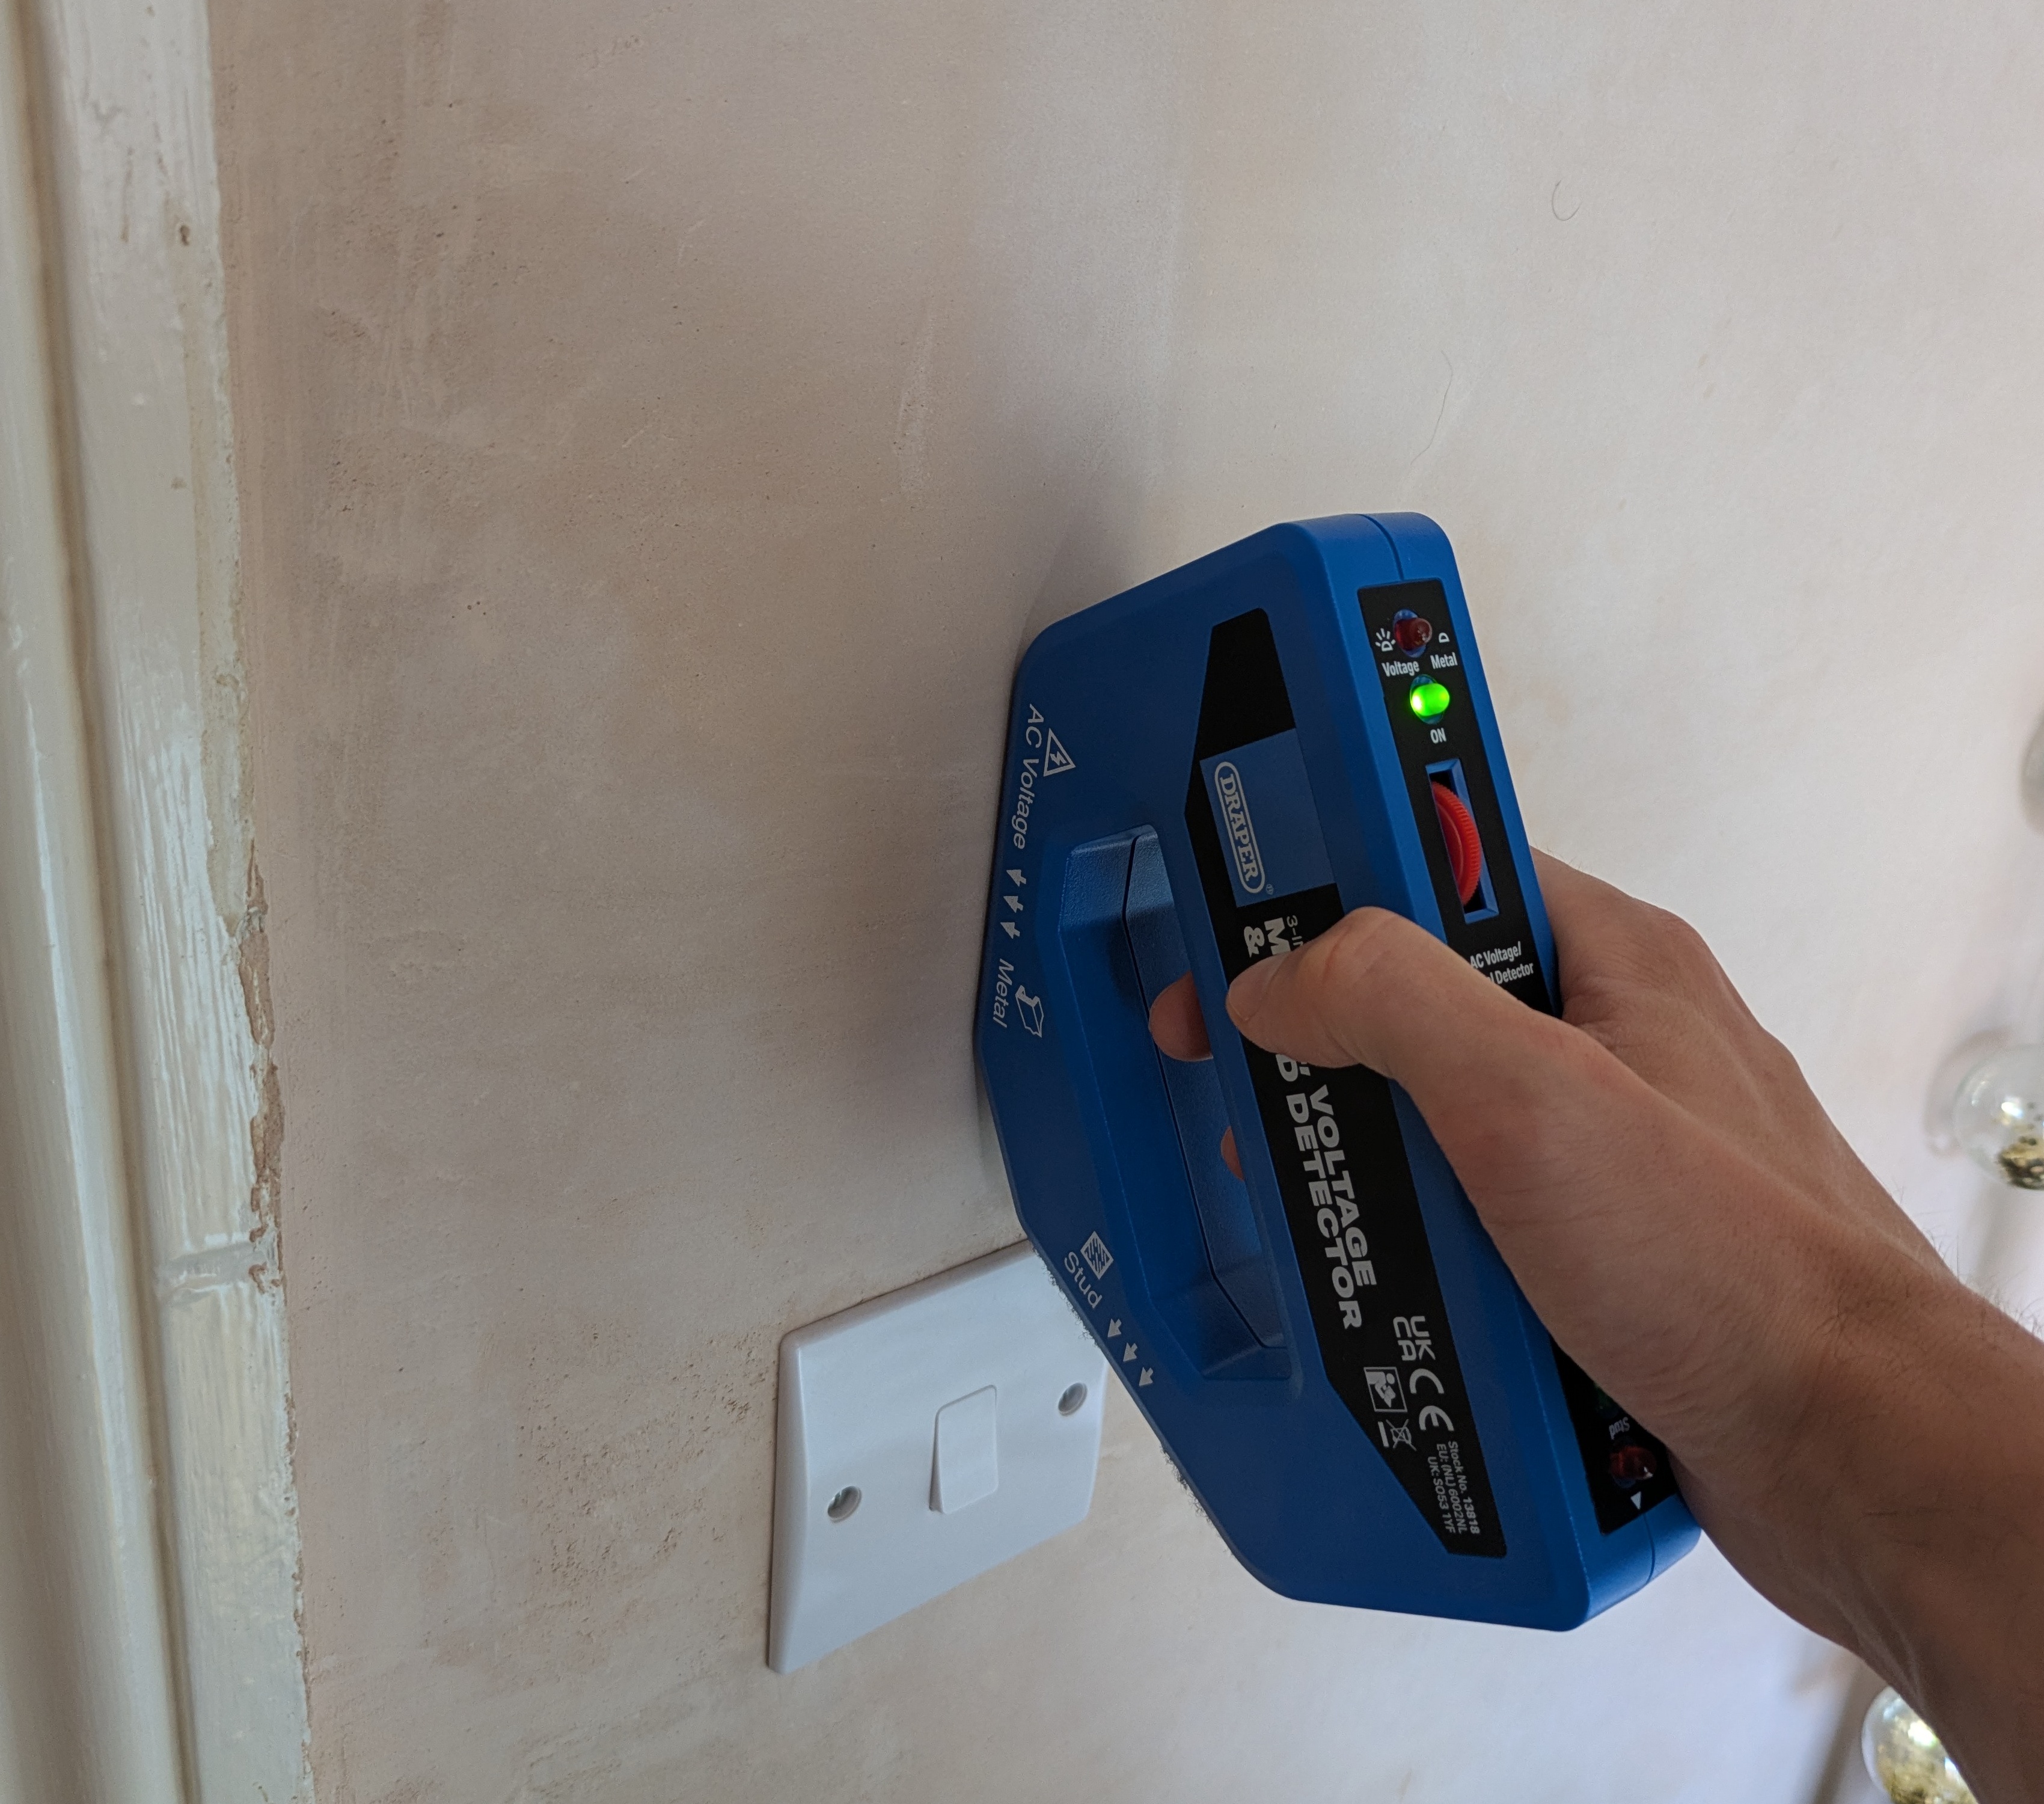
Place the detector over an area where you know there are live cables, such as directly above a light switch (the position will depend on where the wiring is routed).
Use the detector’s voltage detection function, and watch for successful detection to ensure your device and method are working as they should.
3. Configure the detector
Detection devices vary in their available modes and setup requirements. Follow the instructions to set yours up for voltage detection.
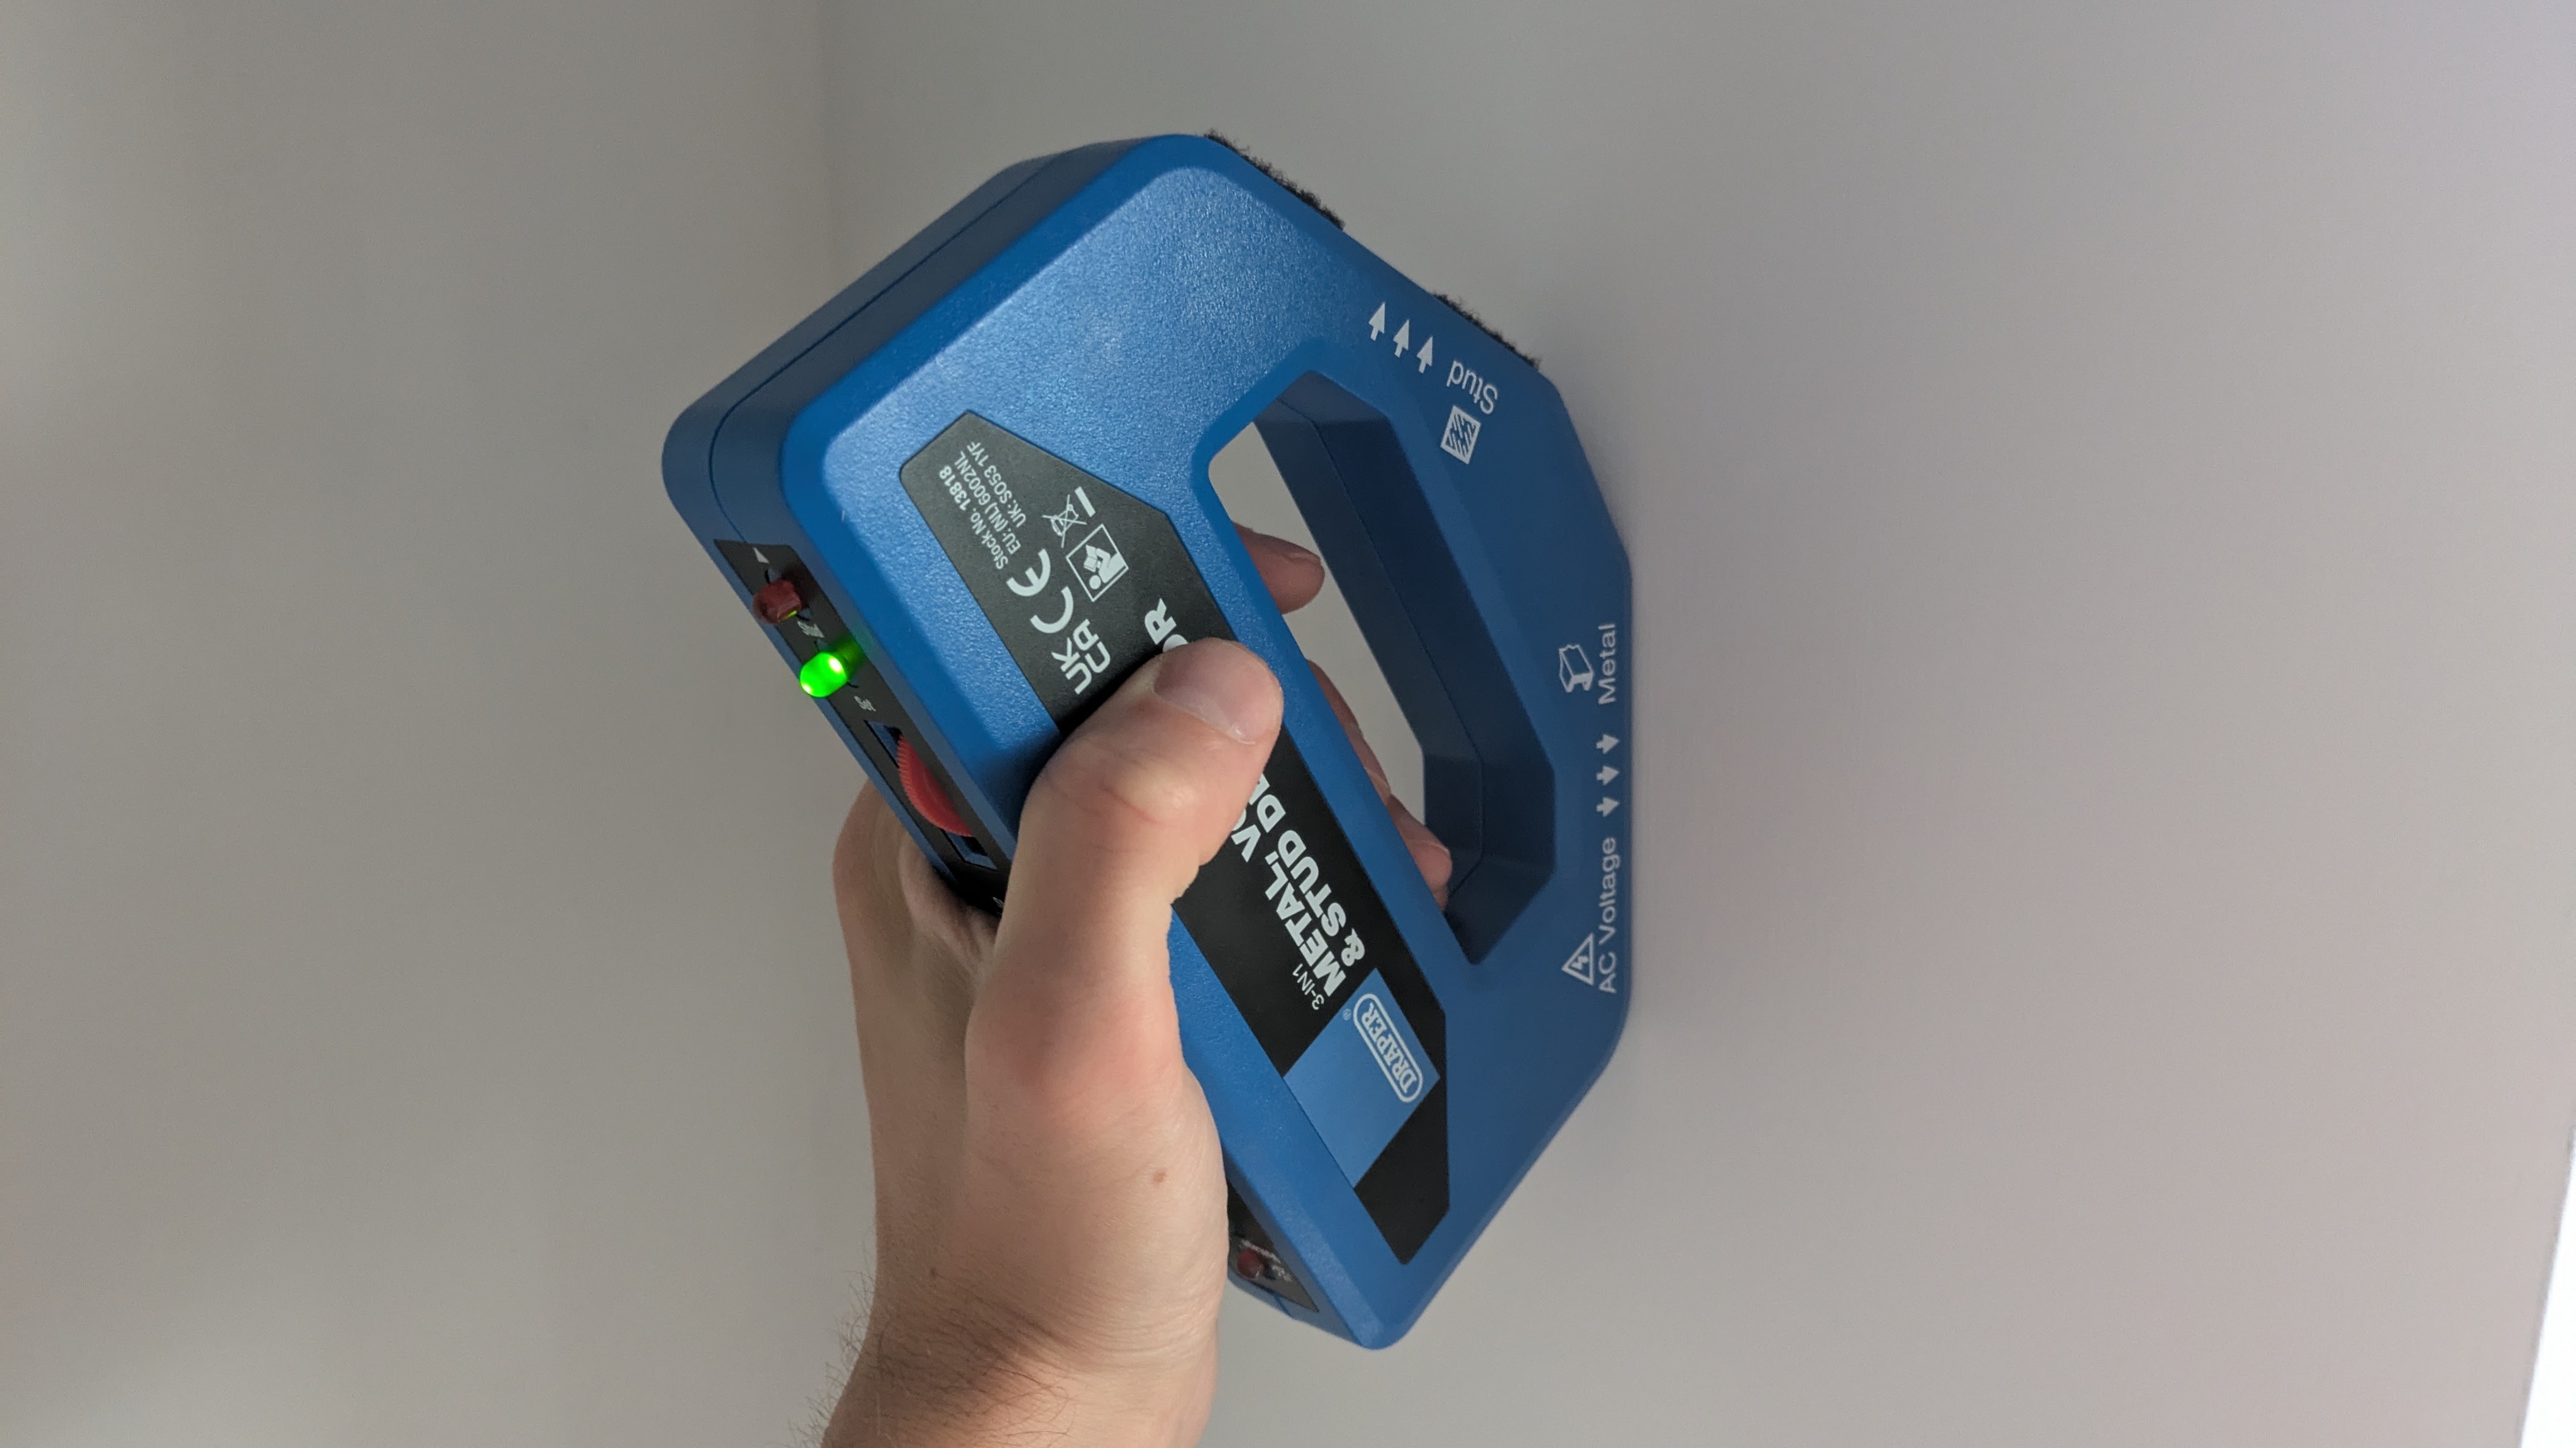
“With the Draper Combined Metal, Voltage and Stud Detector, in order to detect wires you’ll need to rotate the sensitivity dial upwards until the metal/voltage indicator illuminates and the audible tone sounds,” says Hartland.
“You then reverse the dial gently until the indicators switch off.”
4. Activate detection and hold the device above where you want to drill
“Hold the device so that the voltage detection face is flush with the wall and move it sideways across the surface that you intend to drill,” says Hartland, explaining the method for using Draper’s device.
“The LED and audio sound will indicate what has been detected – metal or a wire. A constant LED and tone means a metal object has been detected. An intermittent LED and tone means a current-carrying conductor has been detected.”
With other wire detection devices, the process and feedback may be different. Some professional-grade detectors give detailed metrics on-screen.
If you have detected wiring (or metal objects) where you intended to drill, then you should pick another spot where no obstacles can be detected.
Where a wire is shielded by metal tracking, this may be picked up by the detector as metal, rather than wiring. So, don’t be tempted to drill where metal is detected.
If you haven’t detected wiring, you can go ahead and drill – but only after following safety precautions such as switching off the mains supply to relevant circuits.
Which other methods can detect wires behind walls?
There are various tools that can come in handy for detecting wires within walls, including:
- Wire detector (commonly taking the form of a multi-functional stud detector tool)
- Non-contact voltage detector
- Torch (for manual investigation)
- Pencil (for marking walls).
Also known as ‘voltage tester pens’, non-contact voltage detectors are pen-like devices designed to provide a sound or visual signal when they’re held near an energised conductor (such as a live cable).
“Non-contact voltage detectors (NCV) such as our 600V and 1,000V models are useful tools and can certainly indicate the presence of AC voltage without physical contact,” says Hartland.
“They are excellent for quickly checking if a wire is live, but they are not a direct alternative to a combined metal, voltage, and stud detector like the Draper model for wall drilling scenarios.
“While NCV detectors are good for a quick check, they can sometimes give false positives due to induced voltages or interference, and they can also be affected by the depth of the wire and the type of wall material.” she adds.
Some homeowners make extra sure that there are no wires or obstacles behind a hollow section of wall by cutting a hole and looking into the void created using a torch (or perhaps even an inspection camera). This is generally best left to a professional electrician.
FAQs
Which drilling practices will help avoid damage to wiring?
Usually, cables behind walls are set back by at least 50mm from the surface, although they might be at a shallower depth if they’re protected with a material such as steel tubing or metal capping.
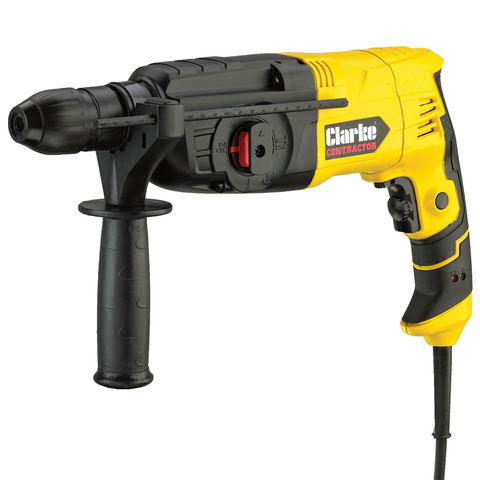
With this in mind, you can minimise the risk of drilling into wires by making your holes relatively shallow (e.g. 40mm) if the task will allow for this. Use a drill with a depth stop to ensure you drill no deeper. This won’t always be an option, as heavy or load-bearing fixtures sometimes need to be screwed deeper into the wall.
Drilling slowly and cautiously may help you to identify cables (or protective coverings like steel tubing or metal capping) before the wire itself is damaged.
Remember that you’ll need to exercise greater caution when working on older properties with potentially disorganised wiring.
What to do when a wire is hit during drilling?
Despite all of the available precautions and detection methods, DIYers sometimes do hit wiring while drilling into walls. The telltale signs are a change in material which can be felt through the drill, visible evidence of damaged wiring in the drilled hole – or in the case of a live wire, a bad smell and possibly sparks.
Here is what to do, according to Collinge of ADS Electrical:
“1. Immediately turn off power at the RCD or main switch to that circuit—don’t use the damaged cable.
“2. Call a qualified electrician to assess the damage, perform insulation tests (part of an EICR), repair or replace the cable, and restore certification of safety.
“3. If using the property commercially (e.g., a rented-out home), ensure the electrician issues an Electrical Installation Condition Report (EICR) after the repair.”
Once you have a very good idea of where your wiring is, you can get out your best cordless drill for some routine DIY! Before you start, brush up on our guides to drilling into brick and drilling into tile.
Pete Wise is a freelance writer and keen DIYer from Leeds. Pete's tool reviews have featured in titles including Homebuilding & Renovating, Ideal Home and The Independent. He also writes features and news articles for publications such as The Guardian, BBC Good Food and T3. When he isn't busy writing, Pete can often be found at libraries, pubs and live music venues. He finds tile-cutting strangely zen.
