Wiring a plug: An easy to follow step-by-step guide
Wiring a plug is not a difficult DIY task but it definitely needs to be done correctly. Here we tell you how to replace a 3-pin plug

Bring your dream home to life with expert advice, how to guides and design inspiration. Sign up for our newsletter and get two free tickets to a Homebuilding & Renovating Show near you.
You are now subscribed
Your newsletter sign-up was successful
Wiring a plug is a skill that any DIYer or home owner needs to learn and it's one that you can pick up very quickly.
But while it's simple to achieve once you know exactly how to wire a plug, it's not so easy for someone without any previous knowledge. You seriously don't want to be getting it wrong, as electricity can be extremely dangerous.
You might not be up to rewiring your home but after learning to wire a plug with our expert step-by-step guide, you might be able to tackle a few simple electrical jobs.
That said, you need to make sure that you are doing it safely and correctly and if ever in doubt when working with electricity, call in a professional electrician.
Easy step-by-step instructions for wiring a plug:
If you are replacing a broken plug and only need to wire up the new plug you will just need a screwdriver.
Take your time, make sure there are no loose strands of wire and that all of your connections are tight.
Jonathan Bacon
Generally speaking, when working on any electrics you ideally want to be using insulated tools, for example an insulated screwdriver, as these offer protection up to 1,000 volts. That said, the risk is low for simply changing a plug.
Here's our guide on how to wire a plug step by step:
1. Remove the old plug
Typically there will be a single screw on the face of the plug – where the pins are. Undo this with a screwdriver and place it to one side. Now undo one side of the cable grip – the small plastic strip that holds the cable in place. Finally, unscrew each of the wires connected to the pins. Only unscrew enough to release the wire. Now dispose of the plug.
Bring your dream home to life with expert advice, how to guides and design inspiration. Sign up for our newsletter and get two free tickets to a Homebuilding & Renovating Show near you.
2. Check the wires
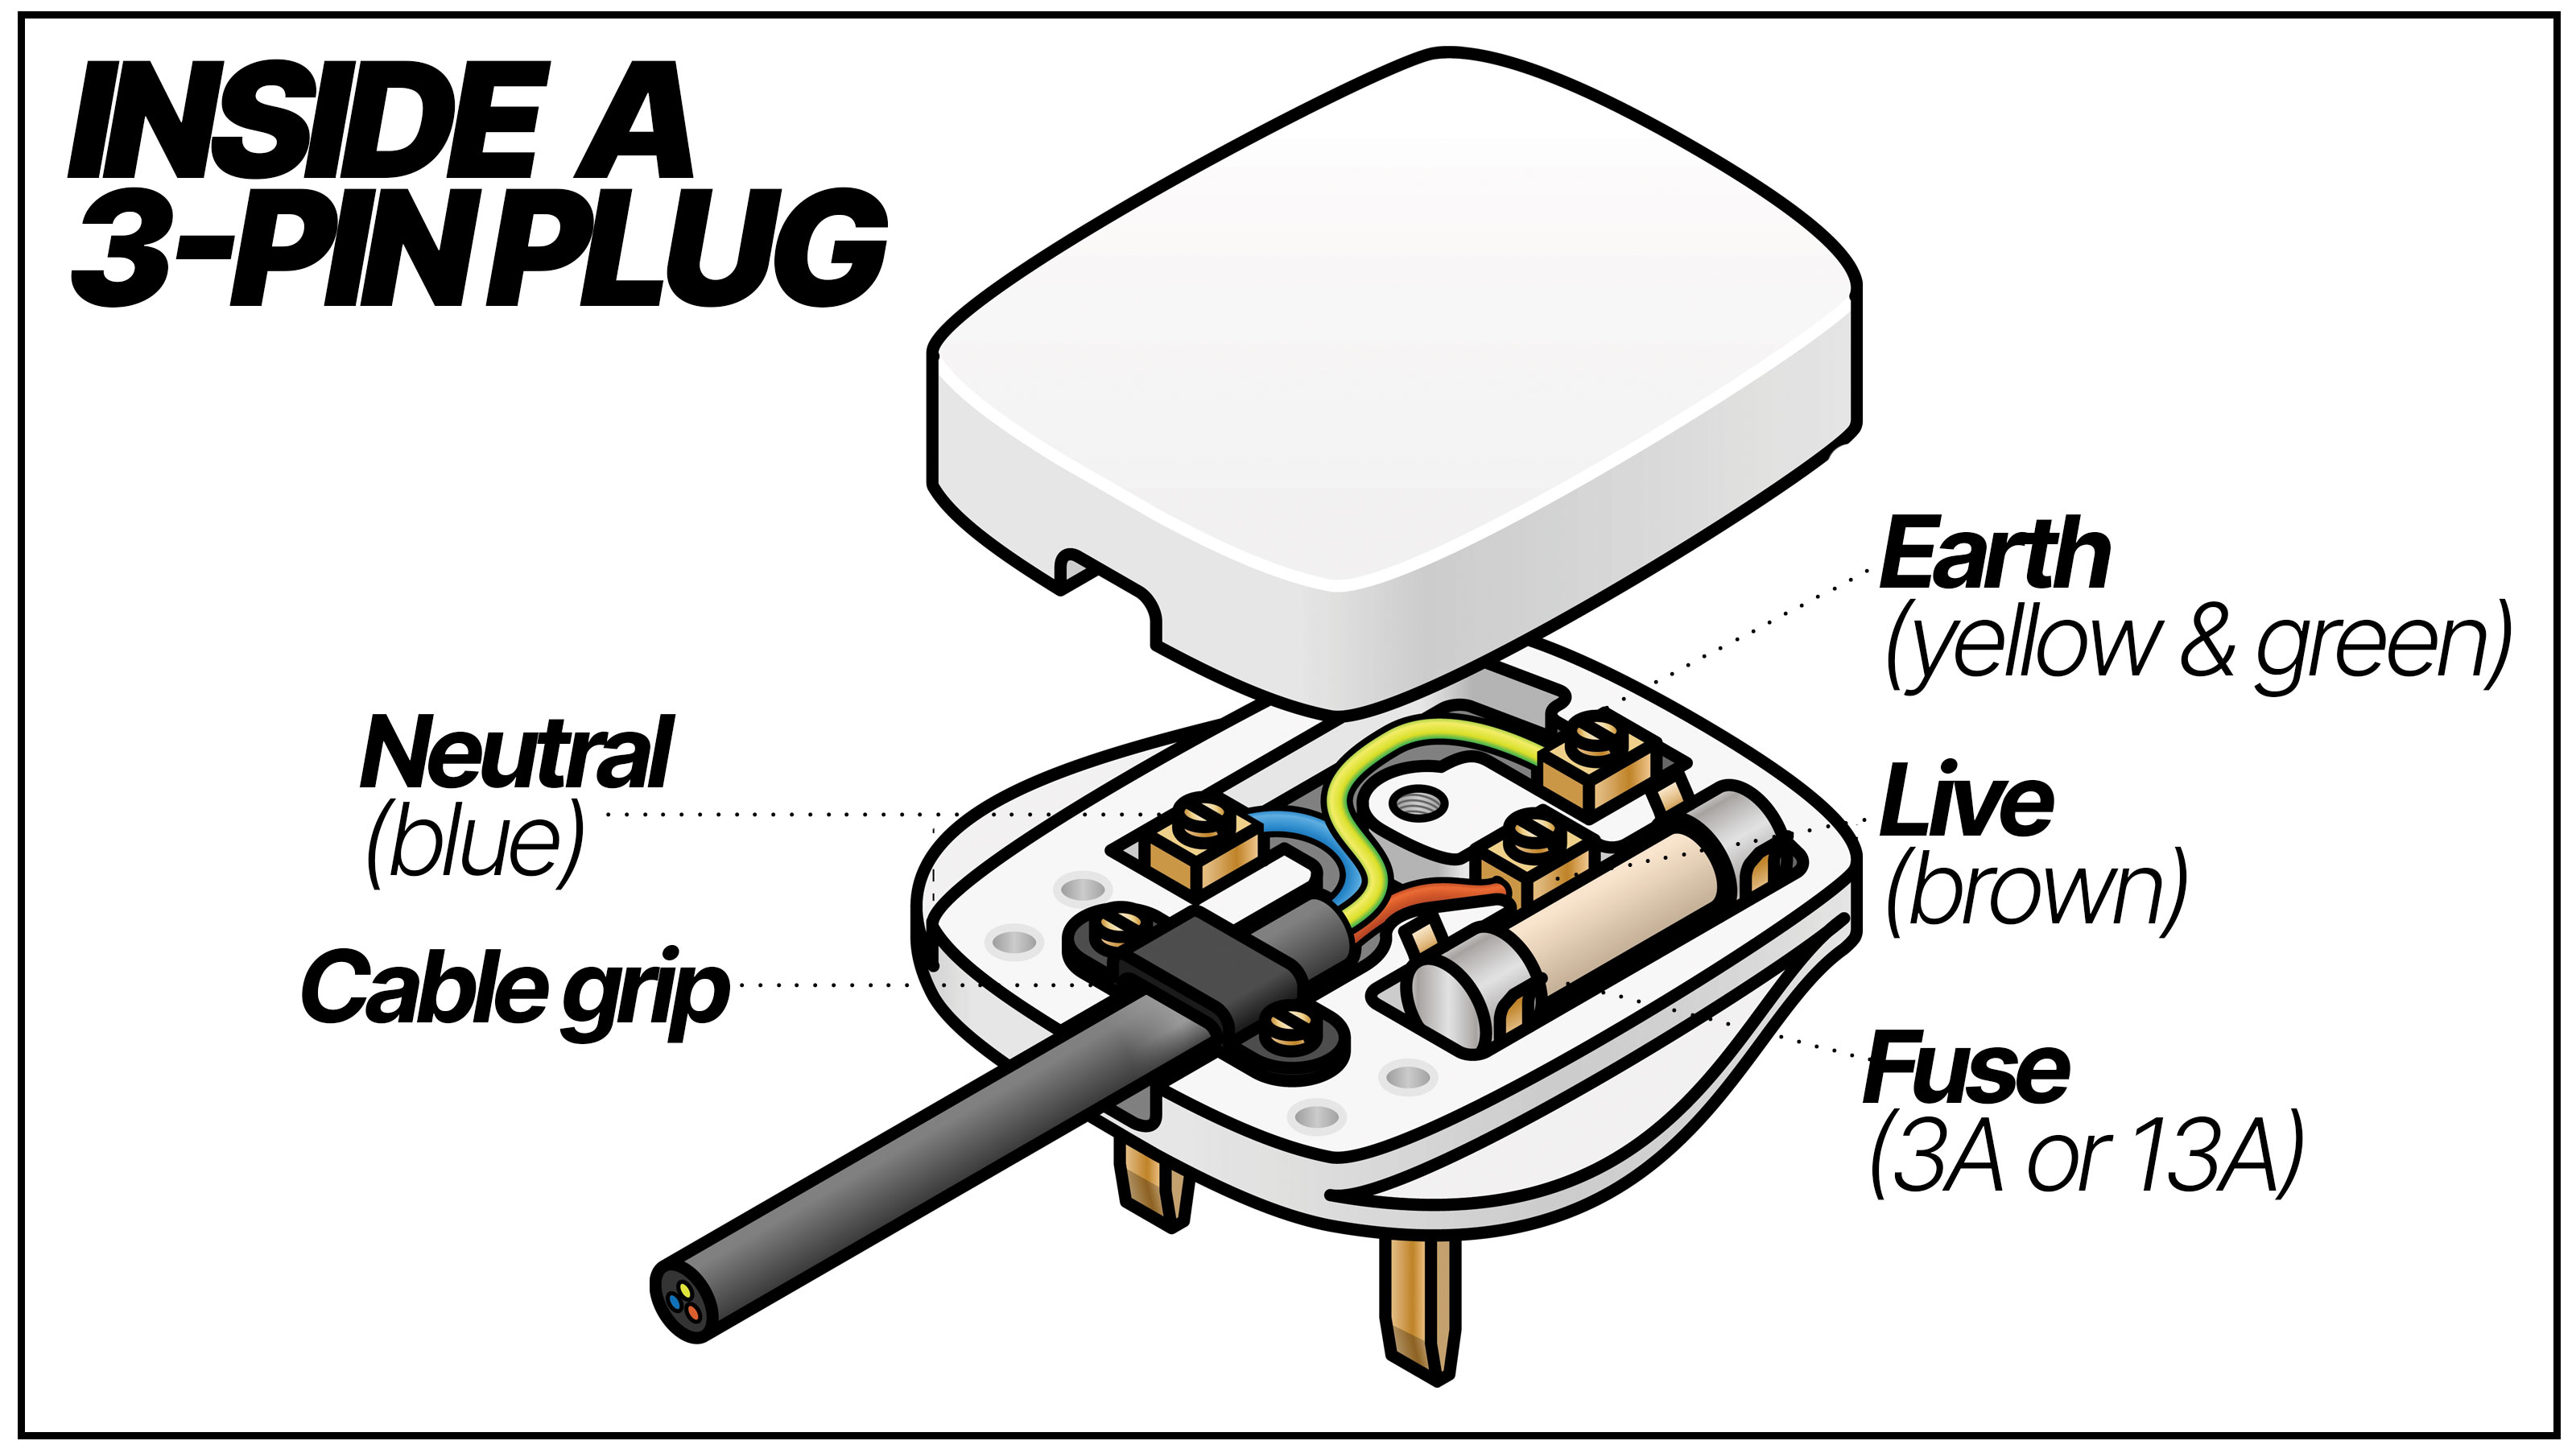
Get the copper wire of the neutral (blue) wire, and gently twist between thumb and fingers to make sure there are no loose copper strands. Repeat for the live (brown) and earth (yellow and green) wires.
3. Wire up your plug
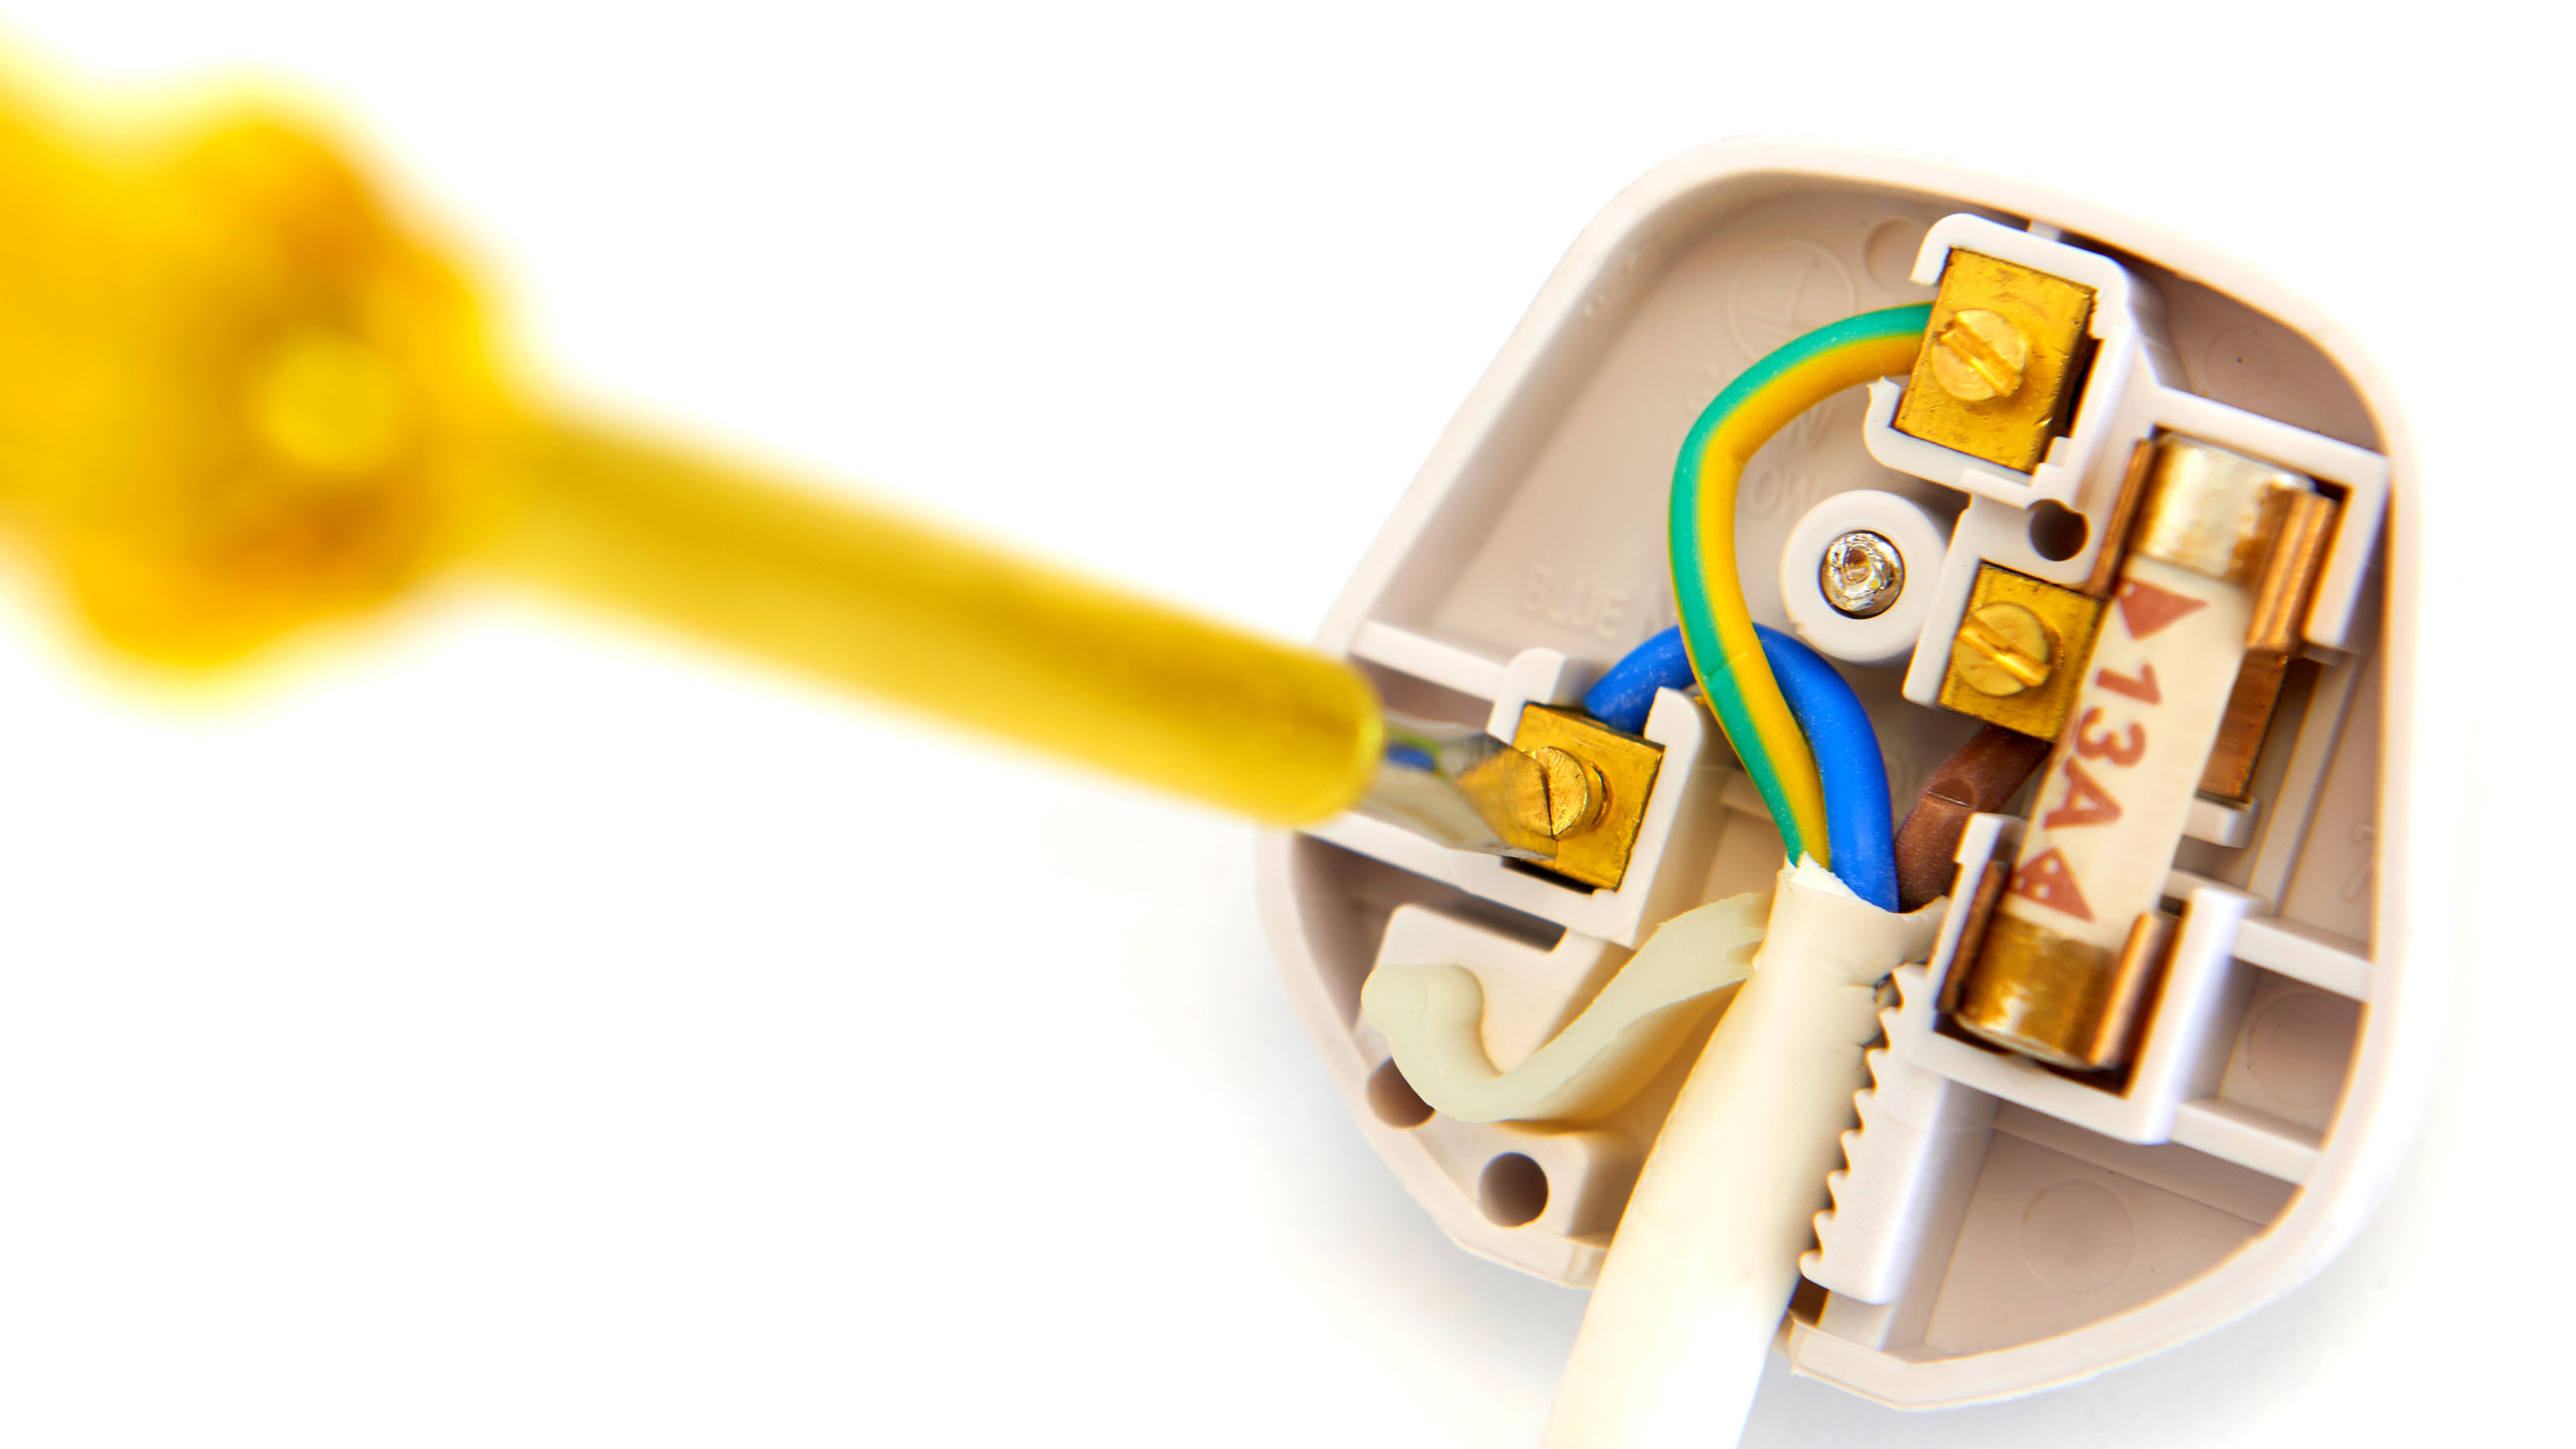
Unscrew the screw on each terminal just enough to push the wire in easily. To connect the wire push the pin up slightly – starting with the earth (this is the top pin) – place the wire in the hole and then tighten with a screwdriver. Repeat the process for the neutral wire (the pin to the left) and finally the live wire (the one connected to the fuse). Check that all the screws are tight and that there is no exposed copper conductors (the metal inside the wire sheath).
Finally tighten the cable grip over the outer insulation of the cable and not the individual wires. Test by giving the cable a quick tug. If it moves it needs to be tightened a little more.

Jonathan is a professional electrician who has worked within the electrical contracting industry for 26 years, focusing on commercial fire alarm systems
Can I use a plug without a top pin?
No. A plug socket has a set of shutters on the pin holes that are opened by the top pin. So without the top pin to open the shutters on the bottom two pins you will not be able to plug in the bottom two pins.
If the top pin has broken off you can simply add a top pin from another unused plug or purchase another plug and wire it up. You can find out more in our electrical sockets explained article.

What fuse should a plug have?
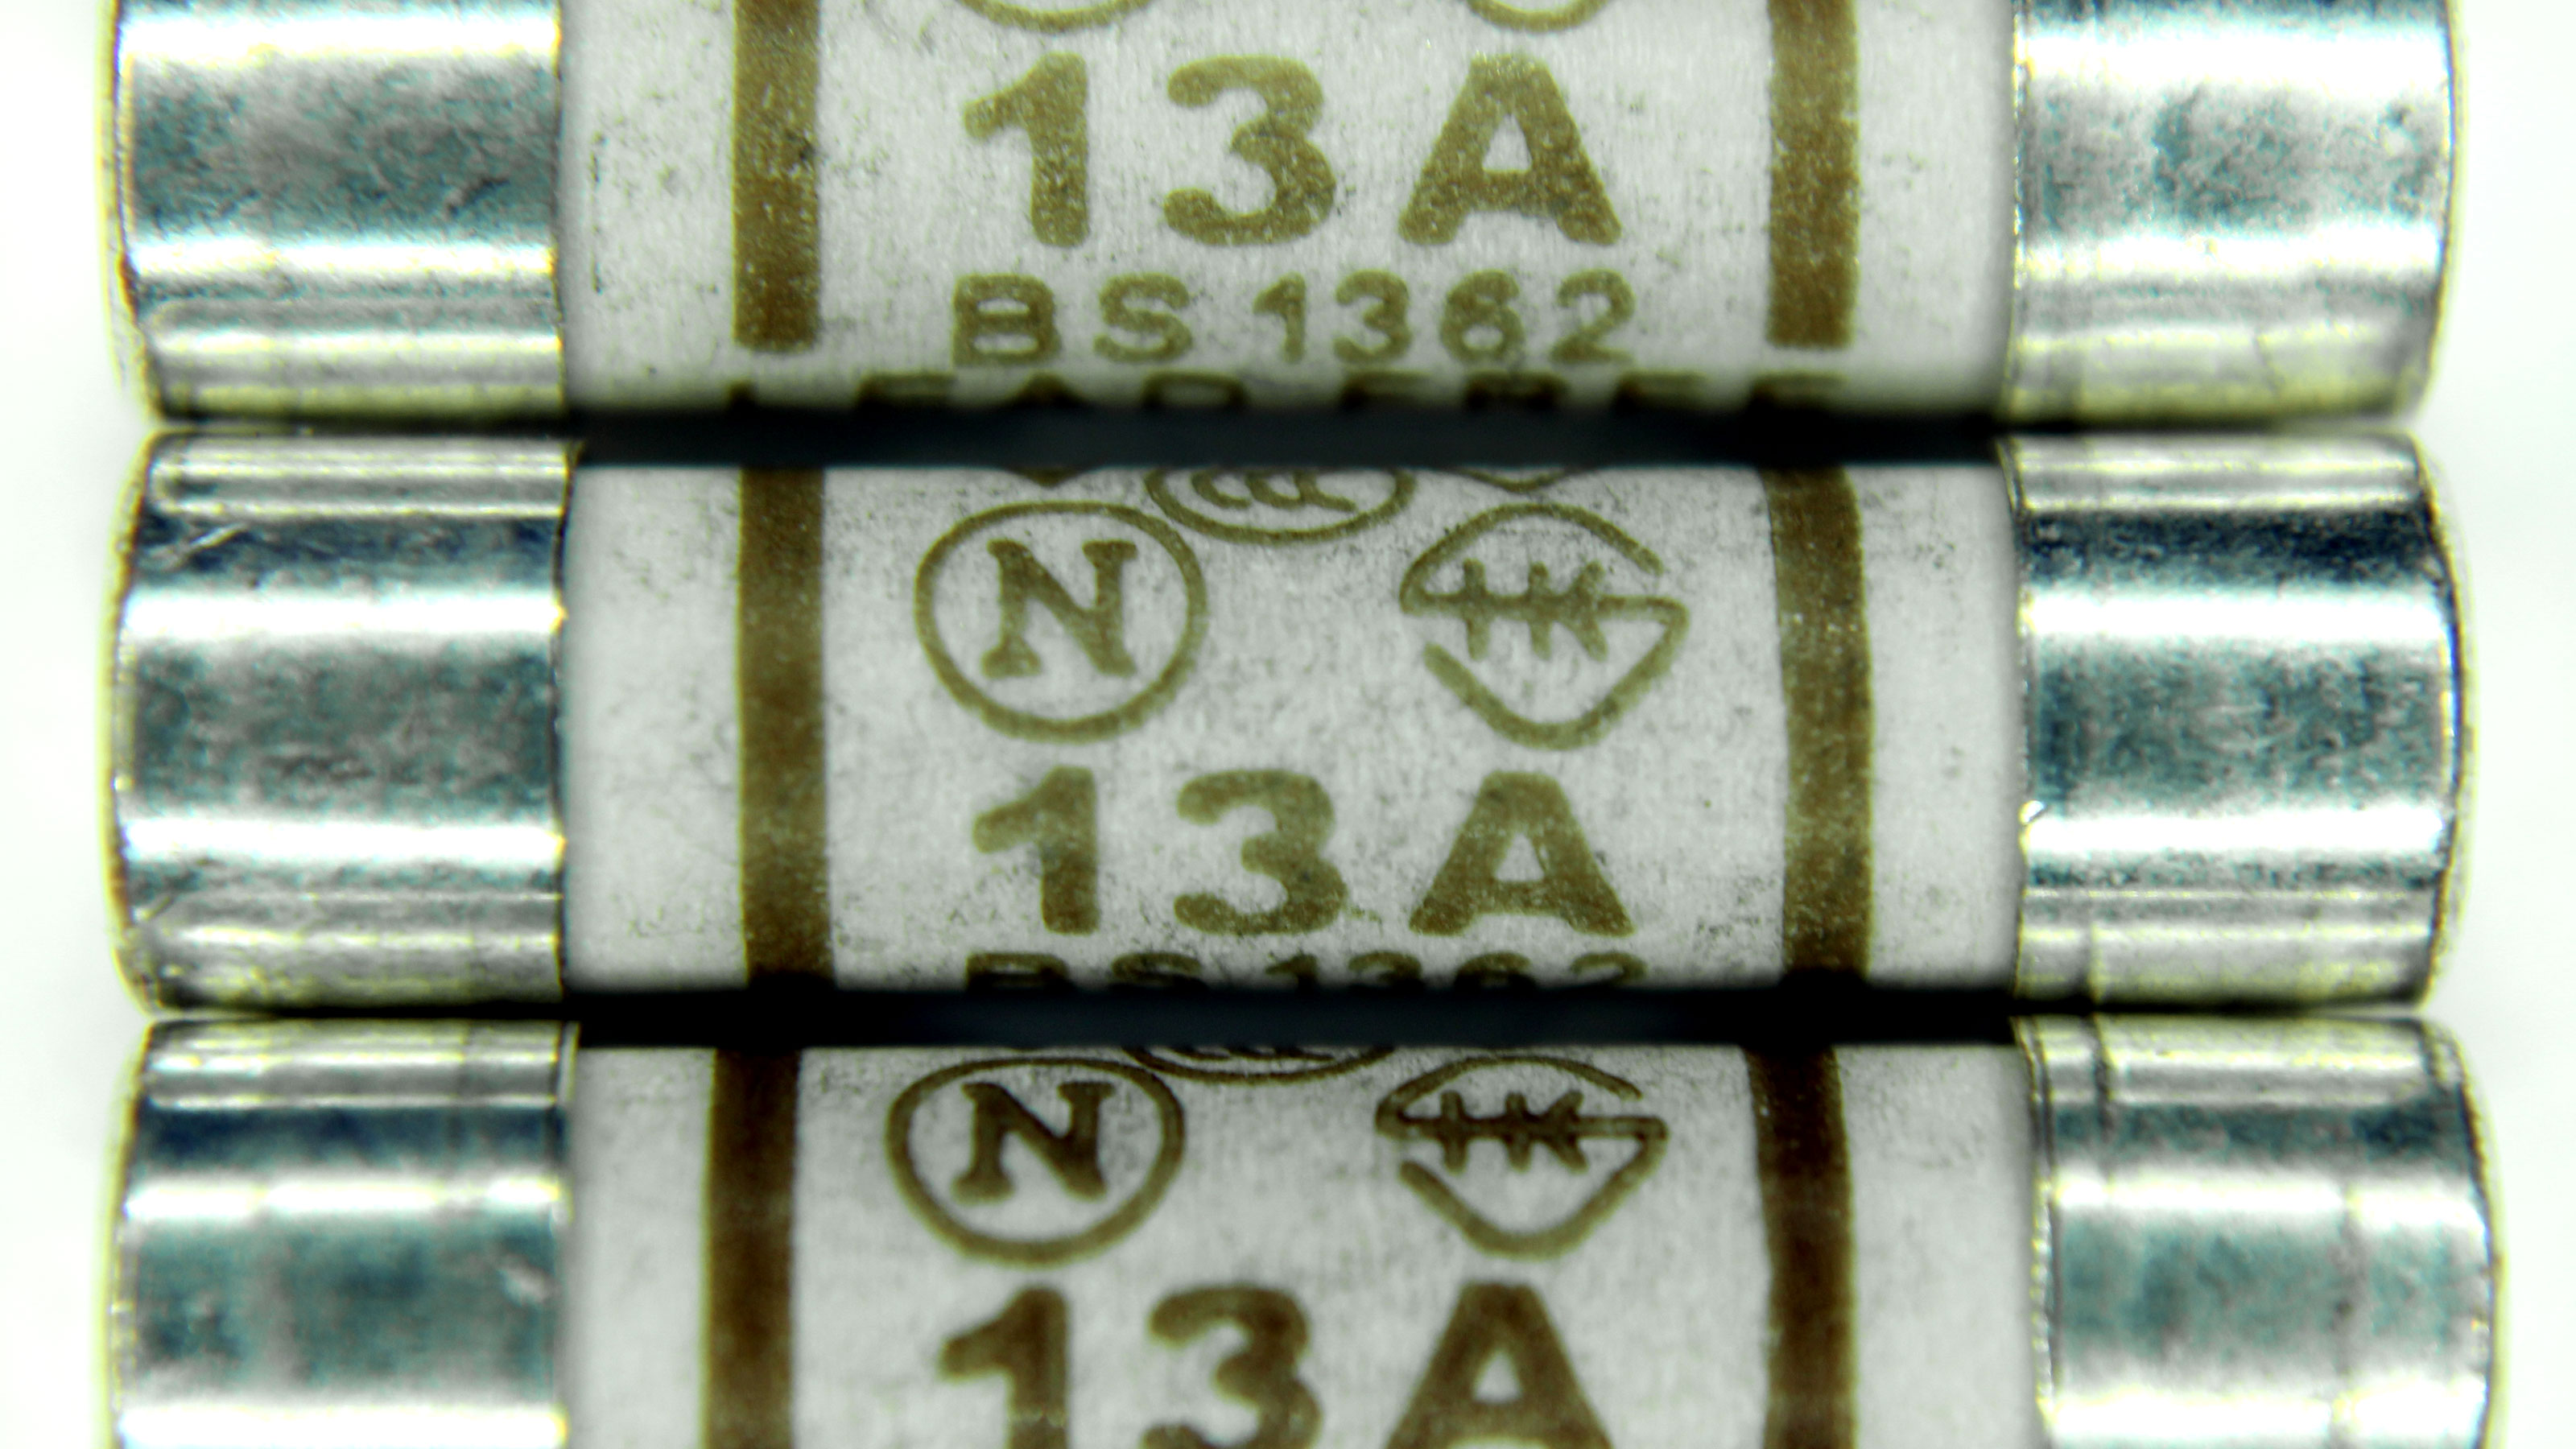
Typically a plug will come with a 13A or 3A fuse. The fuse in a plug is a safety device and is there to prevent an overload of electricity. If the circuit becomes overloaded the fuse will blow and cut off the current flow of electricity. The device will stop working and the fuse will need to be replaced before the device will start working again.
If you are unsure about what kind of fuse needs to be fitted, you can replace the blown fuse with like for like i.e. if 13A replace with a 13A fuse. Another option is to take a look at the power consumption of the appliance. If below 700W a 3A fuse is the common choice. If over 700W a 13A fuse is used.
As a general guideline, appliances below 700W include TVs, power drills, jigsaws, lamps and fridges. Appliances above 700W include circular saws, belt sanders, washing machines and kettles.
Typically an appliance with a higher output will use more electricity, so think about using them in off peak electricity times if at all possible to help keep your cost of living down.

Steve Jenkins is a freelance content creator with over two decades of experience working in digital and print and was previously the DIY content editor for Homebuilding & Renovating.
He is a keen DIYer with over 20 years of experience in transforming and renovating the many homes he has lived in. He specialises in painting and decorating, but has a wide range of skills gleaned from working in the building trade for around 10 years and spending time at night school learning how to plaster and plumb.
He has fitted kitchens, tiled bathrooms and kitchens, laid many floors, built partition walls, plastered walls, plumbed in bathrooms, worked on loft conversions and much more. And when he's not sure how to tackle a DIY project he has a wide network of friends – including plumbers, gas engineers, tilers, carpenters, painters and decorators, electricians and builders – in the trade to call upon.

