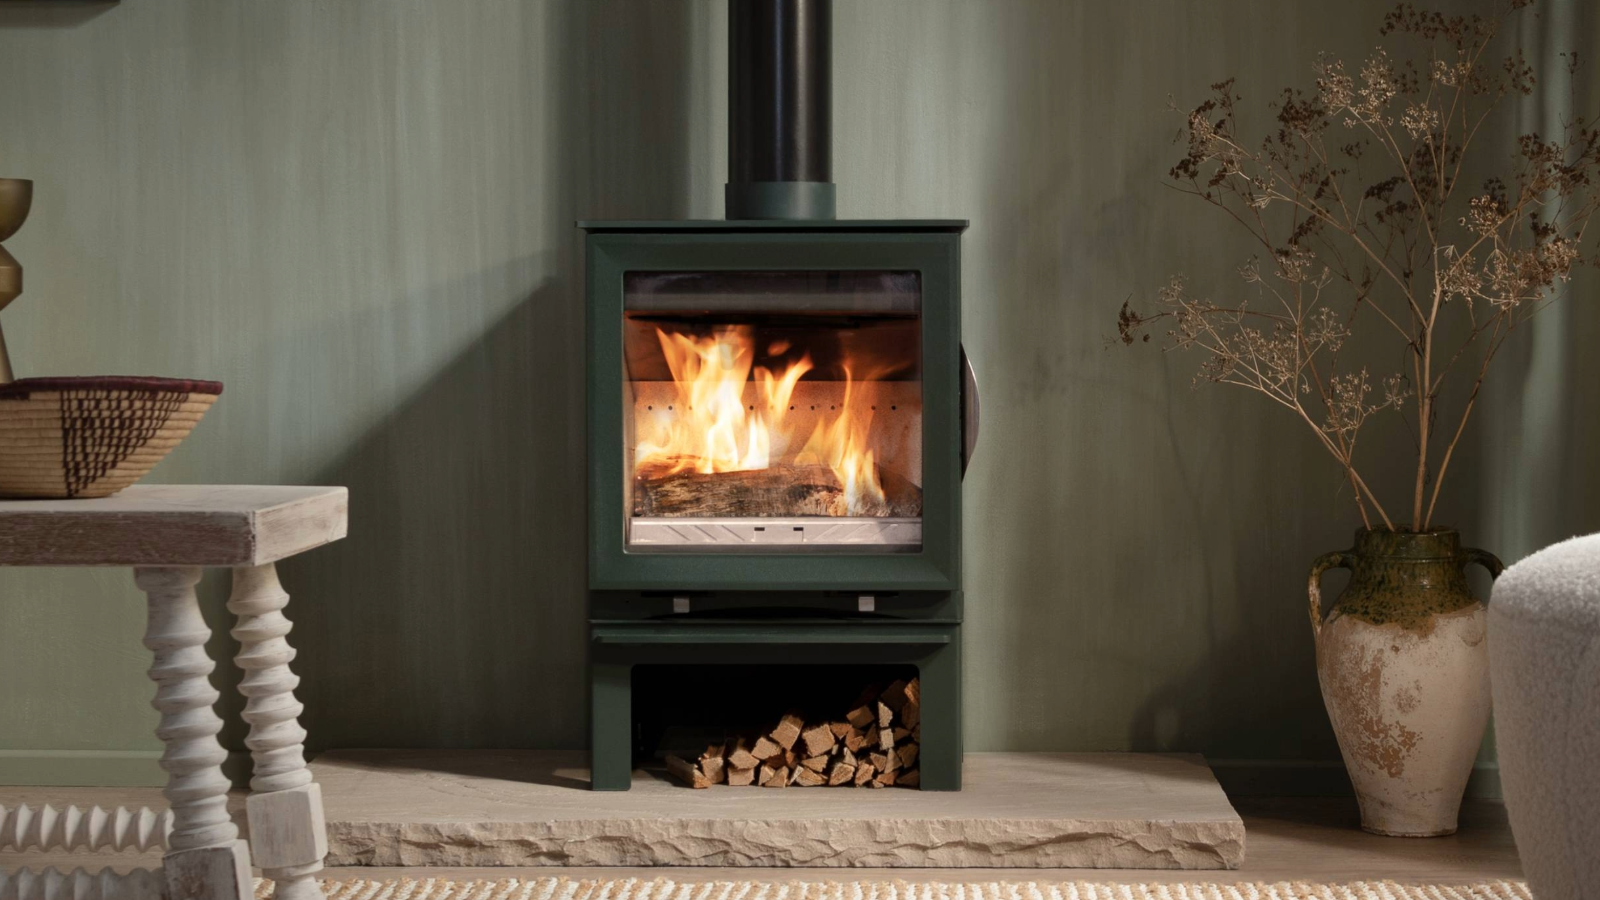
How to light a log burner: Our 10-step guide to using yours safely
Want to learn how to light a log burner? Our experts show you how
Bring your dream home to life with expert advice, how to guides and design inspiration. Sign up for our newsletter and get two free tickets to a Homebuilding & Renovating Show near you.
You are now subscribed
Your newsletter sign-up was successful
Wondering how to light a log burner? Our step-by-step guide will equip you with all the knowledge you need – ensuring you feel confident in everything from getting those flames flickering, to keeping the fire going once it’s lit, and maintaining the right temperature.
Log burning stoves make an ideal focal point in any home – even when they’re not lit. Not only do they provide plenty of physical warmth but they also exude character and charm – making them the perfect addition in newer properties that can sometimes be lacking in this department.
Below, we've shared our top tips for lighting a log burner, including the best types of wood to burn and how to ensure your wood-burning stove performs efficiently, using advice from the experts.
What do I need to light a log burner?
To light your log burner, you will need the following items:
- Kindling: Small pieces of wood that get the fire going. Kindling should be dry and cut into short even lengths.
- Firelighters: There are several different types of firelighter. Some people swear by good old fashioned newspaper, crumpled into small balls or torn into strips. Alternatively, natural firelighters made from wood by-products are excellent – and don't contain any chemicals either.
- Firewood: Pretty obvious this one. You want good, seasoned firewood that is nice and dry – with a moisture content of less than 20%. It's also worth investing in the best log store.
- Matches: The longer the better.
Shop these log burner essentials
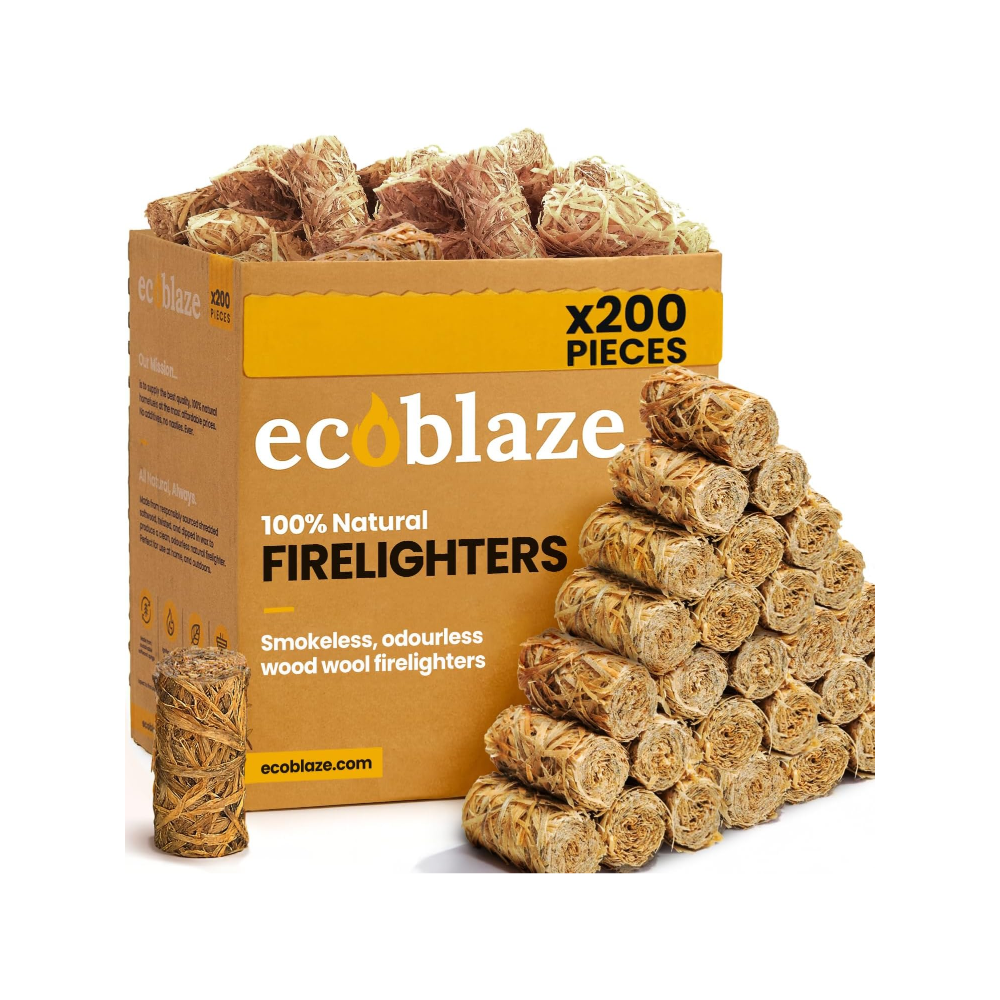
These all-natural firelighters are odourless, smokeless, and easy to use.

Kiln-dried to under 20% moisture, these fire logs are ready to burn.

Measuring 28cm, these extra-long safety matches are perfect for lighting log burners.
How to light a log burner
Once you've installed a log burner, there are two main methods of lighting it: the traditional method and the 'upside down' method. The traditional method is the one you are likely to be most familiar with, but with today's more efficient appliances, the upside down method is often favoured.
Upside down method:
- Ensure the fire bed is clean and that there is not an excess of ash build up beneath.
- Place two small logs across the fire bed.
- On top of the logs, place between five to eight small pieces of dry kindling. You can arrange these in a pyramid, or stacked at right angles to one another to form a grid.
- Tuck a couple of natural firelighters into your kindling arrangement.
- Fully open the air control to ensure a maximum supply of oxygen can reach the wood burner (essential to get the fire going).
- Light the firelighters and close the doors. Rather than lock them shut, leave the doors just ajar while the fire gets going.
- Leave the kindling to get alight.
- Once burning well, close the doors of the stove fully and adjust the air control. This will depend on the manufacturer's instructions, but usually you can gradually reduce the control as the fire gets hotter and hotter.
- Keep your eye on the fire. It is better to refuel little and often than to stack too many logs on at once. Ideally you want no more than two logs in your burner at a time (although this will depend on the size of your model).
- Every time you refuel, you may need to open the air control again while the new log gets burning.
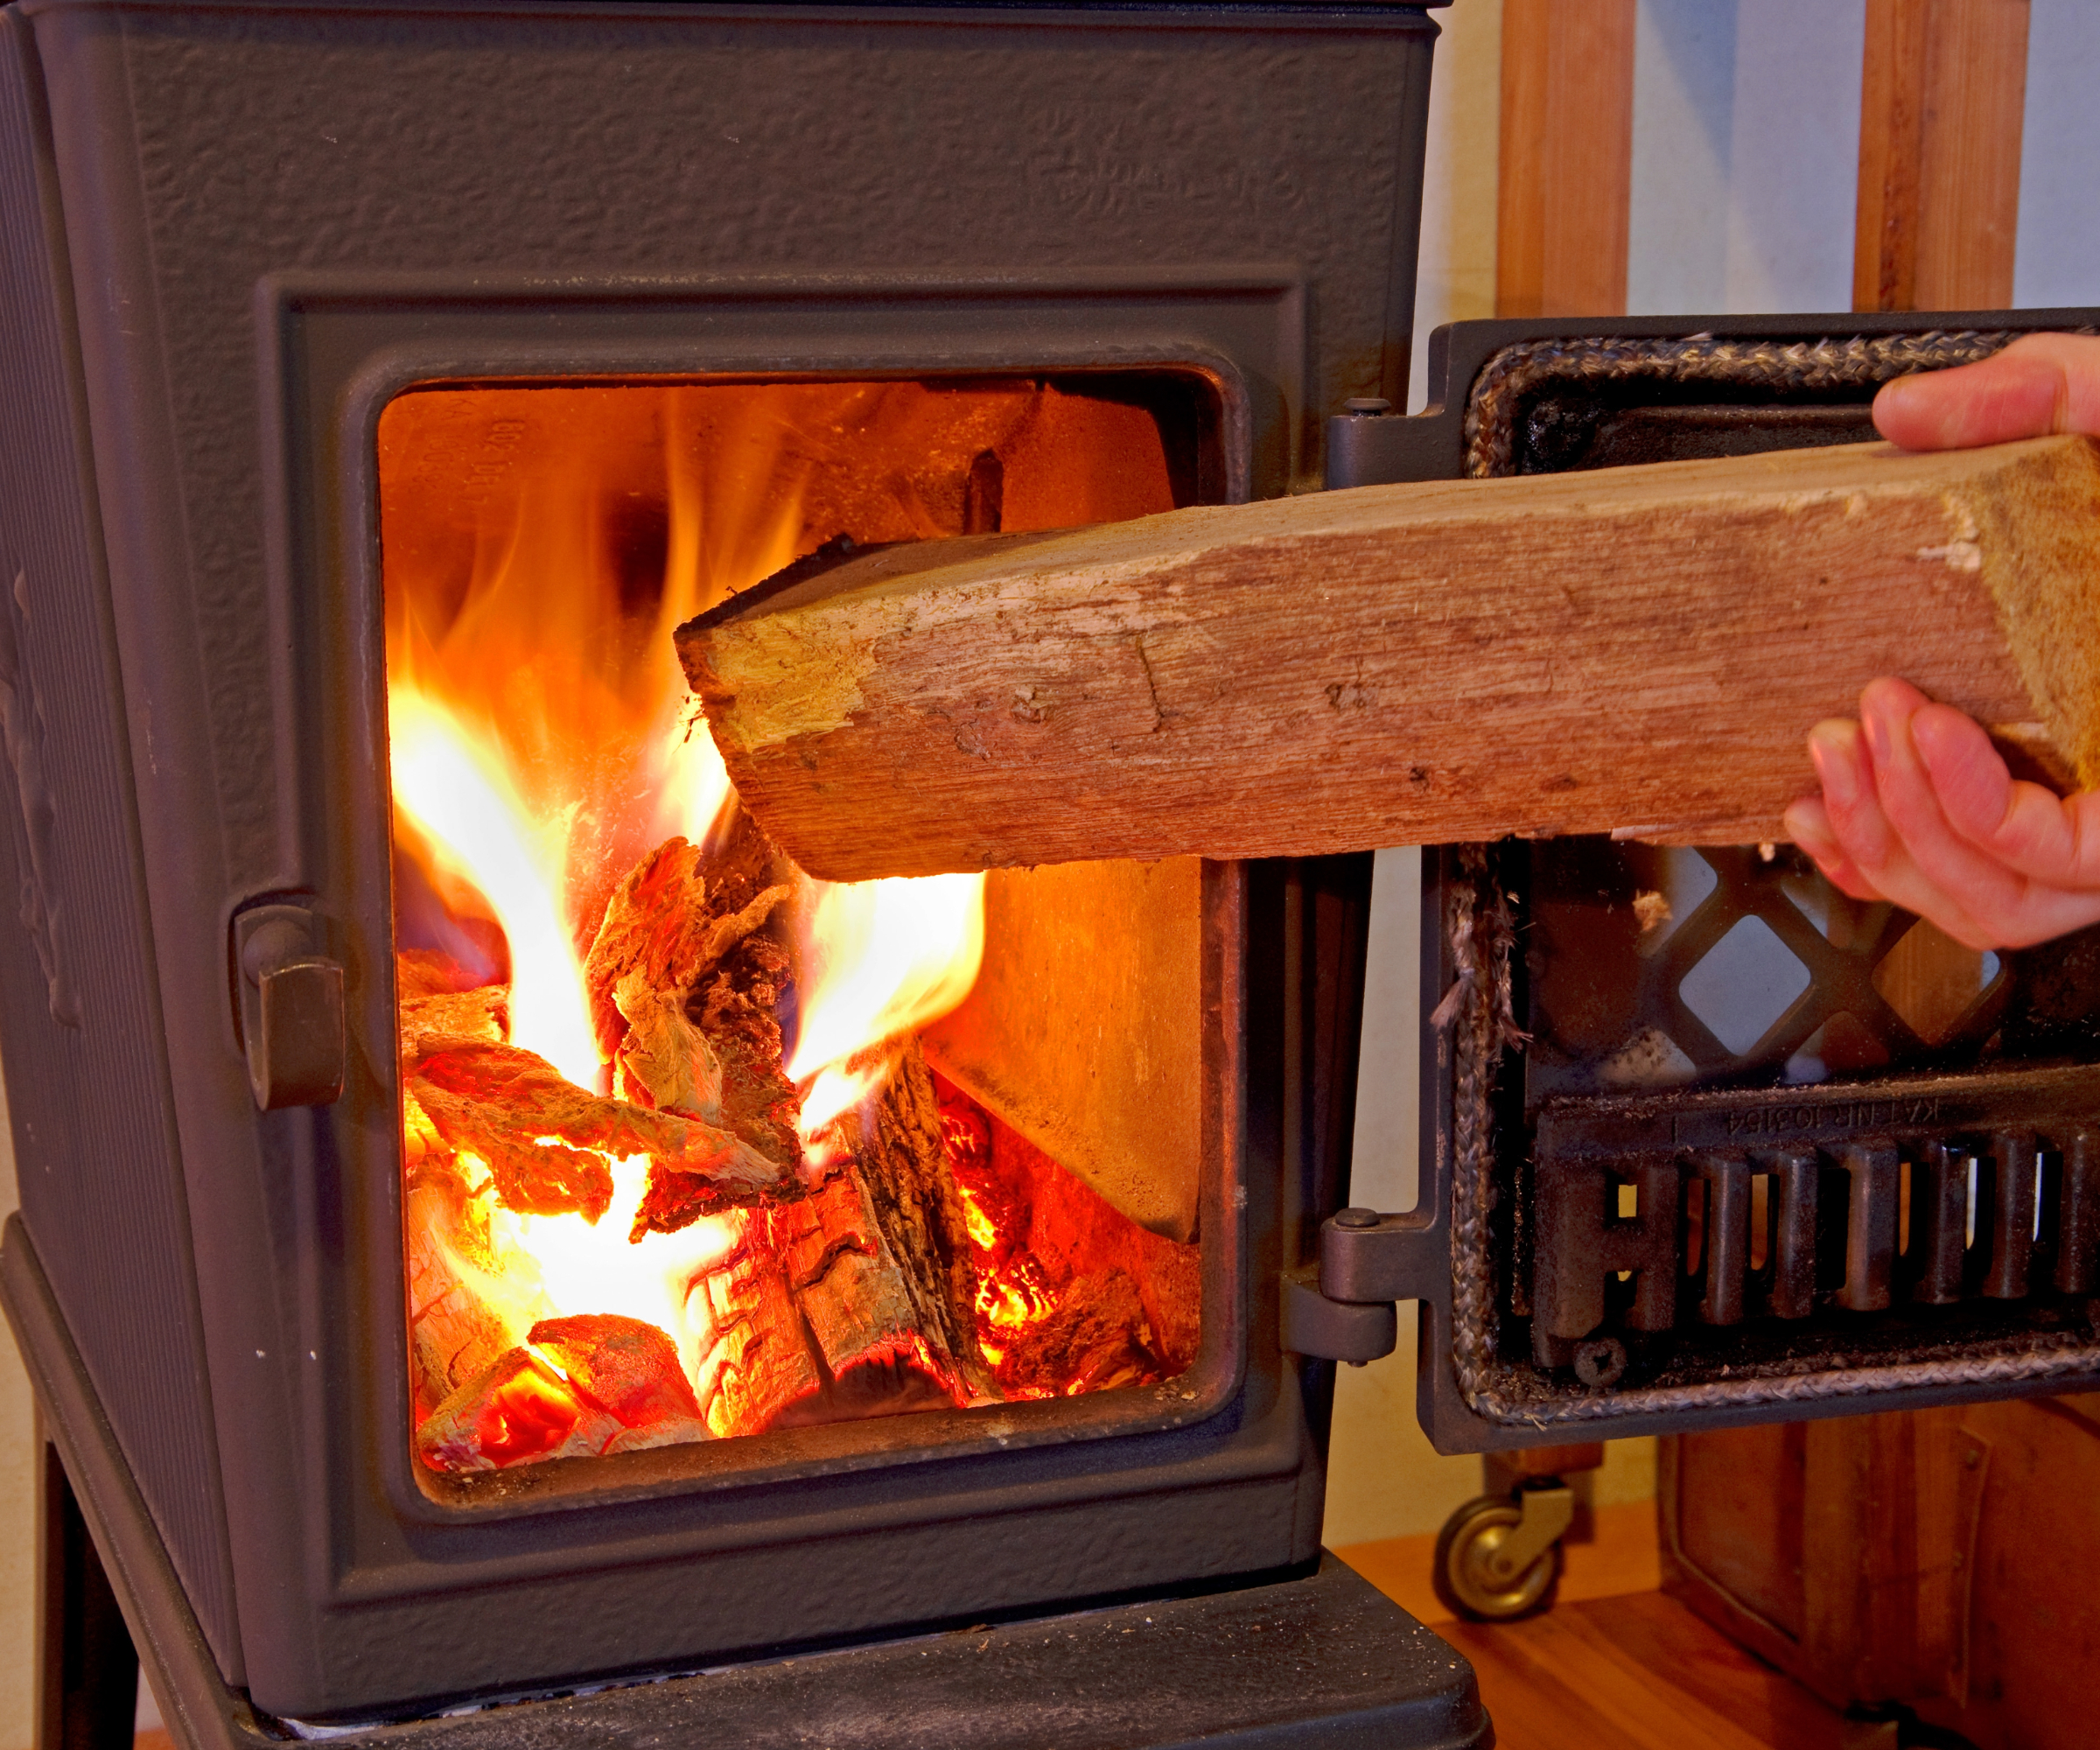
Traditional method:
Jon Butterworth, Director of Arada Stoves, explains:
- Fully open both the primary and secondary air controls.
- Place scrunched up newspaper and a layer of dry kindling wood on the stove’s grate, with the addition of two or three firelights if needs be.
- Ignite the paper and/or firelighters.
- Once the kindling has caught light, close the fire door and leave it ajar slightly. By doing this, you will aid the flue air during the initial lighting of the fire. The flue temperature and draw should be established after about five minutes.
- Add your pre-cut, seasoned wood. Start with medium-sized logs and increase to larger ones as your fire develops. Now you can fully close the door.
- After 10 minutes, fully close down the primary air control and use the secondary to control the burn rate. Close it down to about half, as leaving the air controls fully open will cause the stove to operate at too high a temperature, which can damage its internal components and result in inefficient burning and heat output.

Having worked at the company since 2010, Director Jon Butterworth purchased the Arada Stoves in 2019. With a wealth of experience in supplying and installing stoves, Arada specialises in wood burning, multi-fuel, gas and bioethanol stoves for the UK market.
Which type of firewood is best?
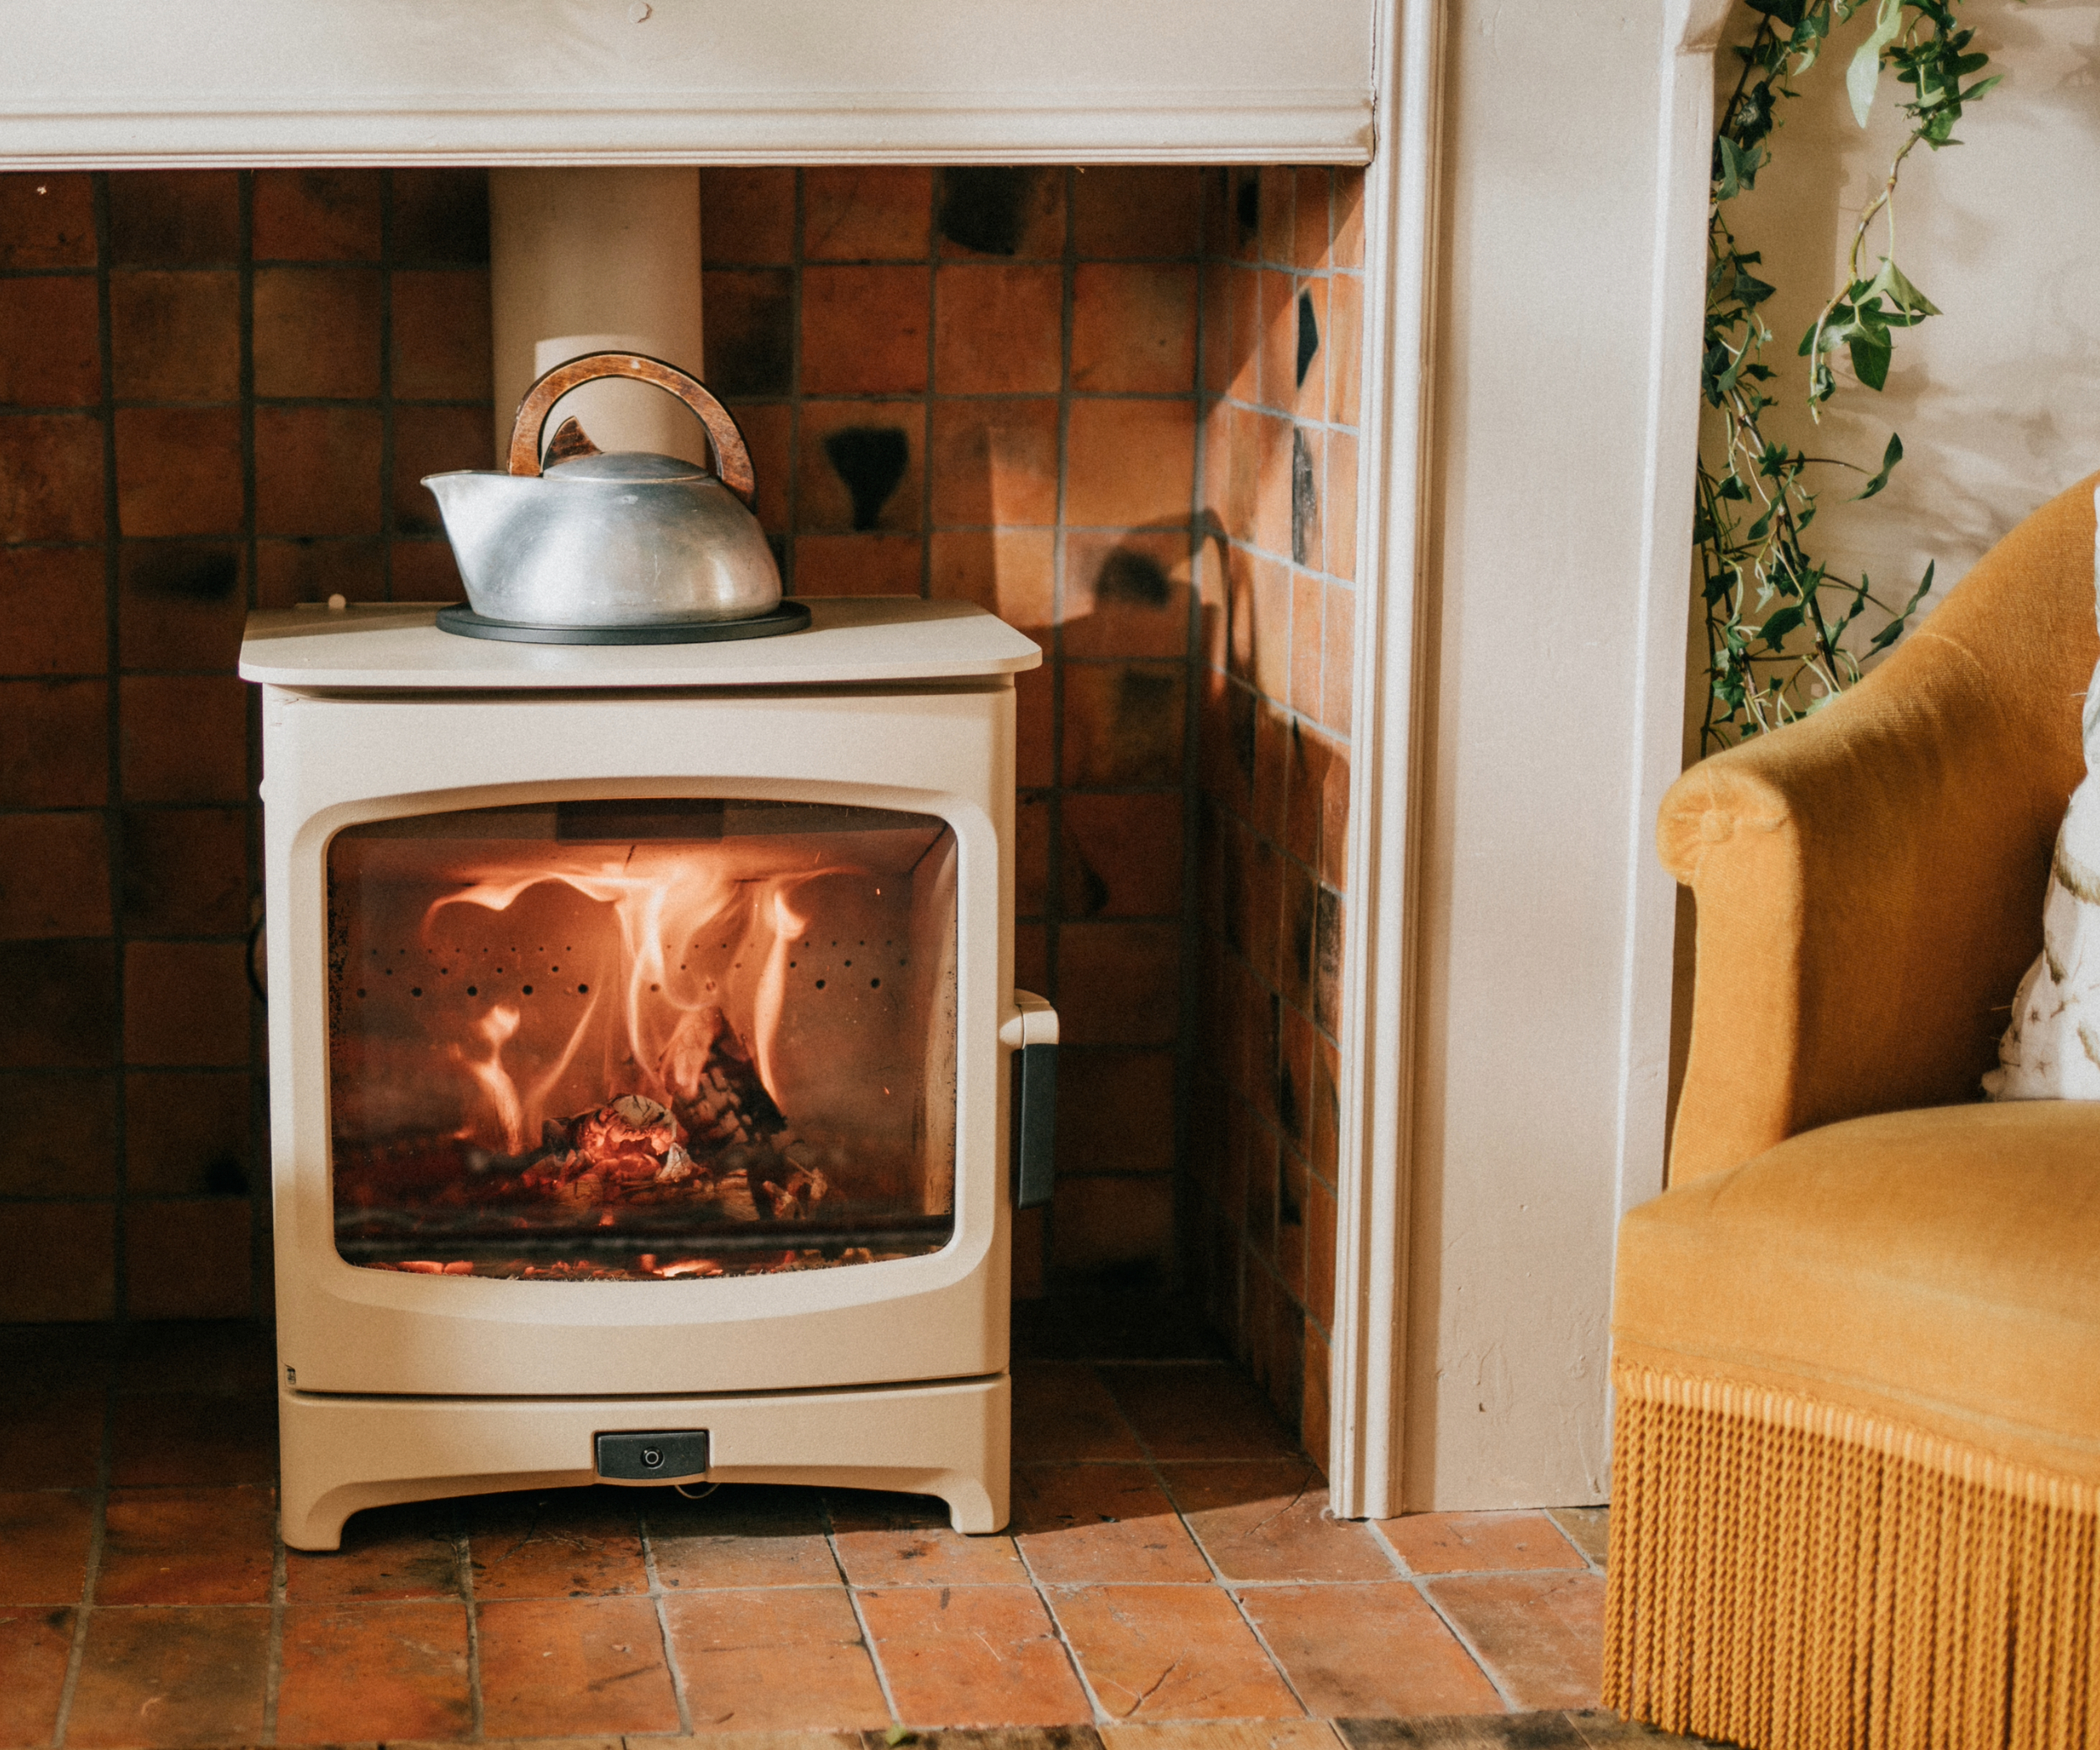
Buying the wrong firewood is a common log burner mistake – here's what you should be using:
Bring your dream home to life with expert advice, how to guides and design inspiration. Sign up for our newsletter and get two free tickets to a Homebuilding & Renovating Show near you.
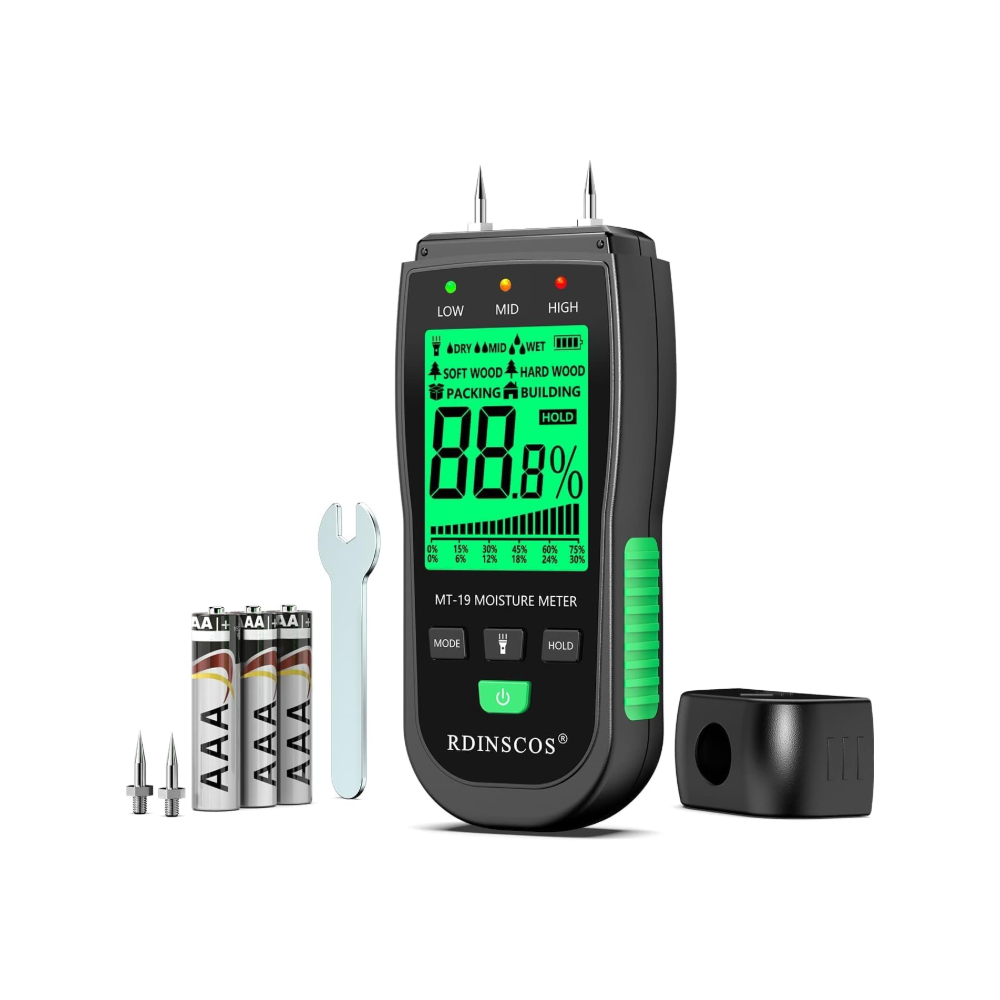
- Ready to Burn firewood: Buy Ready to Burn firewood with a moisture content no higher than 20%. A moisture meter is a good means of establishing the moisture content of your logs, particularly if you have seasoned wet firewood at home.
- Hardwood: This tends to be a better option than softwood as it is denser, giving out more heat and burning for longer. Although softwoods are cheaper and quicker to light (making them perfect for getting a fire going), they are more likely to result in a build up of tar deposits in the flue and burn quicker than hardwood. If you want to use a couple of softwood logs to get the fire blazing, cedar is a good option.
- Kiln dried hardwoods or those that have been seasoned for at least one or two years: Oak, ash, beech and birch are ideal.
Jon Butterworth says, "Burning wet, unseasoned wood is counter-productive and should be avoided at all costs as it is ineffective and harmful, giving off little useful heat and creating excess smoke which damages your flue and your stove."
How to put a log burning stove out
Getting your log burner to die down is simple:
- Close the doors of your stove completely to starve the flames of oxygen.
- Close the air vents fully – gradually the flames will die down to embers.
- Once there are only embers remaining, carefully open the door and spread them out using a fire poker.
After you've removed the contents, it's worth learning how to clean log burner glass.
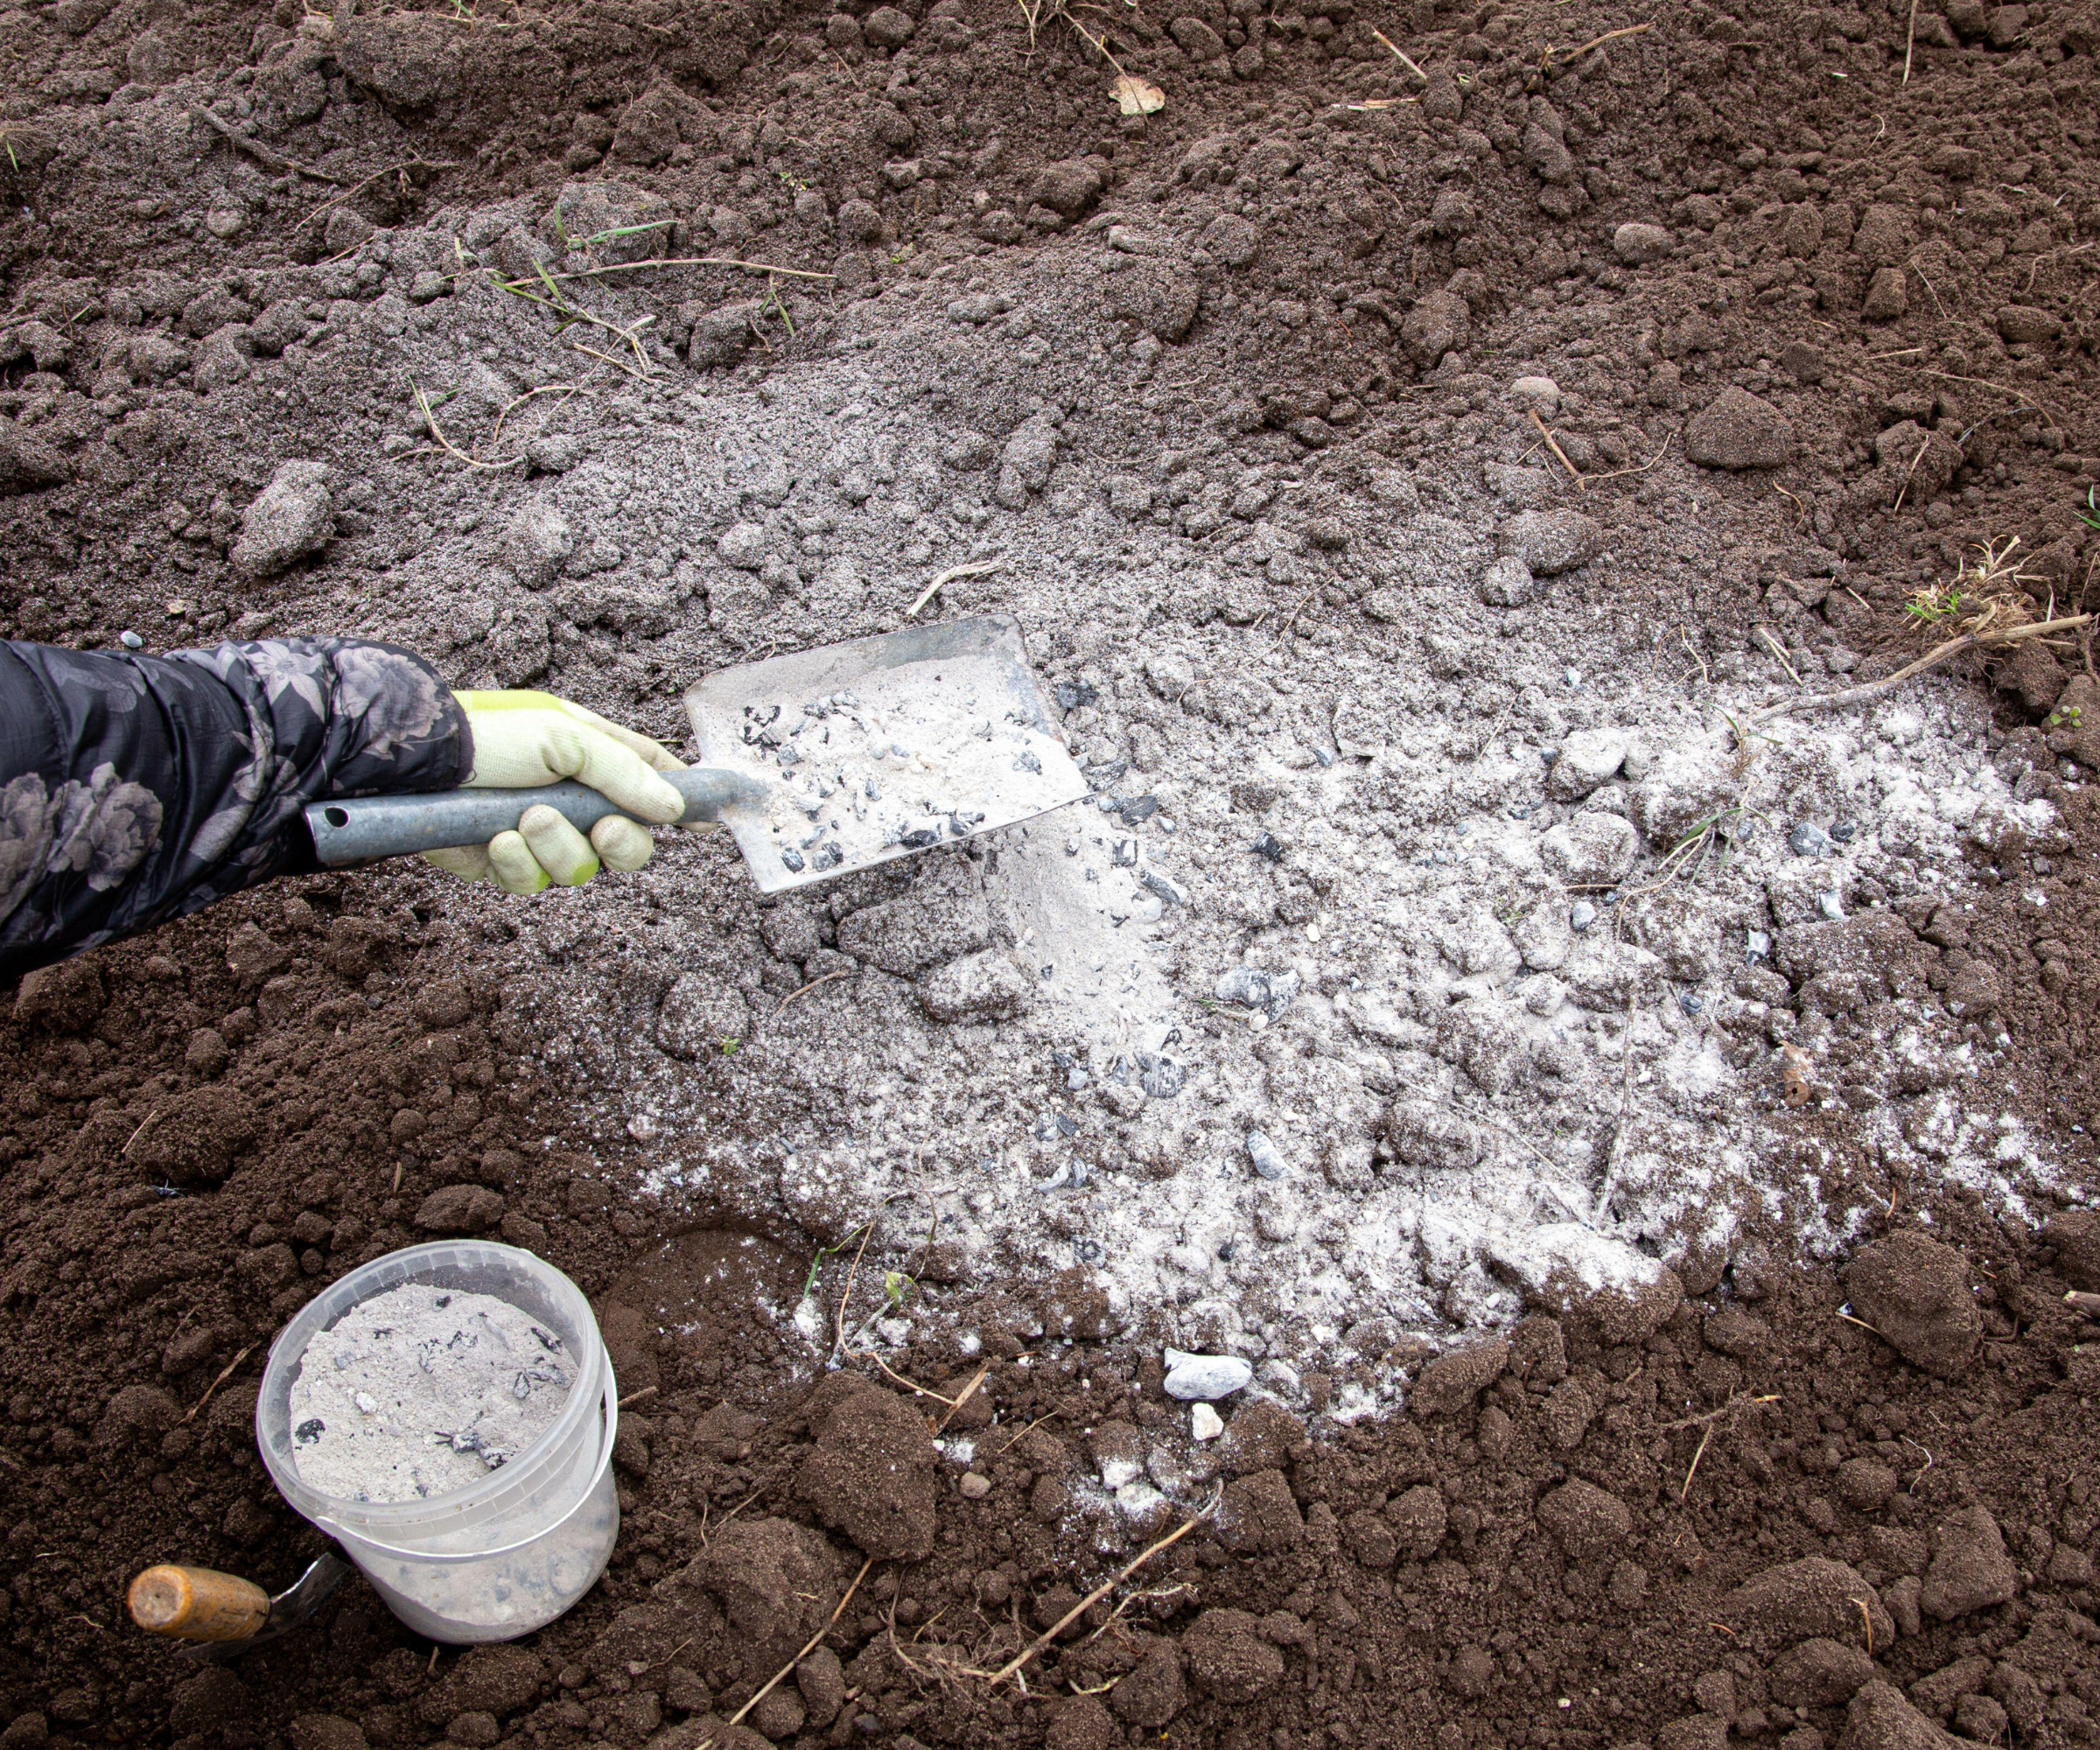
Can I put wood ash on my garden?
Here's what you can do with your wood ash:
- Add it to your compost heap
- Spread it onto your soil and rake it in
- Sprinkle it onto pathways or driveways to prevent ice forming
- Put it in your household garden waste bin
How many logs should you use per hour?
Wondering how many logs to use per hour? Cedric Wells, Creative Director at Charnwood, says, "Modern stoves are designed to burn efficiently with two to four logs per hour, depending on the model and type of wood. At Charnwood we'd recommend adding one or two logs at a time rather than overloading the fire – this keeps the temperature even and the glass clean."

Cedric Wells is a third-generation stove maker, part of a family team creating high-efficiency, low-emission wood burners that marry traditional, British craftsmanship with the latest clean-burn technology.
Can I leave my stove burning overnight?
No, it is not recommended to leave your stove burning overnight.
Leaving your fire burning overnight is bad for the environment, increases the potential for flue blockages, dirties the chimney, leads to badly stained glass in the doors, and can affect how well a stove's airwash system works.
Now that you know how to light a log burner, you'll be able to use yours with confidence and safety.
If you're looking for some inspiration on how to incorporate one into your home, we've rounded up some of our favourite log burner ideas – from classic to contemporary styles. Or, if you want to give your existing model a new lease of life, we've also created a complete guide to painting a log burner.
Natasha was Homebuilding & Renovating’s Associate Content Editor and was a member of the Homebuilding team for over two decades. In her role on Homebuilding & Renovating she imparted her knowledge on a wide range of renovation topics, from window condensation to renovating bathrooms, to removing walls and adding an extension. She continues to write for Homebuilding on these topics, and more. An experienced journalist and renovation expert, she also writes for a number of other homes titles, including Homes & Gardens and Ideal Homes. Over the years Natasha has renovated and carried out a side extension to a Victorian terrace. She is currently living in the rural Edwardian cottage she renovated and extended on a largely DIY basis, living on site for the duration of the project.
- Megan MilsteadContent Editor
