How to Level a Floor: Self-Levelling Screeds and Fixing Joists Explained
Learn how to level a floor with this expert guide, which covers both self-levelling screeds and how to make uneven floorboards level

Bring your dream home to life with expert advice, how to guides and design inspiration. Sign up for our newsletter and get two free tickets to a Homebuilding & Renovating Show near you.
You are now subscribed
Your newsletter sign-up was successful
Learning how to level a floor is worthwhile when you’re renovating a house, as sloping, bumpy floors are both common and tricky to deal with when it comes to laying new flooring.
In this guide, we'll examine how two ways in which you can help to level floors — using a self-levelling floor screed and by fixing floor joists.
If you want new tiles to go down without the risk of them cracking, or new timber boards that don’t bounce and squeak, you will need to ensure the floor beneath is nice and level. In some older properties, it is not uncommon to find that concrete has been poured over the original floors and simply covered with carpet or rugs.
Alternatively, you might find yourself among the many people renovating a house shocked to discover tiles or timber that have been laid on nothing more than compacted earth or ash.
Whatever renovating ‘surprise’ you have been lucky enough to discover, you are probably wondering how to proceed. In some cases owners of old homes are happy to live with things the way they were always intended to be, leaving the original floor coverings intact — after all, original flagstones, timber or quarry tiles are all things of beauty.
(MORE: Repairing Old Floors)
Also, interfering with the breathability of solid earth floors by introducing modern materials can result in new issues, such as damp.
Bring your dream home to life with expert advice, how to guides and design inspiration. Sign up for our newsletter and get two free tickets to a Homebuilding & Renovating Show near you.
More often than not, though, it will be necessary to find a solution that not only respects the original house, but makes life in the property comfortable and practical on a day-to-day basis.
How to Level a Floor With Self-Levelling Screeds
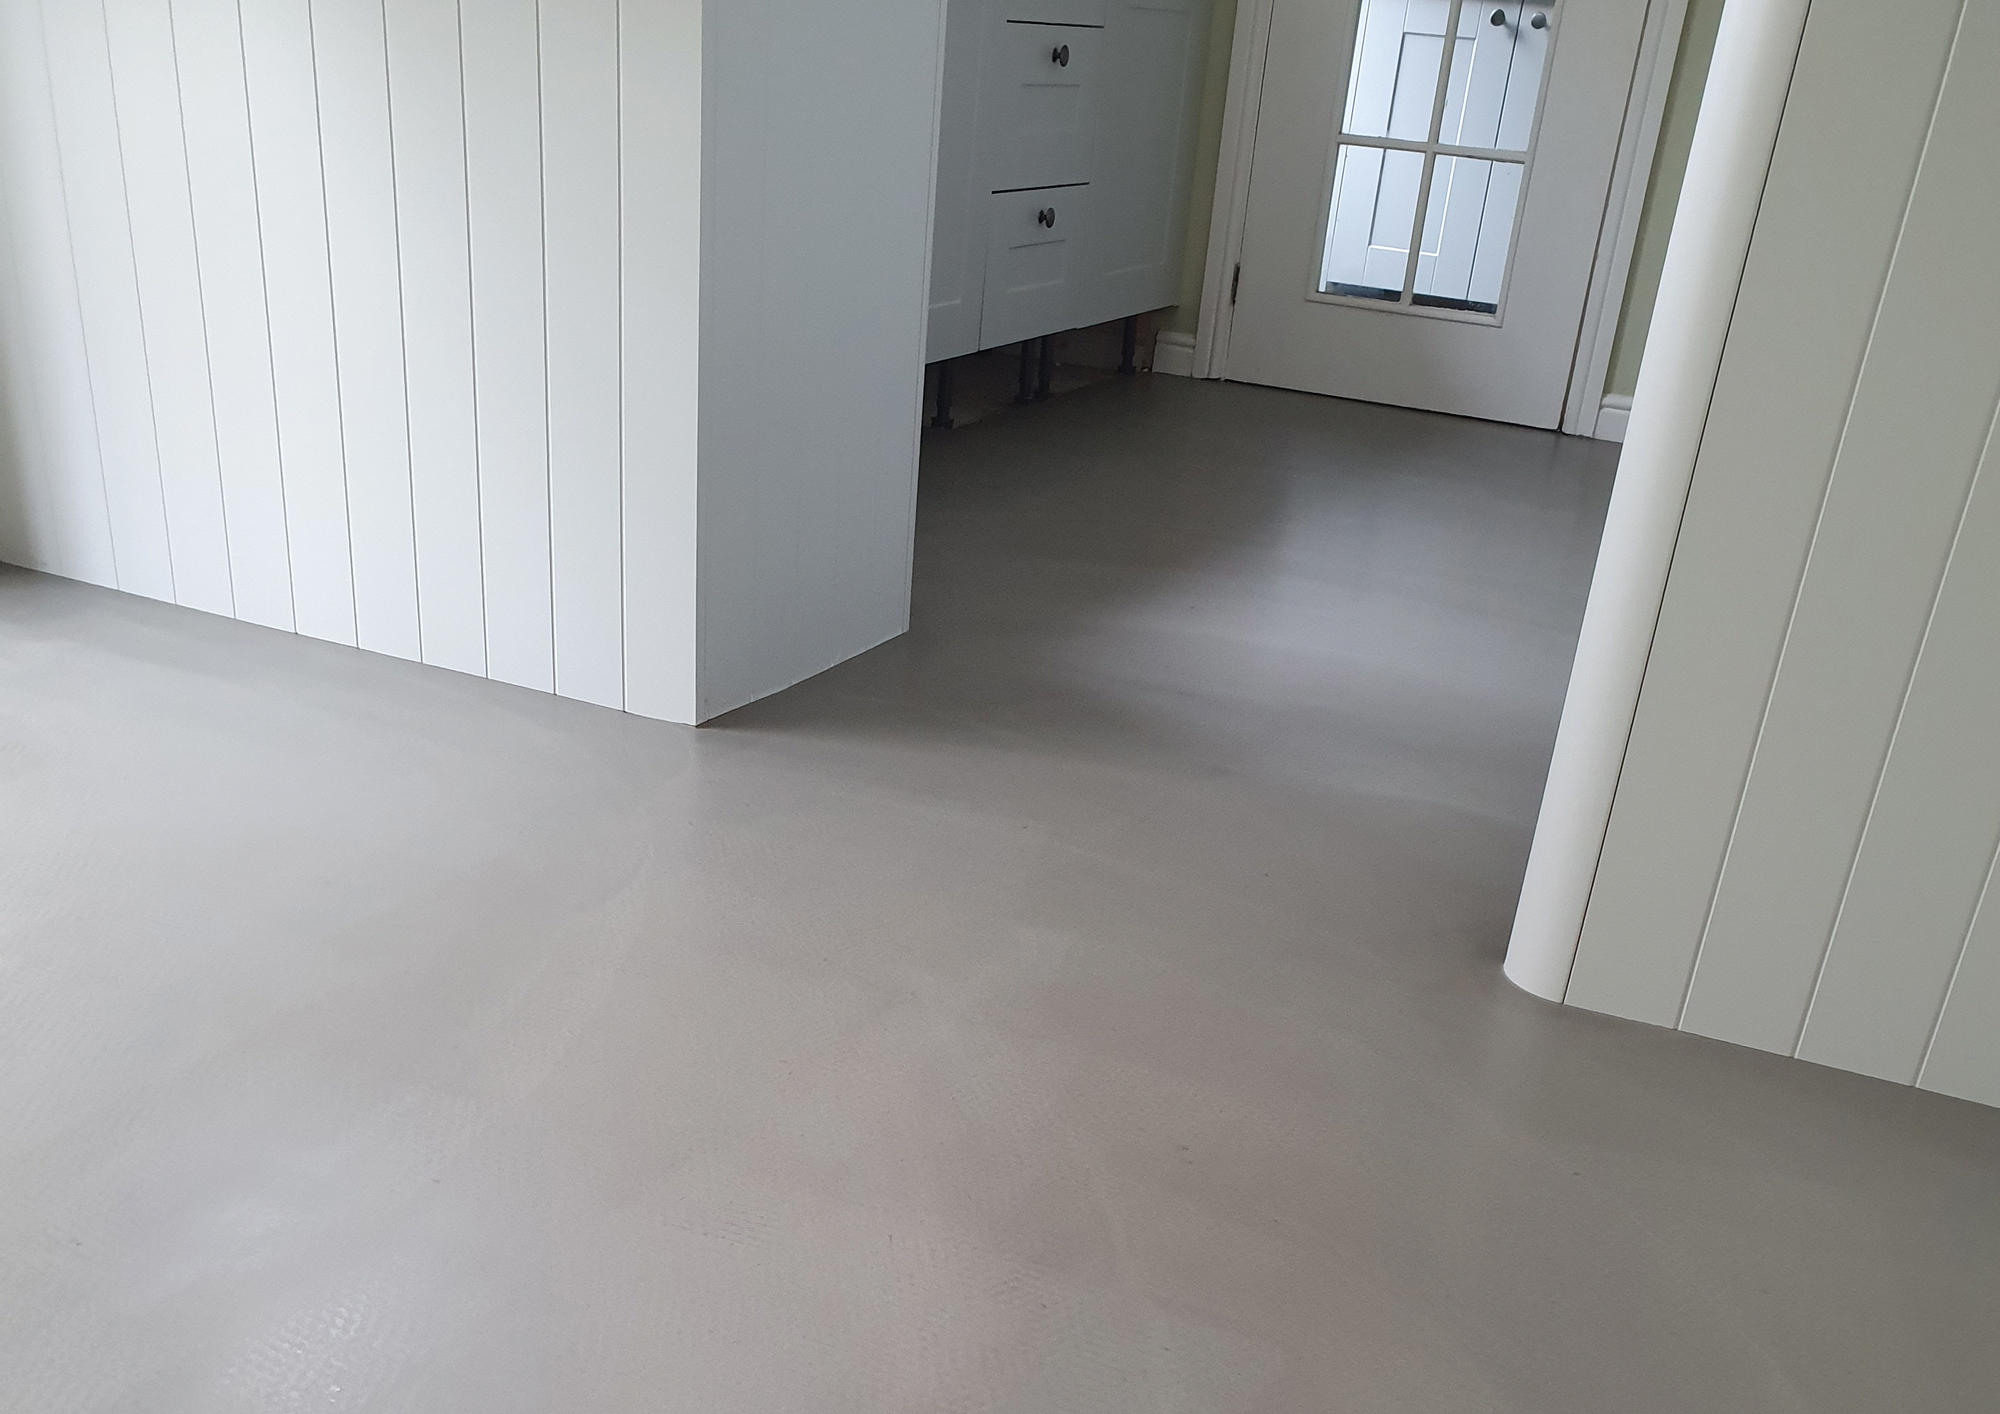
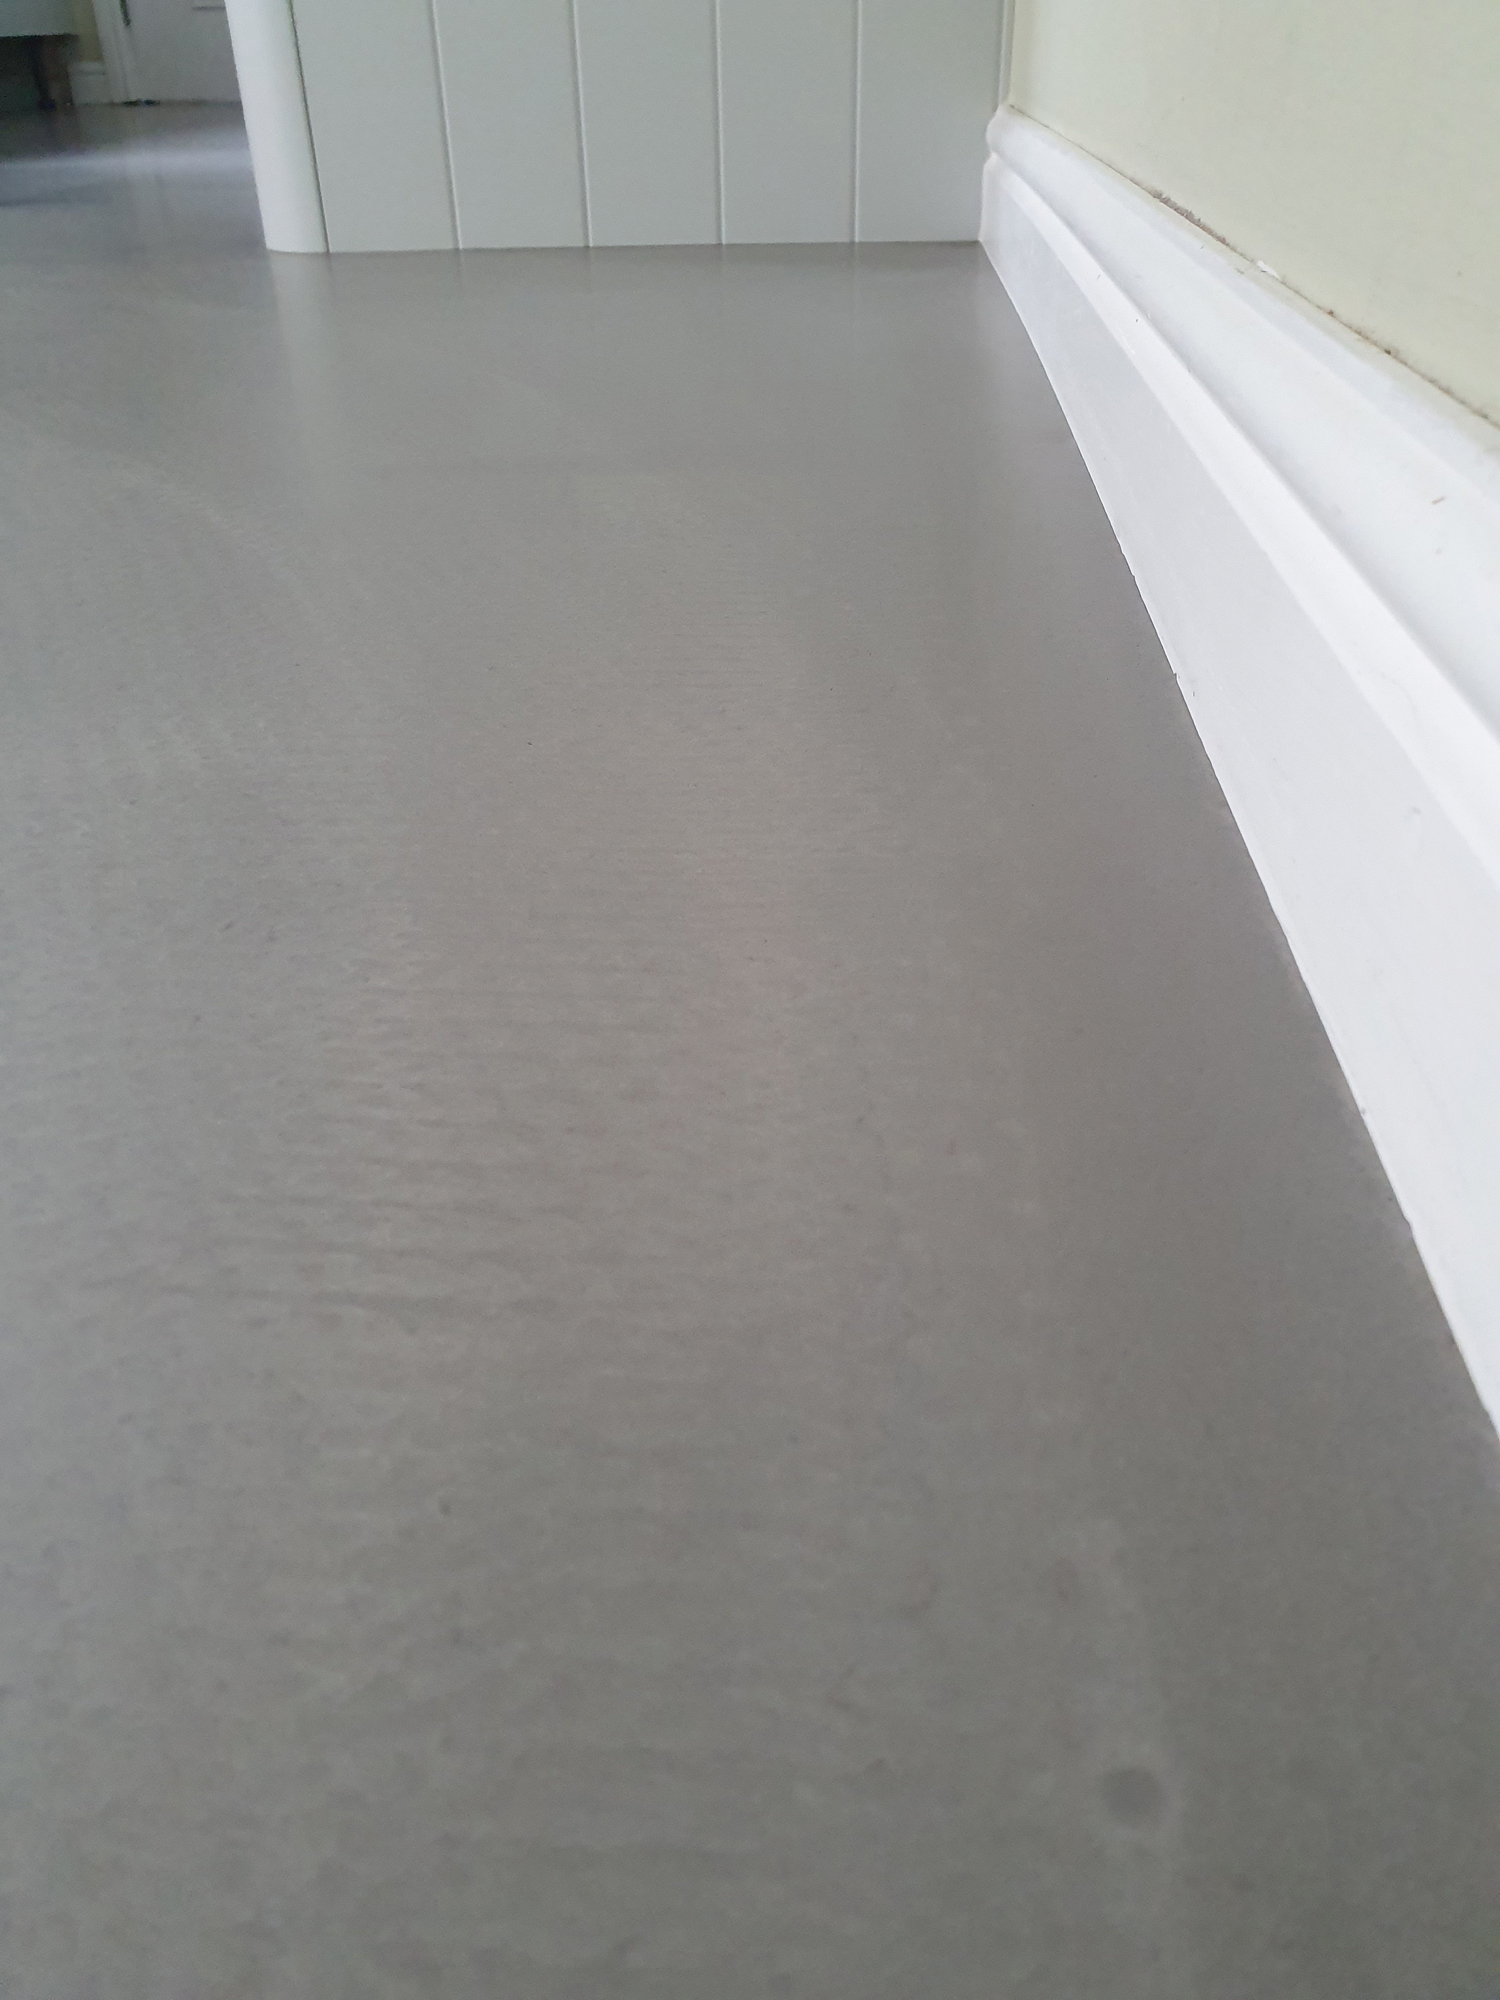
Many people choose to level their floors themselves using a self-levelling compound (also known as a self-levelling screed), a product that can be picked up from most DIY warehouses or builders’ merchants. They can be used over concrete, timber, plywood, ceramic floors and more.
These compounds are designed to be poured over the areas of floor you require levelling — they can also be used across entire rooms. They come in two main types:
- The first is a powder that comes with a separate latex liquid: you will need to mix the two together.
- The second is a powder that already contains the latex — adding water completes the mix. The latex ensures that the floor has a degree of flexibility, avoiding cracks due to movement.
How Uneven is Your Floor?
In order to check the level of your floor, use a long spirit level (2m is ideal). Lay it over your floor and lift the low end until the bubble is central. Measure the gap between the floor and the raised end to check how far out the floor is.
Using chalk or a pencil, mark low and high points and check again for any ridges or depressions you might have missed.
The success of using a self-levelling compound depends largely on how uneven the floor is in the first place. Almost all compounds will state their coverage on the packet to make things easy — they will instruct at what thickness they can be spread and what area they will cover when spread at this level. The majority of these screeds state they can only level differences of less than 5mm, although there are products out there that state they can handle up to 10mm successfully.
They will also clearly state what floor types they are suitable for — ensure you check that the screed you buy suits your subfloor (timber, ceramic, concrete etc.).

Preparing Your Floor to be Levelled
Before you begin levelling your floor there are a few preparation steps you will need to take:
- Remove all furniture and, preferably, skirting boards too
- Clean the floor by sweeping and vacuuming
- Fill any large cracks using a filler and sealer
- It is a good idea to apply a primer to help the screed adhere to the floor. Use a soft broom to apply it to the entire surface and leave for a specified time — until tacky.
How to Use a Self-Levelling Screed
In order to thoroughly mix the screed you should use either a power mixer or an electric drill fitted with a mixer paddle — and don’t forget your dust mask! Aim to completely mix the powder and water together but do not unnecessarily over-mix as this can trap air bubbles.
Although the setting time of screed varies, don’t mix too much up at once as it will start to thicken and become hard to pour and spread if left to sit for too long. It is a good idea to get a helper on board at this stage if you can to expedite things.
Pour the mixture onto the floor, ideally concentrating initially on those areas you have marked as low. Use a float to gently spread the mix, pushing it around the floor as it finds a level. Most screeds can be walked on after just four hours or so, and should be fully dry within 24.
If you are wishing to level the floor of a larger space, you will need to do it in sections, ‘shuttering’ off those spaces you don’t want the screed to reach.
How Much Does it Cost for a Professional to Level a Floor with a Self-Levelling Compound?
In large areas, it may well be best to call in the professionals. Floor screeding is a job that many plasterers and floor fitters will carry out. Rates will vary but tend to sit at around £120–£170 per day. Remember to factor in the cost of materials.
How long a floor will take to screed will depend on its size and condition but an average size room should certainly not take more than a day.
(MORE: DIY: What to Leave to the Professionals)
How to Level Floor Joists
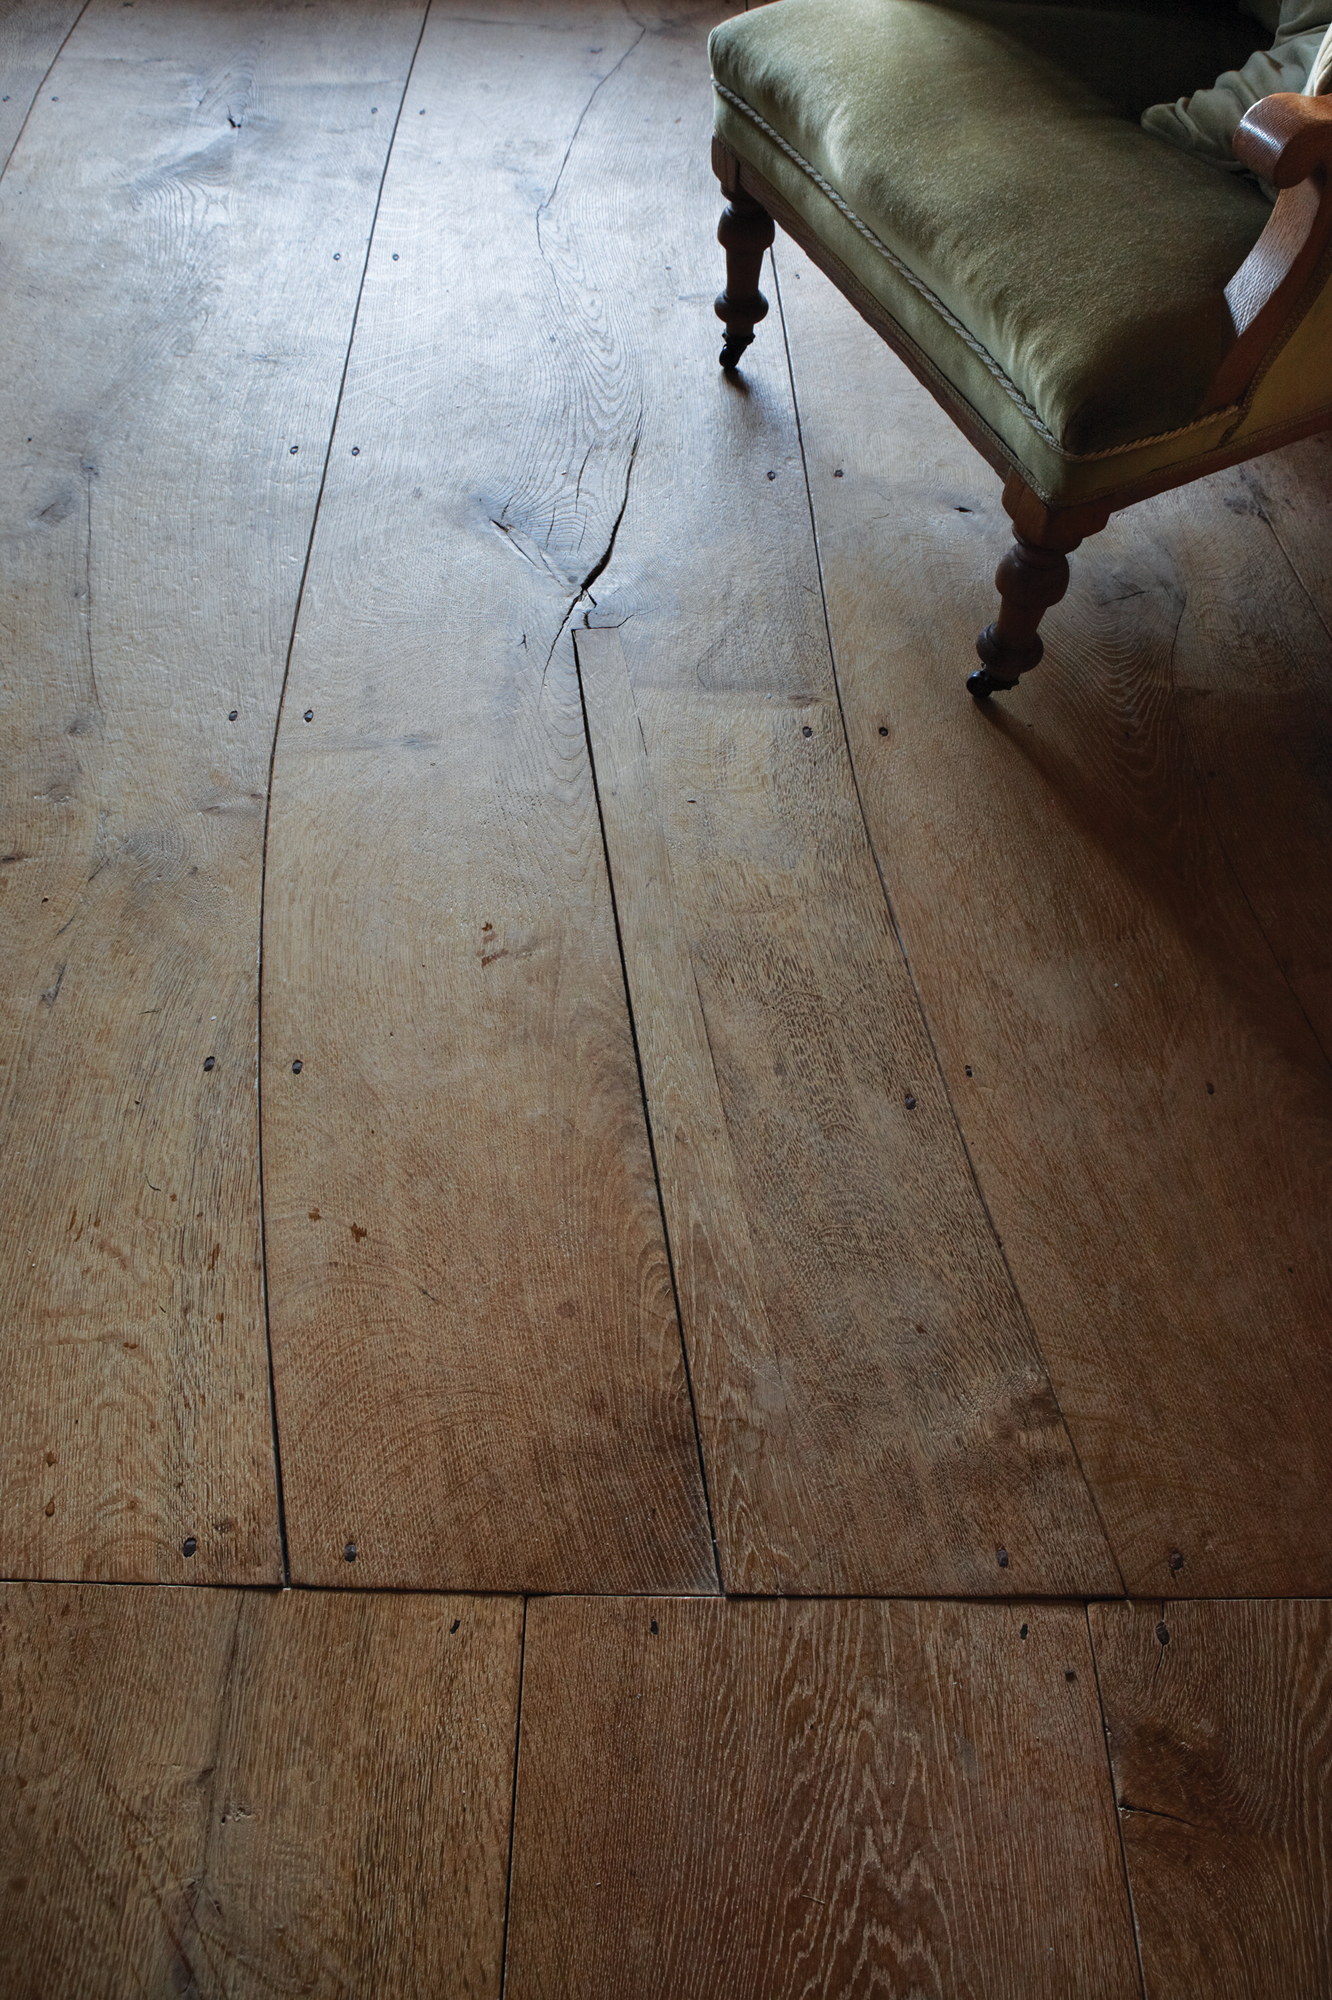
There are several reasons why uneven timber floor joists can be problematic in our homes. Floors can drop and become cracked, damaged, or feel bouncy underfoot. Even if this doesn’t happen, uneven floors can make built-in furniture hard to fit, and freestanding items likely to wobble or move.
Thankfully, there are ways of renovating old floors, but firstly you need to find the cause of the problem.
- Bowing flooring joists. Depending on the age of your property, the timber joists running underneath your floors will have had to cope with significant movement and weight demands over the years. For this reason, it is not uncommon to find that they have bowed, warped or become generally misshapen. Eventually, this will cause the flooring on top of them to reflect their unevenness — tiles can crack, wooden floors will slope and carpet will show up dips and hollows.
- Failing brickwork. If the brickwork supporting the joists themselves is damp and crumbling, the joists will become uneven. Before you can replace or repair the timber, the brickwork will need to be replaced, repointed or fixed. Sometimes brick pillars supporting the joists will be the cause; other times it will be the bricks or mortar in the wall that the joists run into.
- Rotten joists. Damp and timber are not a good combination. After a while, damp will cause timber to rot — causes of damp might include leaking pipes, rising damp and condensation in poorly ventilated floor voids. Finding the cause is crucial in order to stop the damp – and/or rot – getting worse. Only once the source of the damp has been located can the rot be successfully treated.
- Insect infestation. Some insects love damp conditions — particularly woodworm, such as Death Watch Beetle and woodboring weevils, to name but a few. Over time, insect damage can cause issues with floor joists. Soft, spongy timber will need to be taken out and replaced with new — don’t try screwing a new joist into it as it will offer little to no support. Check for signs of an active infestation — fresh sawdust and dust around the holes is a good sign that this is an ongoing rather than historic issue.
Having put any damp right, you can treat the infestation. It is important to find out what type of woodworm you are dealing with as this will dictate the type of treatment that will be required. Often, localised problems can be treated on a DIY basis using a brush-on solution, but if in doubt, call in a specialist to identify and advise you.

How to Level Bowed Floor Joists
If your joists are in good, sound condition and free of rot, then getting your floor level again is usually pretty straightforward. The easiest and cheapest solution is to buy sawn timber from your local builders’ merchants and simply fix it to one side of the joists in need of attention.
Use a spirit level to ensure you are fitting the joist straight. Don’t forget, before fixing, do check that the new sawn timber itself is not bowed!
Screw the new timber (using timber fixings in pilot holes) the full length of the old joist to really reinforce it. If the entire floor is uneven, start by levelling the joists at either side of the entire floor, ensuring they are level with one another. You can then run a line between the two to get the rest of the joists at the same new level.
Dealing with Rotten Timber Joists
If the timber joists are rotten, they cannot be used to support the new joists. In this case, use joist hangers and replace the entire joist. If an active woodworm problem is the cause of any rot, it is vital to get this dealt with before you do anything else in terms of getting the floor level.
While woodworm is not ‘infectious’, and there’s no reason why it would spread from one area to another, it is better to start with a clean slate. Likewise, if there is an unresolved damp issue, sort it out before beginning work on levelling the floor.
Natasha was Homebuilding & Renovating’s Associate Content Editor and was a member of the Homebuilding team for over two decades. In her role on Homebuilding & Renovating she imparted her knowledge on a wide range of renovation topics, from window condensation to renovating bathrooms, to removing walls and adding an extension. She continues to write for Homebuilding on these topics, and more. An experienced journalist and renovation expert, she also writes for a number of other homes titles, including Homes & Gardens and Ideal Homes. Over the years Natasha has renovated and carried out a side extension to a Victorian terrace. She is currently living in the rural Edwardian cottage she renovated and extended on a largely DIY basis, living on site for the duration of the project.

