How to hide wallpaper seams to get a flawless finish
Say goodbye to annoying, easy-to-see wallpaper seams with these pro tips and techniques
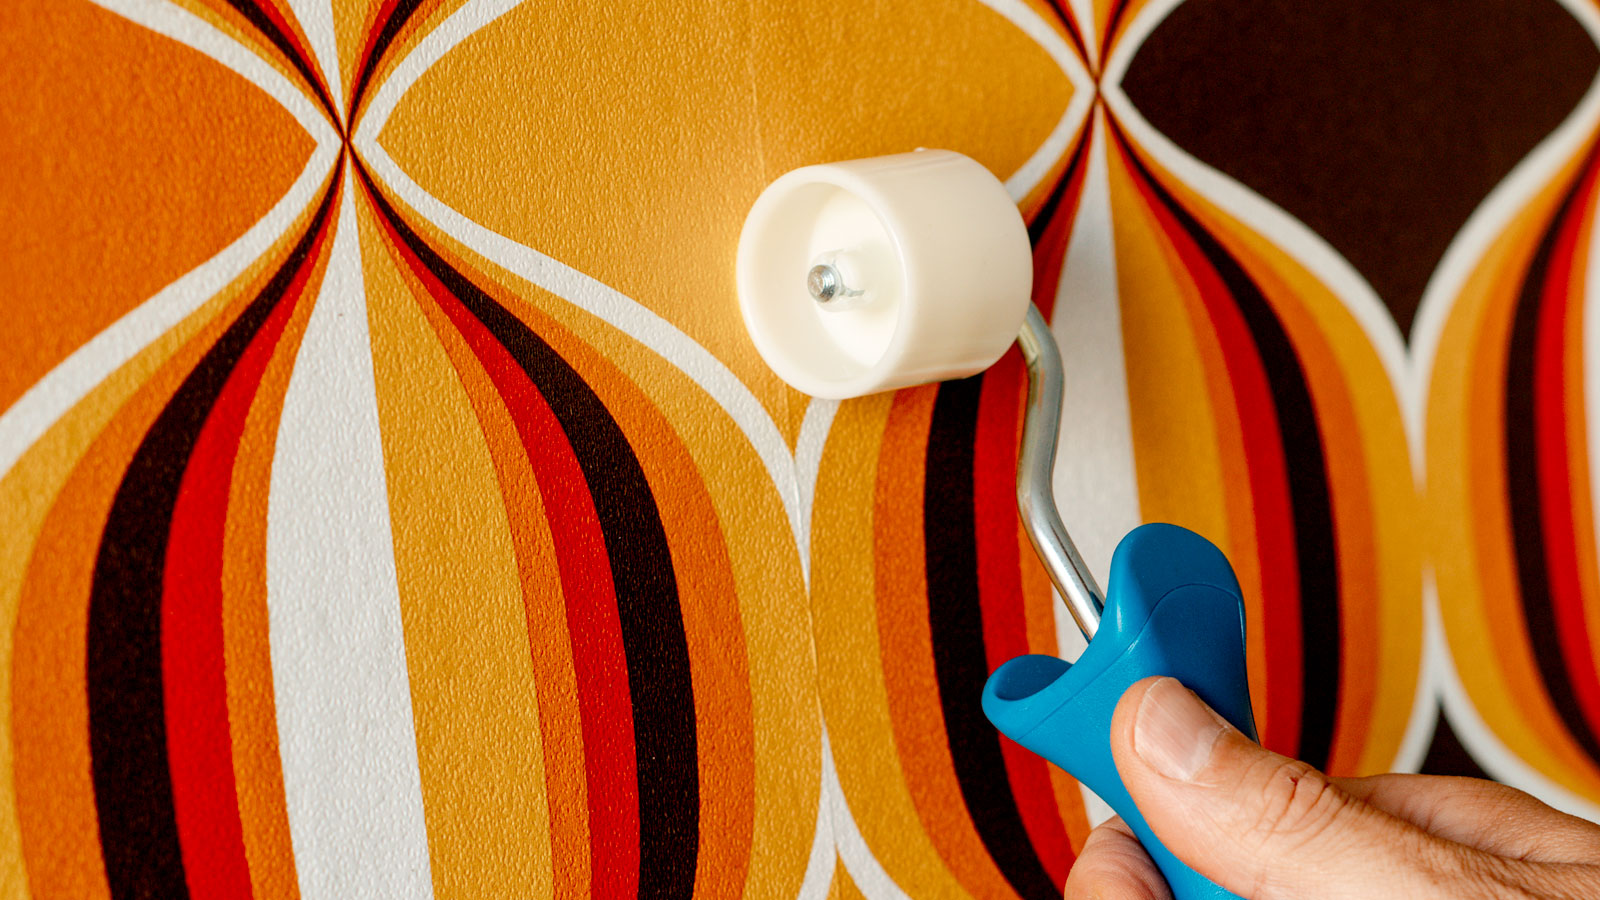
Knowing how to hide wallpaper seams means you won’t have to sit and stare at gaps spoiling the overall aesthetic of a room. Neatly hidden seams will ensure a smooth, seamless finish, giving your wallpaper and walls a neat, continuous flow.
Keeping seams out of sight is all part of knowing how to wallpaper correctly. Using the right tools, planning and preparation, and a few effective techniques (which you'll find in this guide) will help you achieve the best finish possible, whether you're a novice or a seasoned DIYer.

Catherine Jacob is the Head of Design at Hovia, a B-Corp-certified interior design brand dedicated to sustainably designed wallpaper products made to enrich environments.
How to hide wallpaper seams: Reasons you can see seams
If you can see a wallpaper seam on your walls, there are a few reasons why they are on show. Catherine Jacob, head of design at Hovia, reveals one of the common reasons: “Visible joins are often the result of slight stretching during installation. As the wallpaper settles and returns to its original shape, small gaps can appear.”
She adds, “In other cases, it could be due to factors like using a dull blade, not applying enough paste at the seams, or not aligning the panels closely enough during hanging.” These are issues that can be easily avoided with planning and careful application.
Gary Tidman, lead designer at Only Lifts, reinforces the reasons behind visible seams. “Certain types of wallpaper, especially paper-based ones, do shrink slightly as they dry, which can cause gaps at the joins.” But application is often an issue as Tidman continues, “Sometimes it’s down to how the wallpaper was applied – if the paste dries too quickly or isn’t applied evenly, the edges don’t stick as well, and seams can lift or become more noticeable.
Poor preparation of walls and ceilings can also be a problem, as Tidman shares, “If the wall underneath isn’t prepped properly or isn’t completely smooth, that can also highlight the seams.”

Gary Tidman is a seasoned home improvement and construction expert with over 35 years of hands-on experience across the UK, Europe, and the Middle East. He has tackled everything from bespoke residential builds to complex retrofits in heritage and modern properties.
Tools you’ll need to help hide wallpaper seams
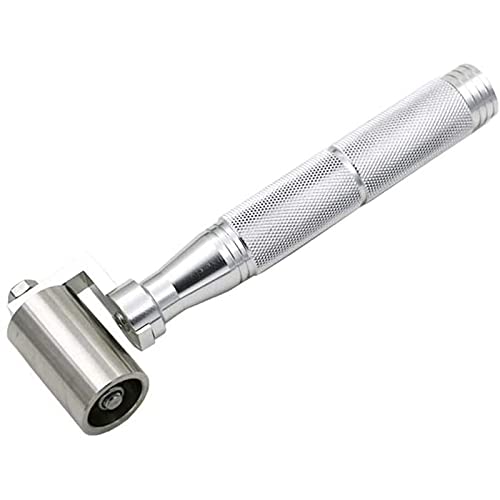
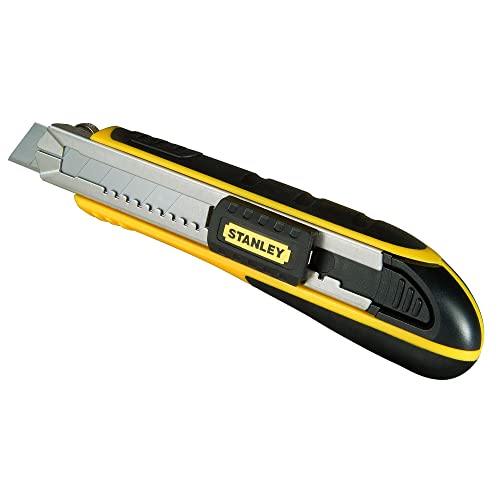
You’ll only need a few inexpensive tools to keep wallpaper seams in check. Tidman says, “You’ll want a good seam roller, a smoothing brush or plastic smoother, a sharp trimming knife or snap-blade cutter, and a small brush for touching up paste along the edges.”
Maintaining perfectly straight seams is essential for hiding them. Tidman recommends using, “A spirit level (like this Stanley 120cm FatMax Level from Amazon), or plumb line also helps to keep everything straight from the start.”
Try these tools to hide wallpaper seams
How to hide wallpaper seams
It may seem obvious, but the best way to hide wallpaper seams is to install the wallpaper correctly. Jacob says, “Careful alignment is key.” To do this, she adds, “Ensure each panel is straight and precisely matched from top to bottom. If the wallpaper requires trimming, make sure the crop marks line up exactly and always use a sharp blade for clean cuts.”
To ensure good alignment, Tidman suggests, “It’s important to take your time during preparation and application.” He adds, “Make sure the wall is clean, smooth, and primed.” The next step is to ensure that your first drop of wallpaper is straight. You can use a long spirit level to draw a line, or Tidman suggests the more traditional option, “Use a plumb line (like this DEKTON Plumb Bob from Amazon) to hang your first piece perfectly straight—this helps keep all the following drops lined up properly.”
Bring your dream home to life with expert advice, how to guides and design inspiration. Sign up for our newsletter and get two free tickets to a Homebuilding & Renovating Show near you.
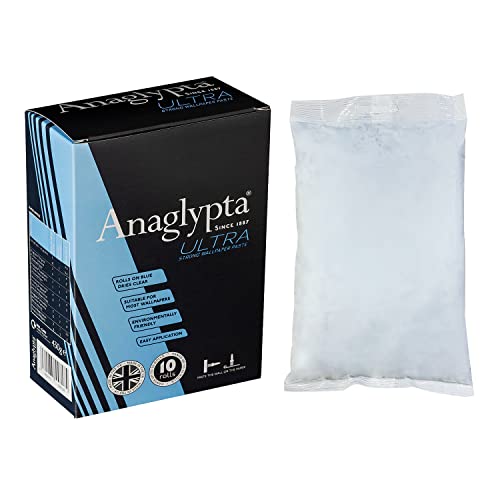
Applying paste correctly is also key to success: “Always use the right amount of paste and make sure it’s spread all the way to the edges.” He adds, “Once the wallpaper is on the wall, gently run a seam roller over the seams to press them down.” But he warns, “However, don’t overdo it, or you may squeeze out the paste and cause the seam to lift.”
Fixing overlapping wallpaper seams
Overlapping seams can be awkward to fix, so Jacob suggests, “It’s best to gently reposition the panels while the paste is still wet. This allows for minor adjustments.”
An alternative is to use the ‘double cut’ method, which creates matching edges. This involves cutting down the centre of the overlap with a very sharp knife and a sturdy straightedge. Ensure that you cut through both layers of wallpaper. Then, gently lift the overlapping layer, remove the thin strip of wallpaper underneath, and smooth down both edges of the wallpaper for a perfect fit finish.
One tip is to leave the knife in the wallpaper when you reach the end of the cut. Then, move the straight edge you are using and continue cutting. This helps ensure that you achieve one continuous cut.
FAQs
Can you cover wallpaper seams with paint?
Yes, you can cover wallpaper seams with paint, but this only works on the right wallpaper, as Tidman explains, “You can cover wallpaper seams with paint, but only if the wallpaper is designed to be painted over – like paintable textured paper.”
But be warned, this is not a foolproof solution as Tidman continues, “Even then, the seams might still show if they’re raised. It’s better to deal with the seams directly rather than trying to disguise them with paint.”
If hanging patterned wallpaper, where painting the seams is not possible, a tip is to paint the wall in a matching or complementary colour where the seams are. This helps disguise any seams.
How do you flatten wallpaper seams?
If a wallpaper seam has lifted off the wall, a quick fix is to add more paste as Tidman suggests, “To flatten seams that have lifted slightly, reapply a bit of paste underneath with a small brush, press the seam back down, and smooth it gently.” You can use a seam roller, but remember to wipe any excess paste off the wallpaper and roller.
Tidman suggests using a strip of painters' tape (like this Scotch-Blue Multi-Surface Painter's Tape from Amazon) to help hold down the seam. But he warns, “Just be careful not to damage the surface when removing the tape.” Leaving it on for 30 minutes should be long enough.
When papering a ceiling, you’ll want to hide seams just like on a wall. Knowing how to hang lining paper will help create a stable base and disguise seams. Check out our lining paper grades guide to help you select the right one for your DIY project.
Steve Jenkins is a freelance content creator with over two decades of experience working in digital and print and was previously the DIY content editor for Homebuilding & Renovating.
He is a keen DIYer with over 20 years of experience in transforming and renovating the many homes he has lived in. He specialises in painting and decorating, but has a wide range of skills gleaned from working in the building trade for around 10 years and spending time at night school learning how to plaster and plumb.
He has fitted kitchens, tiled bathrooms and kitchens, laid many floors, built partition walls, plastered walls, plumbed in bathrooms, worked on loft conversions and much more. And when he's not sure how to tackle a DIY project he has a wide network of friends – including plumbers, gas engineers, tilers, carpenters, painters and decorators, electricians and builders – in the trade to call upon.
