How I retrofitted wet underfloor heating in my bungalow — without digging up the floor
Our heating expert David Hilton talks through how he installed wet underfloor heating during the renovation of his 1980s semi-detached bungalow, including the system he used to minimise loss in ceiling height
Bring your dream home to life with expert advice, how to guides and design inspiration. Sign up for our newsletter and get two free tickets to a Homebuilding & Renovating Show near you.
You are now subscribed
Your newsletter sign-up was successful
When I first moved to my three-bedroom home – a semi-detached 1980s bungalow near Swindon – there was a fair amount of work to do.
The property had a loft conversion added to it around early 2000 and it had been built badly and needed rectifying. The house did have cavity wall insulation but not much else when it came to preventing heat leaking to the outside world.
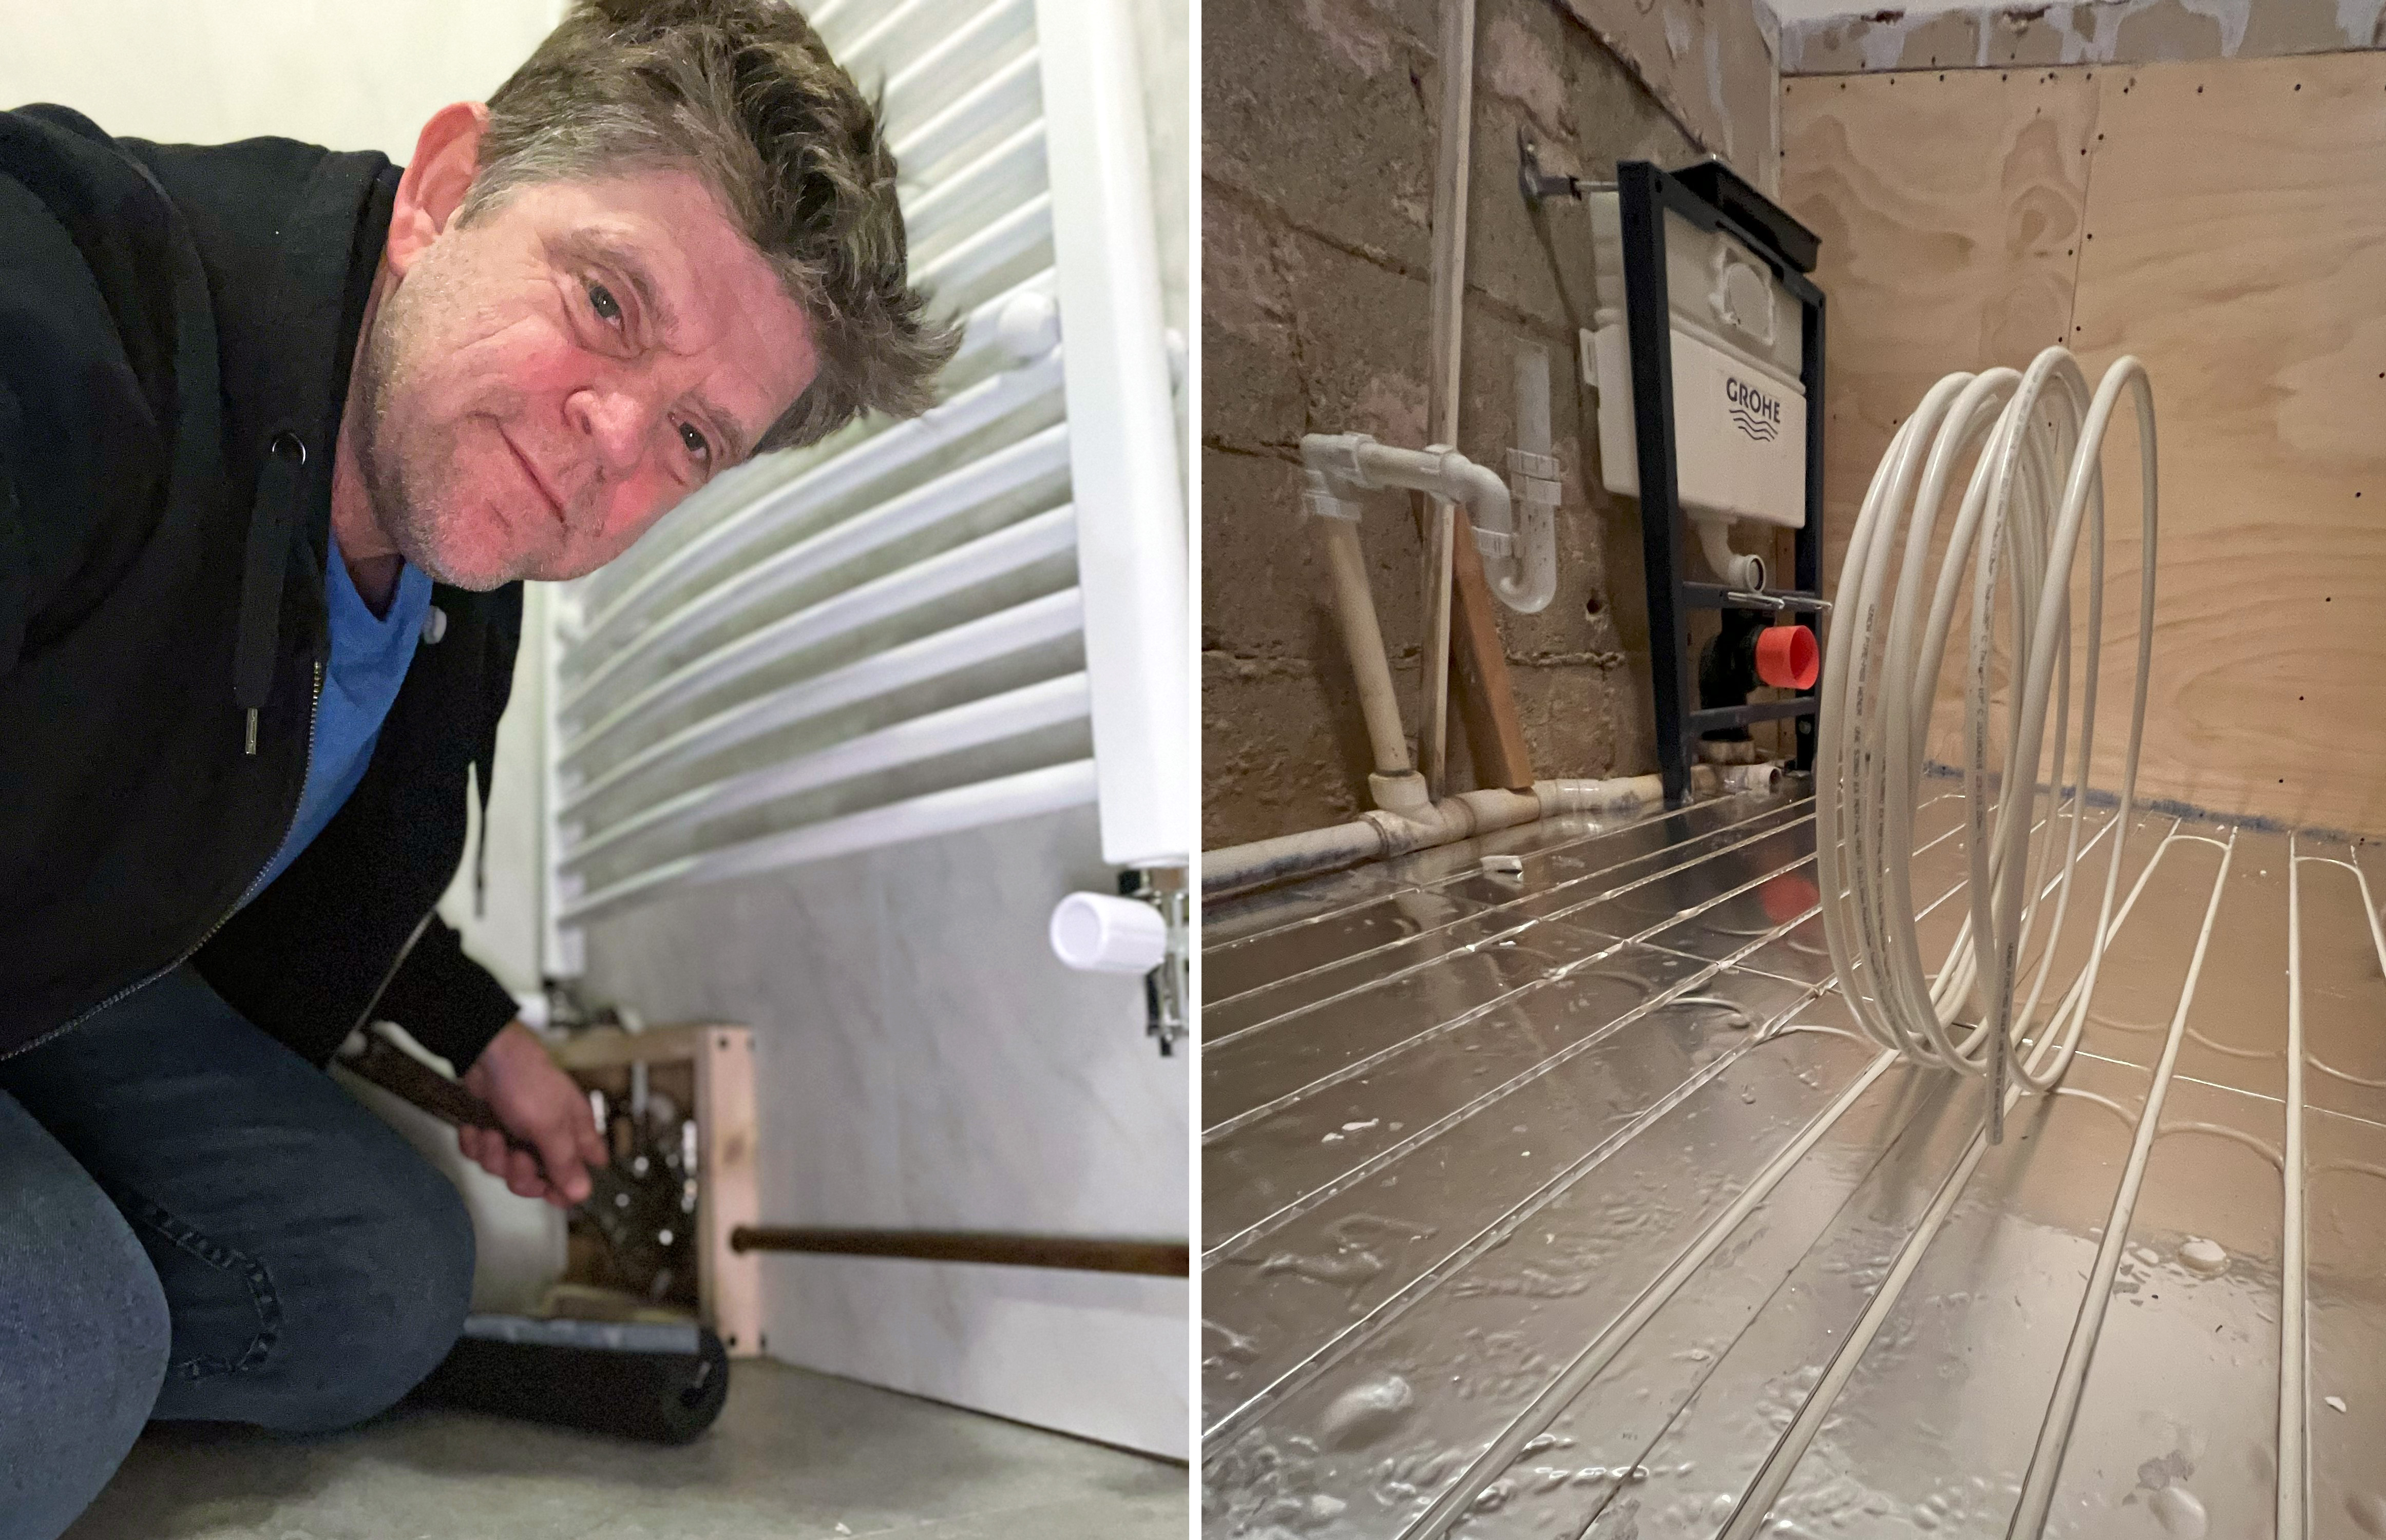
In 2017 I took the decision to convert the garage, adding an extension to the side to fill the gap between the original home and the garage, and renovate both the kitchen and bathroom. I knew I would be adding a heat pump and solar PV to the property, as well as MVHR, so it made sense for me to install wet underfloor heating (UFH) in the extension (which included the garage) and retrofit wet underfloor heating in the kitchen and bathroom renovations.
Retrofitting wet UFH can be a big project but with my background in energy efficiency, heating and renewables I knew it was the right move.
Why I chose to retrofit wet underfloor heating
If you are planning to take on a UFH retrofit project, a key factor to bear in mind is that wet UFH runs at lower temperatures than radiators and also reacts a lot slower than radiators ie it takes longer for UFH to get to temperature. Therefore, different types of UFH systems will react at different rates, so it is important to know what you have and how it works first. You can read more about the options in our retrofit underfloor heating guide.
Wet underfloor heating was not an obvious solution for an existing home but by embedding the heating in the floor we were able to free up much-needed wall space in our kitchen and family bathroom, as well as in the extension.
We had chosen an open-plan layout for our extension so this heating option made sense as it is easy both to install and run while providing a subtle, luxurious and efficient heat.
I opted for thick pipes and not just the smallest
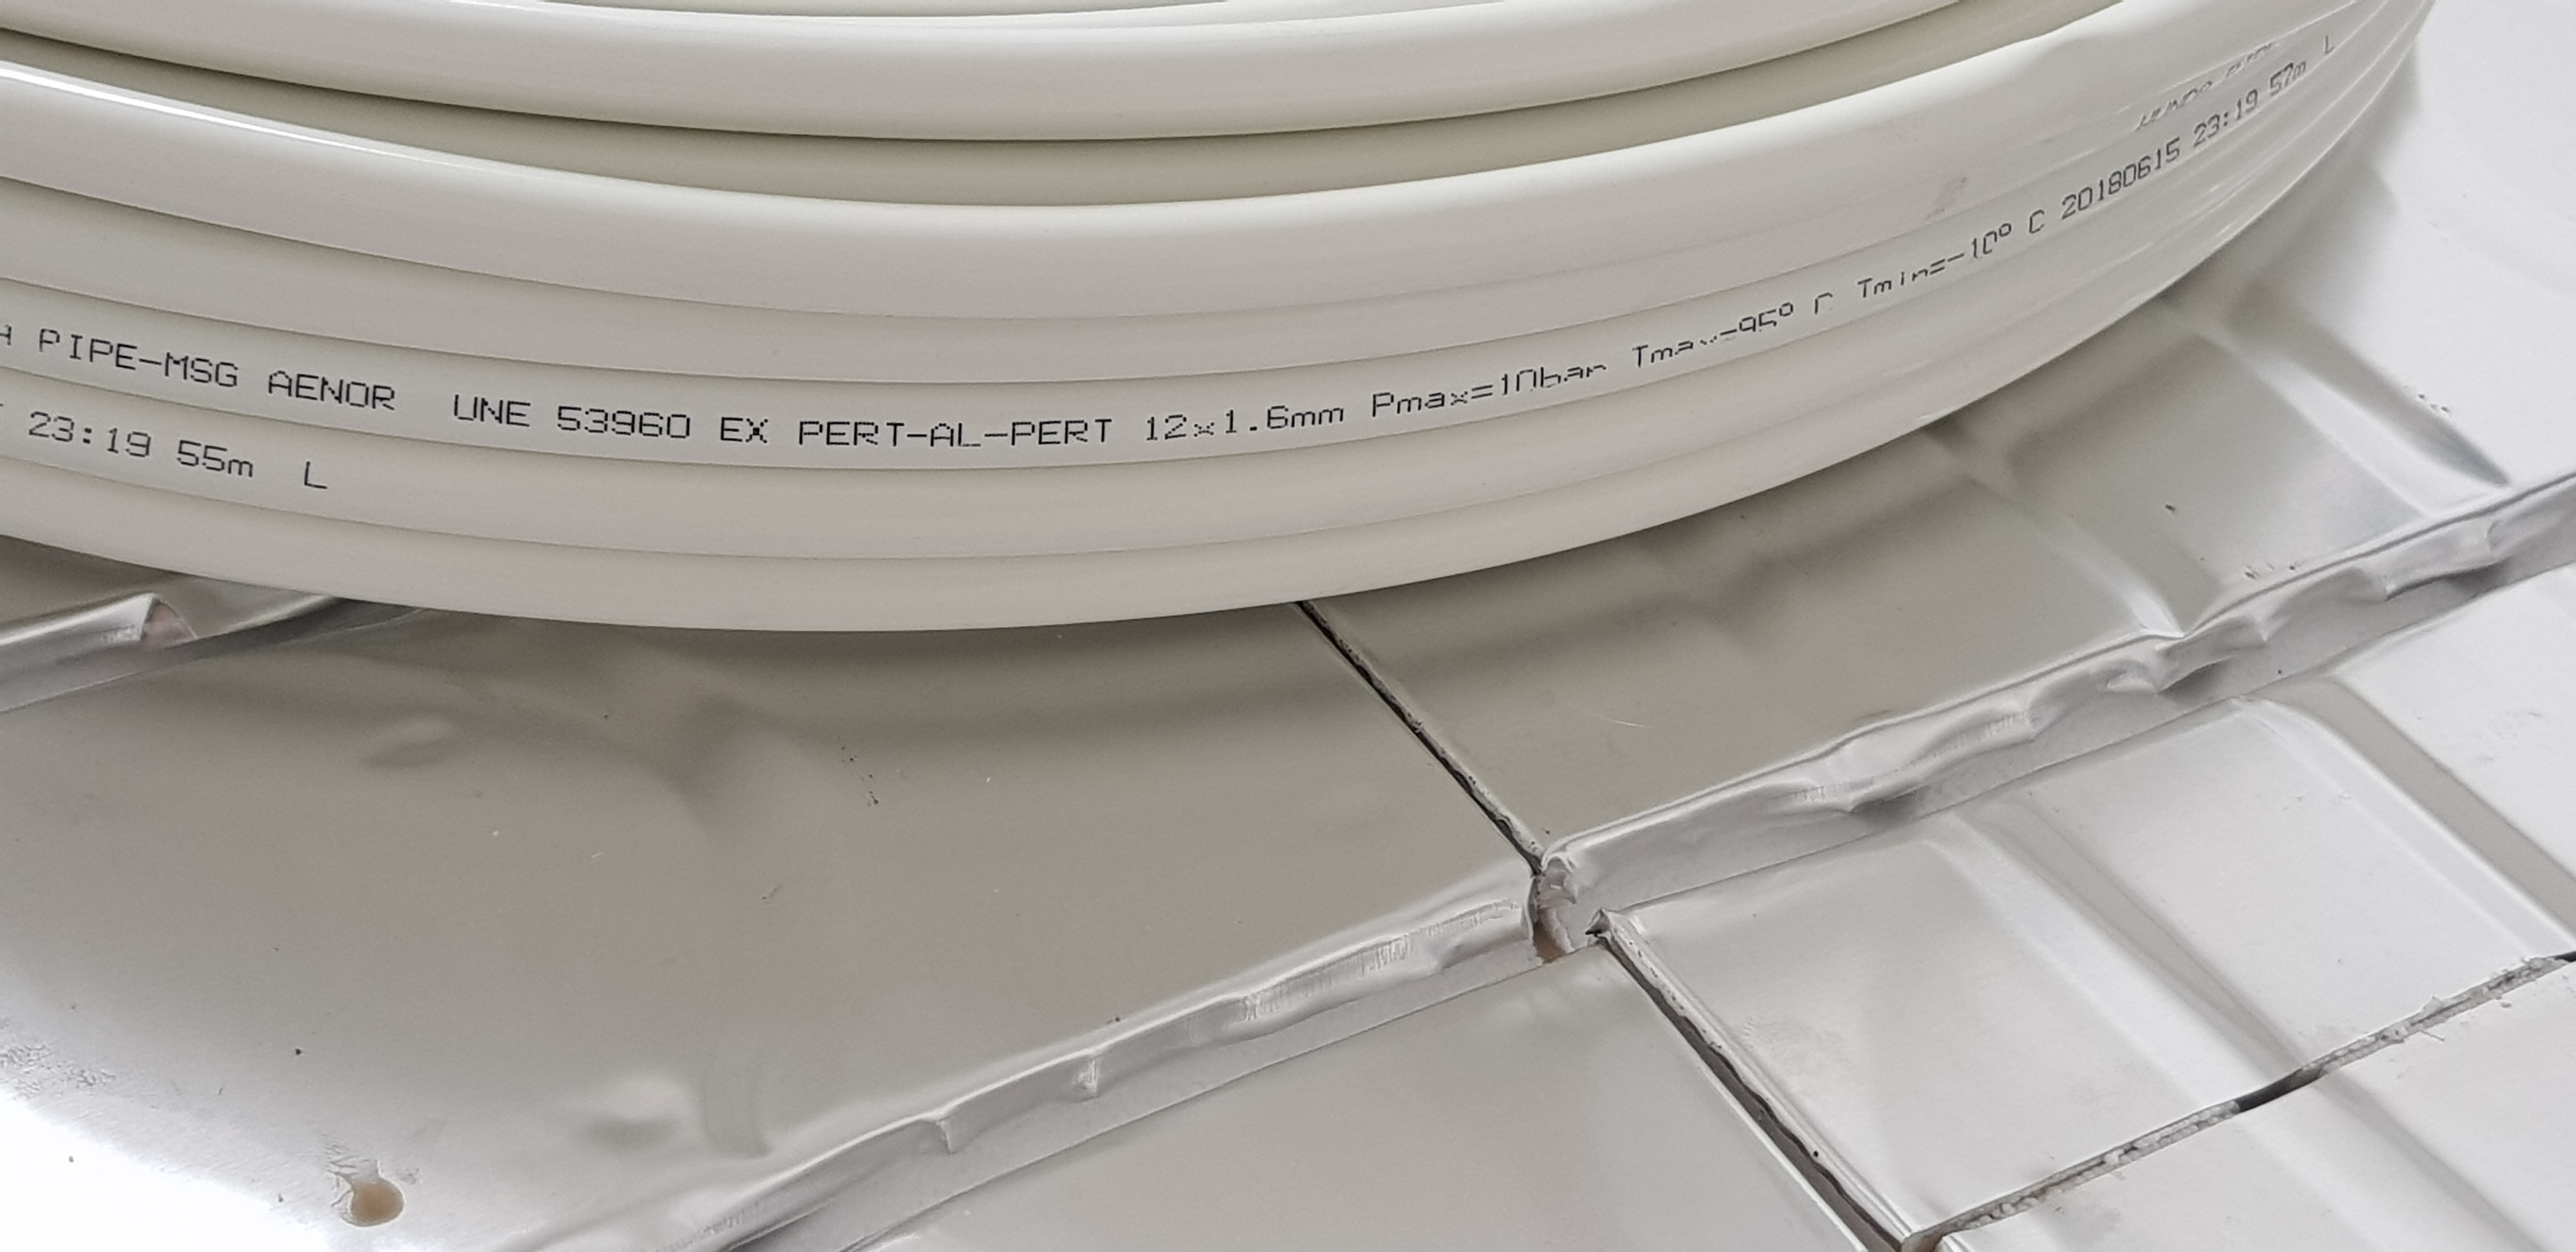
When it comes to wet underfloor heating with heat pumps it is best to try and use the thickest pipes and the shortest lengths of pipe that your home can accommodate. I chose 16mm pipes in the new extension screed and 12mm overlay boards in the two existing rooms I was fitting out.
Bring your dream home to life with expert advice, how to guides and design inspiration. Sign up for our newsletter and get two free tickets to a Homebuilding & Renovating Show near you.
This may sound like the opposite to what you might expect with a retrofit situation, given the lack of height in a room. There is a tendency to want to use the smallest profile possible to have the lowest build up in floor level but this is often a false economy in all but the smallest areas.
The difference between the small profile pipes and the larger pipes is only 4mm and when placed in the profile boards it is realistically only around 6mm difference but the resistance in the pipes is a lot more in the smaller pipes, which can really affect the performance of the heating system.
The 16mm pipe will hold almost twice as much water as the 12mm pipe, which means heat delivery is much more efficient and a lot quicker.
If you must use lower profile systems, then try and design it such that the spacing between the pipes is never more than 10 X the pipe width.
Deciding how to install my wet underfloor heating
There are two main ways of carrying out your underfloor heating installation.
The first is clipping under floor heating pipes to insulation and covering in screed. The screed is often around 50mm to 75mm thick and that amount of mass can take quite a long time to heat up and cool down. If you keep the home at a constant temperature and you have good controls then this may be a good solution, especially in large, open-plan areas. You will however need to lower the flow temperature into the screed to make sure that it does not get too warm and the thermal inertia make a room overheat at milder times of the day.
The second type of wet underfloor heating system is known as ‘over-lay’ or ‘lay-on’. This system has a thin board, usually around 20mm to 25mm thick and there are grooves cut into it that have the pipes pushed into them. This system is very useful where you have a suspended floor on joists such as upstairs or you simply want to put a thinner profile underfloor heating system onto an existing floor.
Choosing pipes in screed for my extension
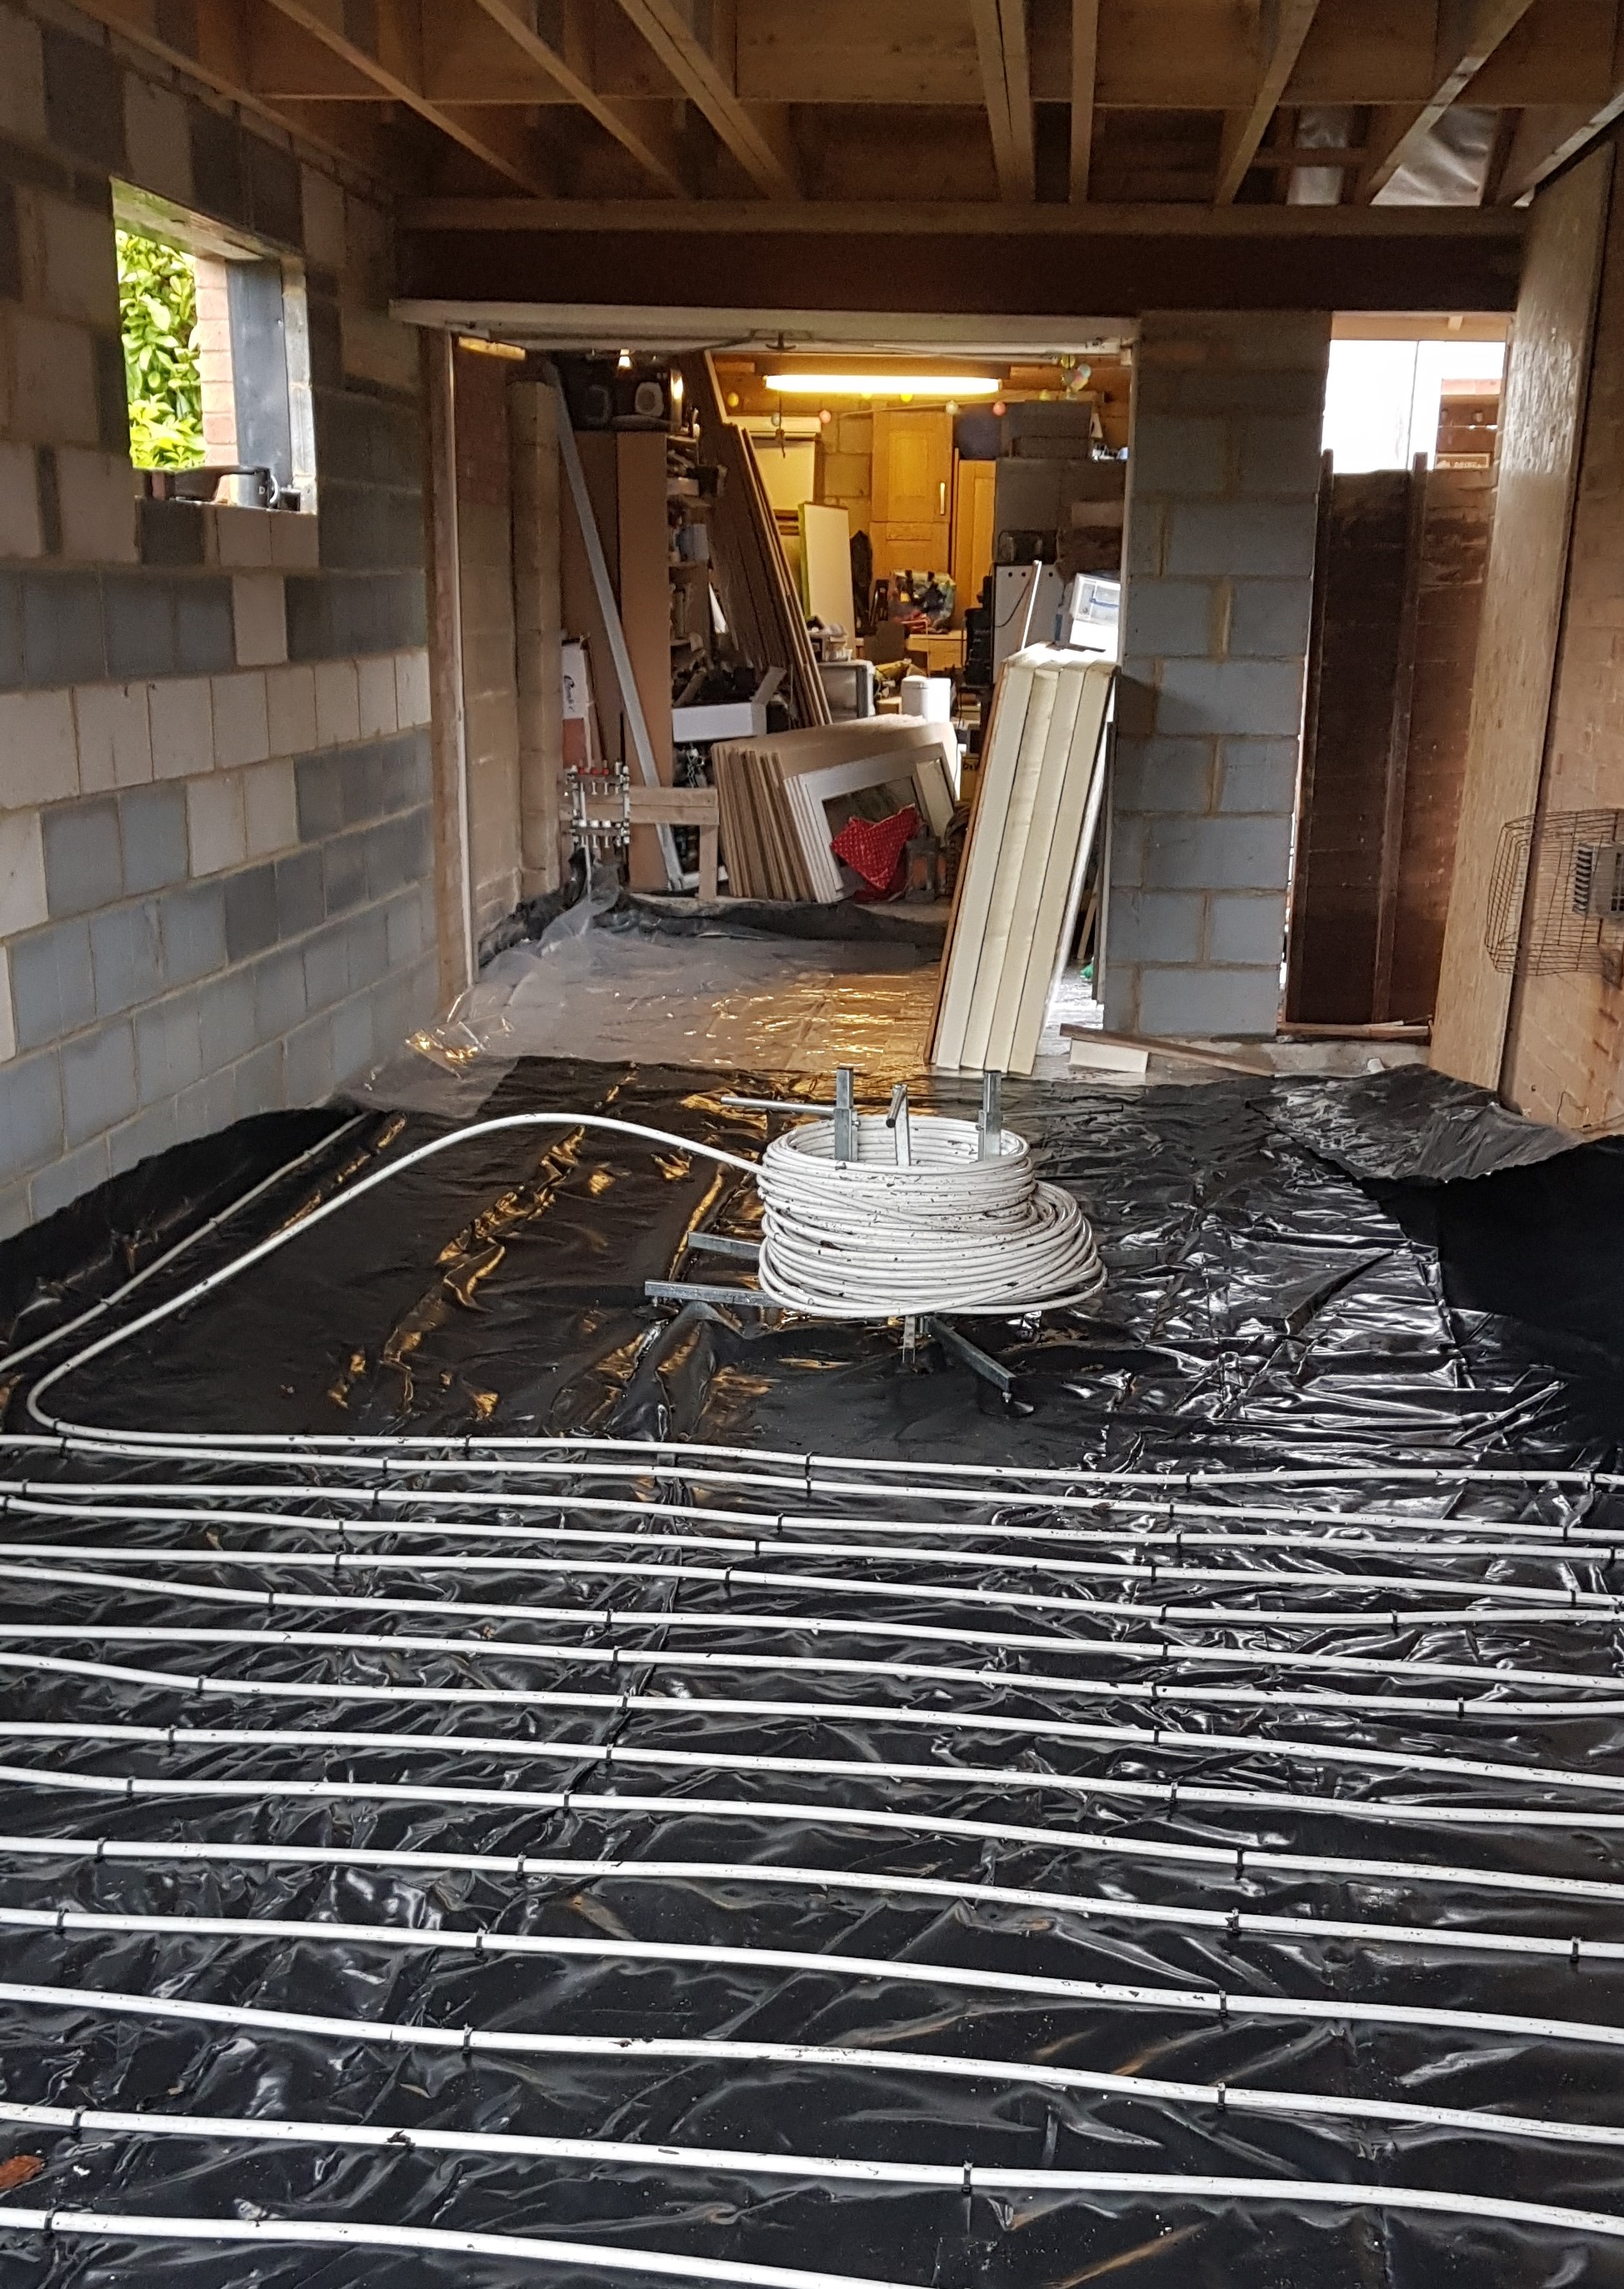
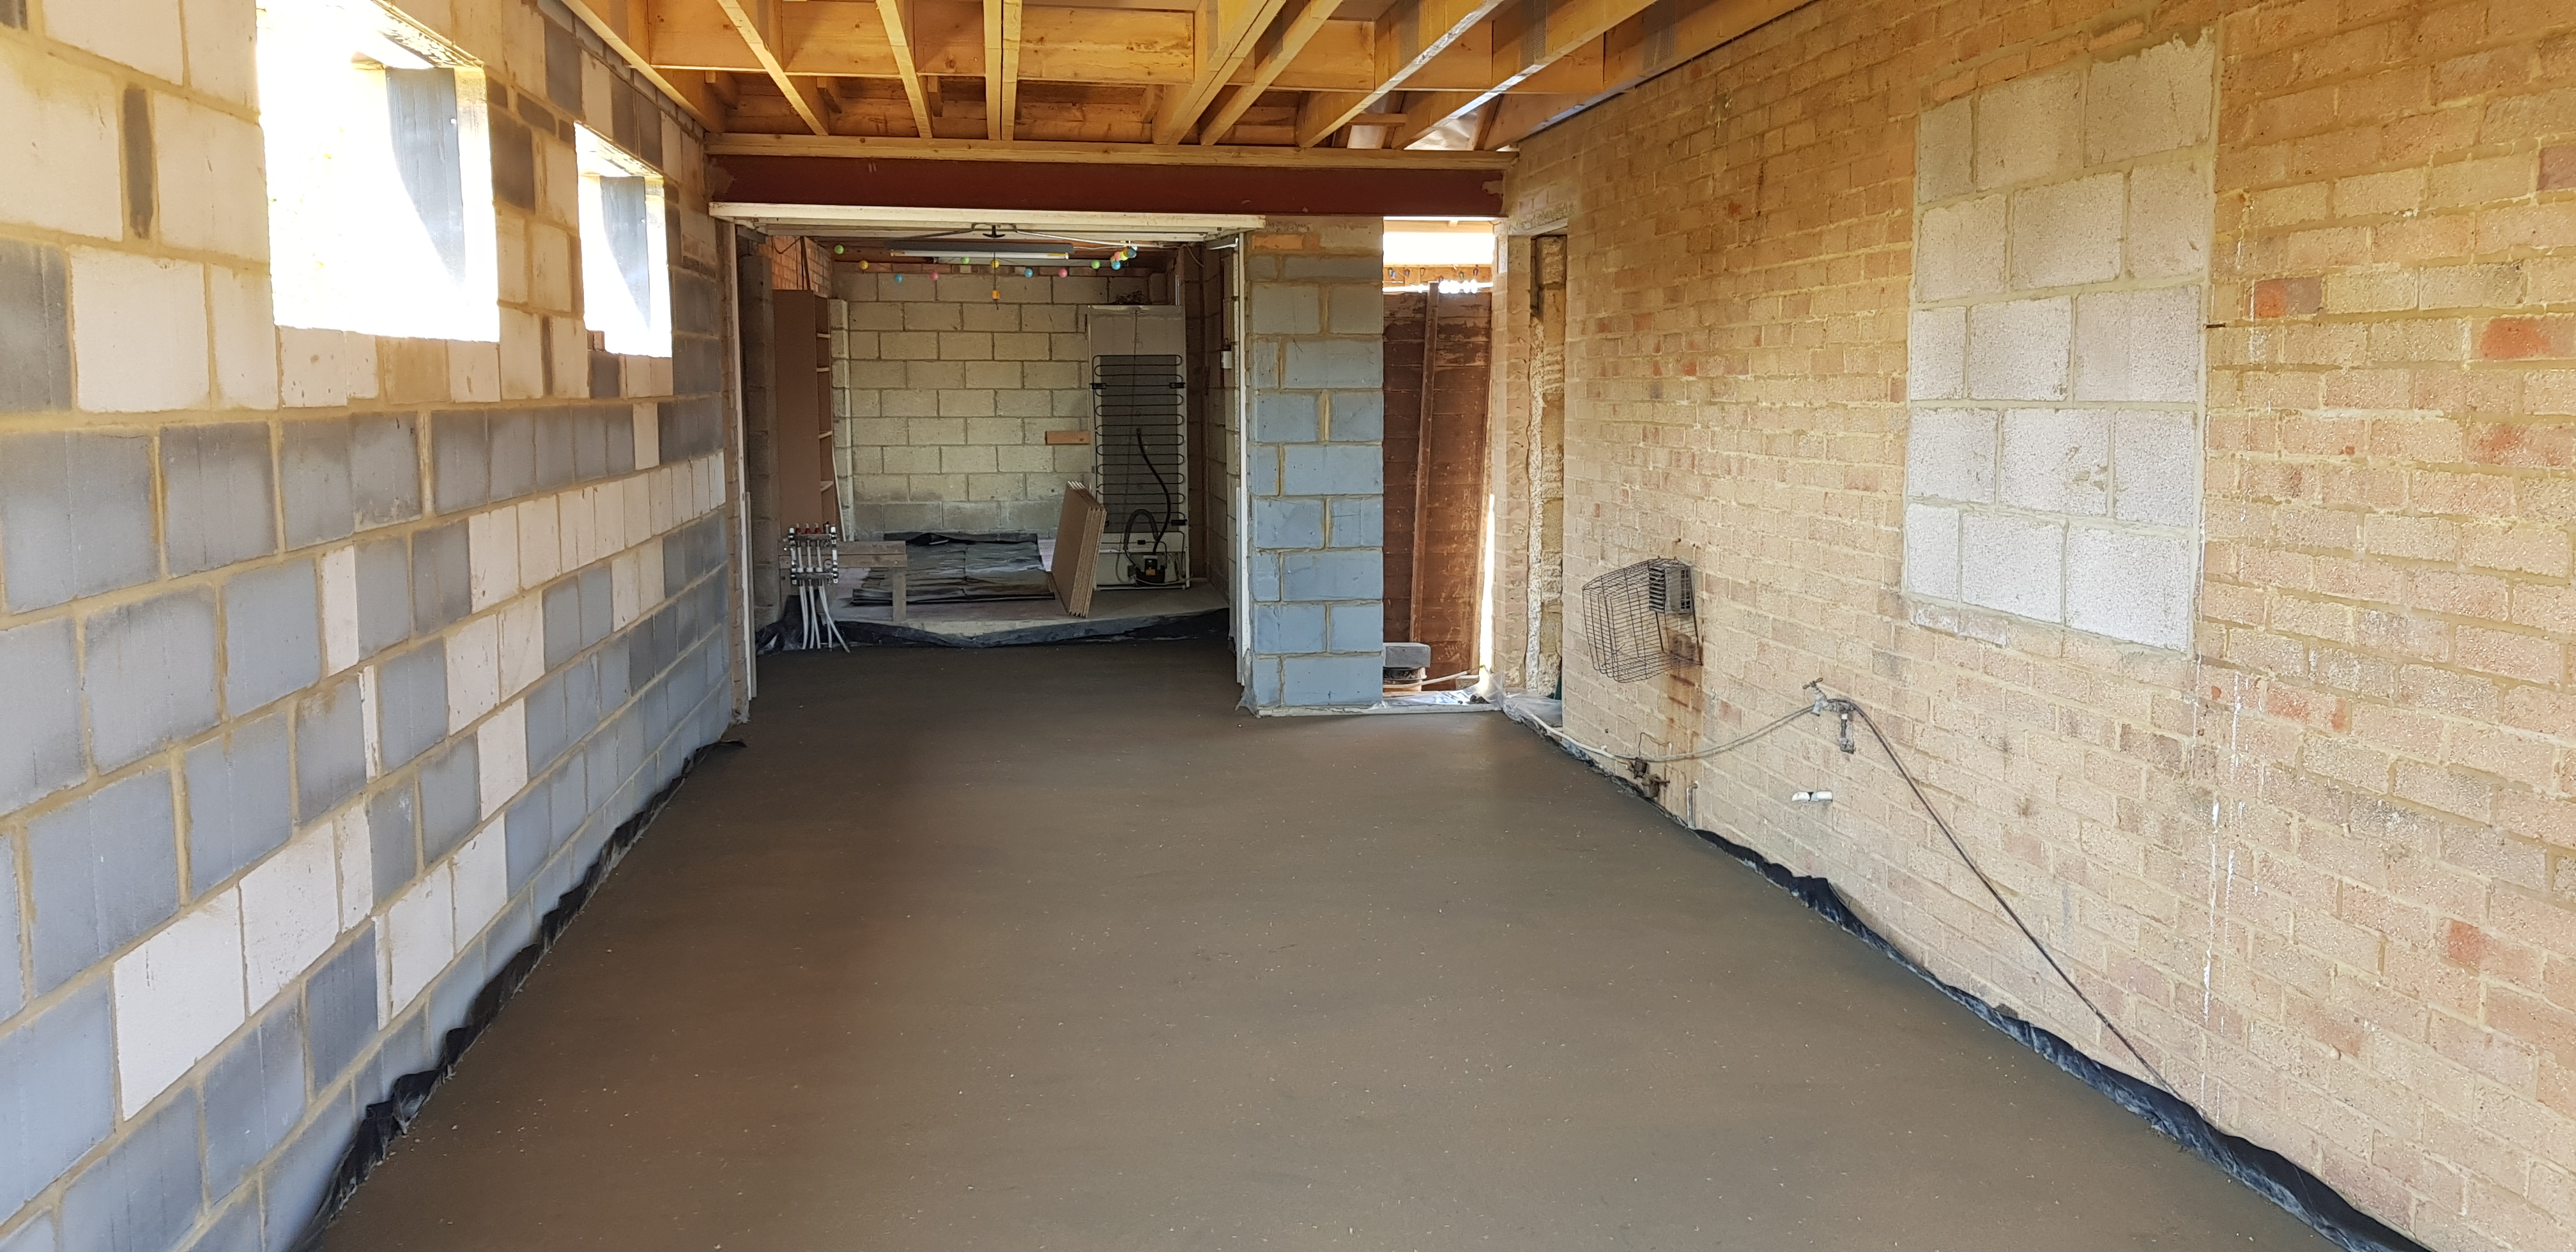
I chose to put my wet underfloor heating in floor screed in the new extension as there would be ample space, in terms of final ceiling height, for plenty of insulation. The pipes were laid at 150mm centres and the screed on top was around 60mm.
The floor finish became the difficult decision. From an efficacy perspective the harder the surface, the better it'll work with UFH but there was concern in the family that tiles in the lounge might look, and feel, odd. You can fit underfloor heating with wood or underfloor heating with carpet (and it's worth having a look at the pros and cons of both in our guides) but in the end we opted for tiles that look like wooden planks.
In terms of the finished result, when the floor is on it is really great. Initially the temperature to the floor was too warm so it heated the floor and the floor heated the room and as soon as the room reached temperature the floor would go cold.
This was because the reaction time (to heat up and to cool down) was relatively slow. The trick here was to keep tinkering with the flow rates and flow temperature until it would stay on most of the time at a very low temperature. But definitely do not try this yourself unless you know what you are doing. It's far better to monitor the system and pass on the information you have found to a professional.
Weather compensation controls can help with this temperature variation too. Weather compensation is where the temperature of the water in the system is warmer as the temperature outside gets colder. Most heat pumps have it but it is not available with many boilers. If weather compensation is set up correctly you will have a very low temperature in the floor when the weather is mild but it will get warmer as the wintery cold descends. Plus, the floor will keep some heat for a longer time and not feel cold.
And the over-lay method for my existing rooms
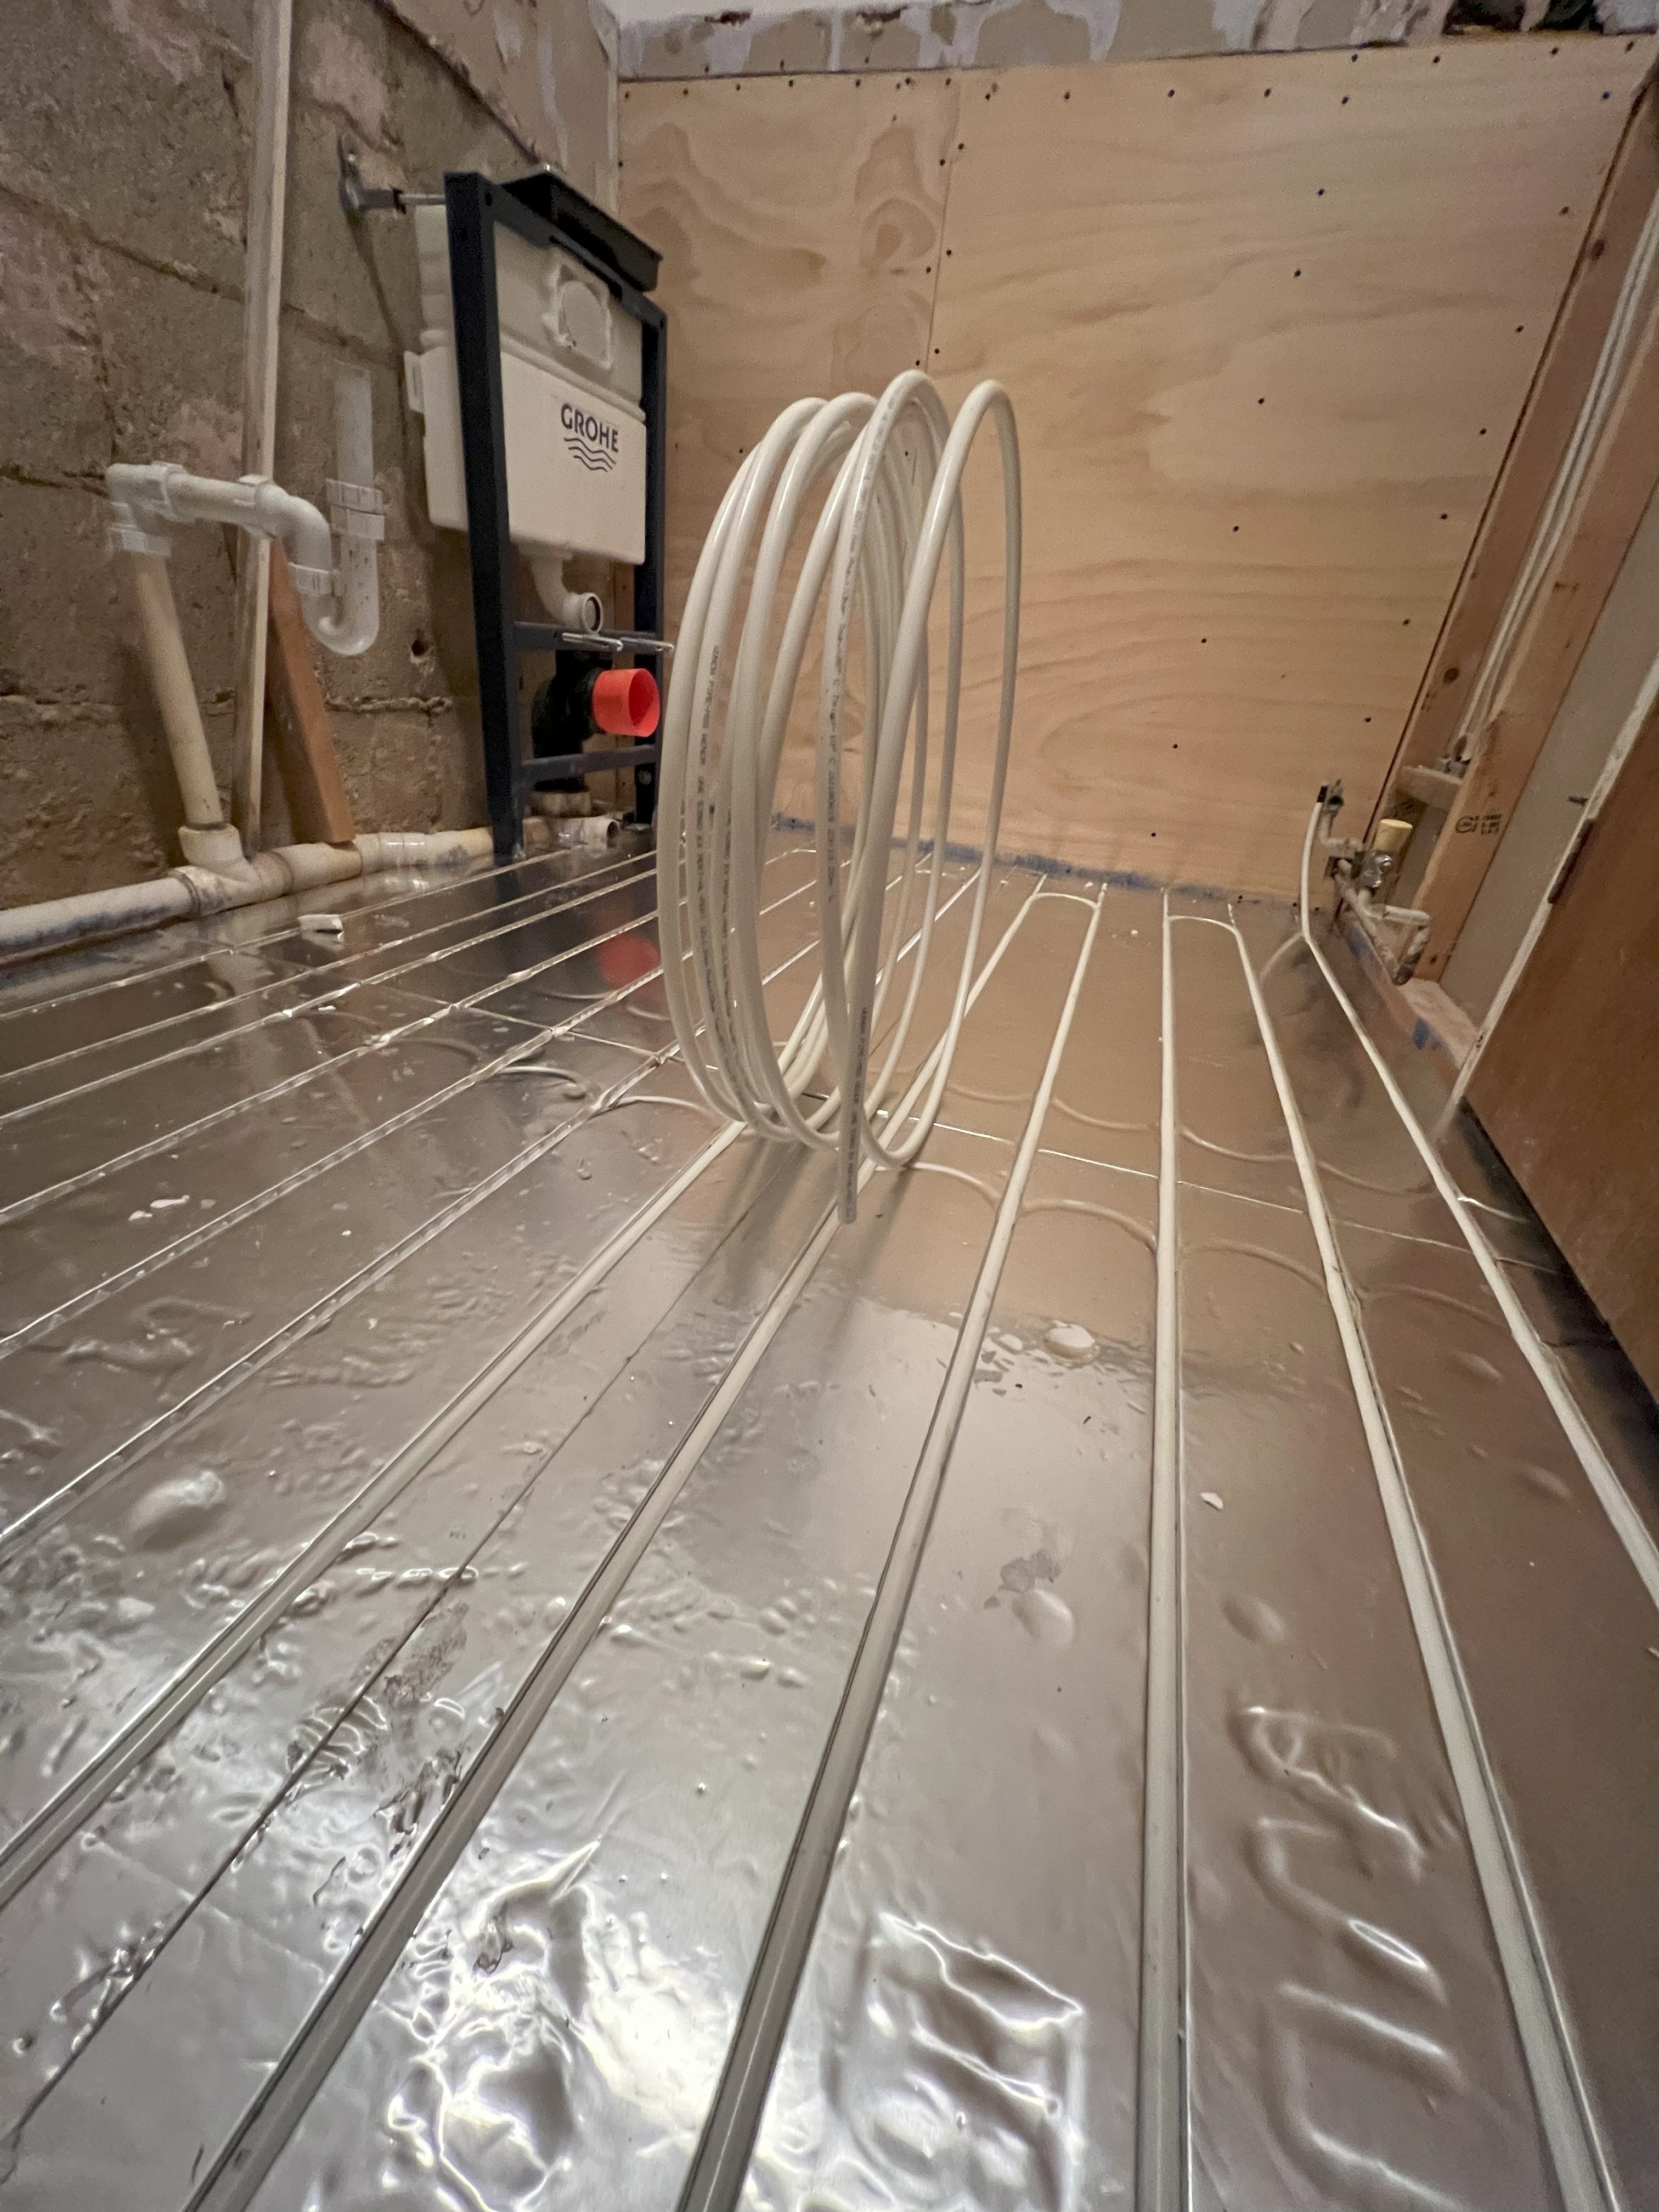
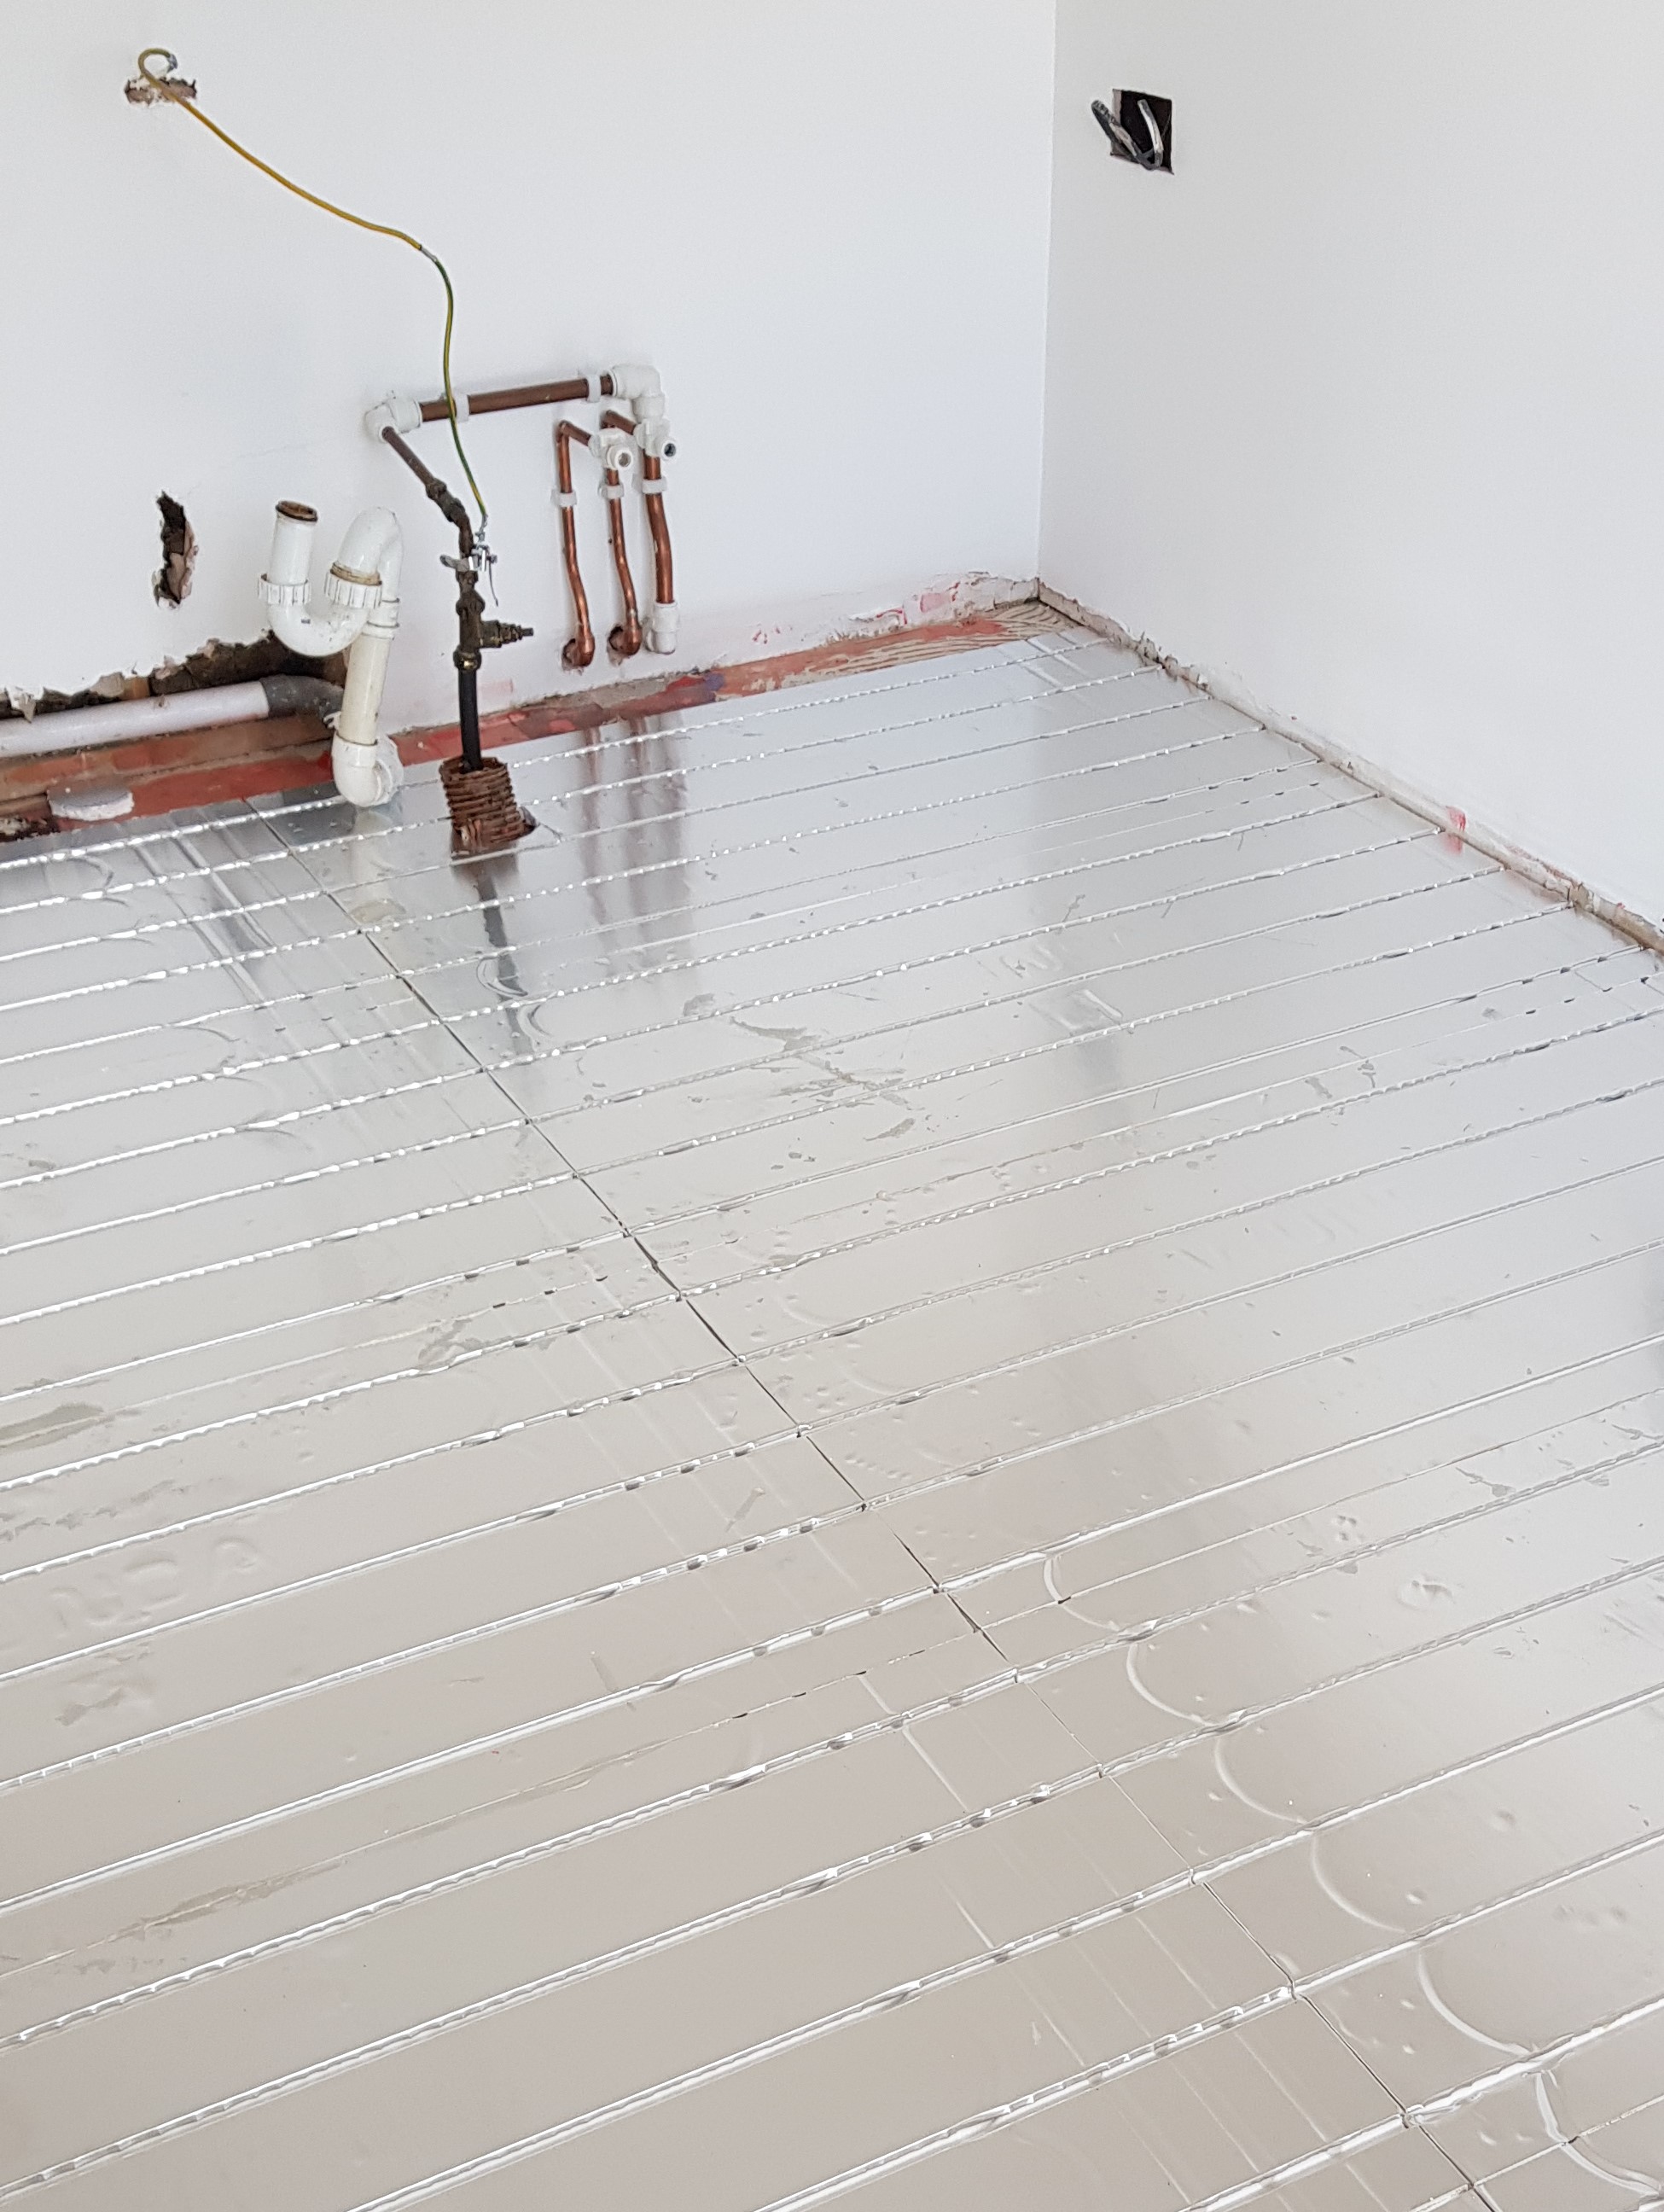
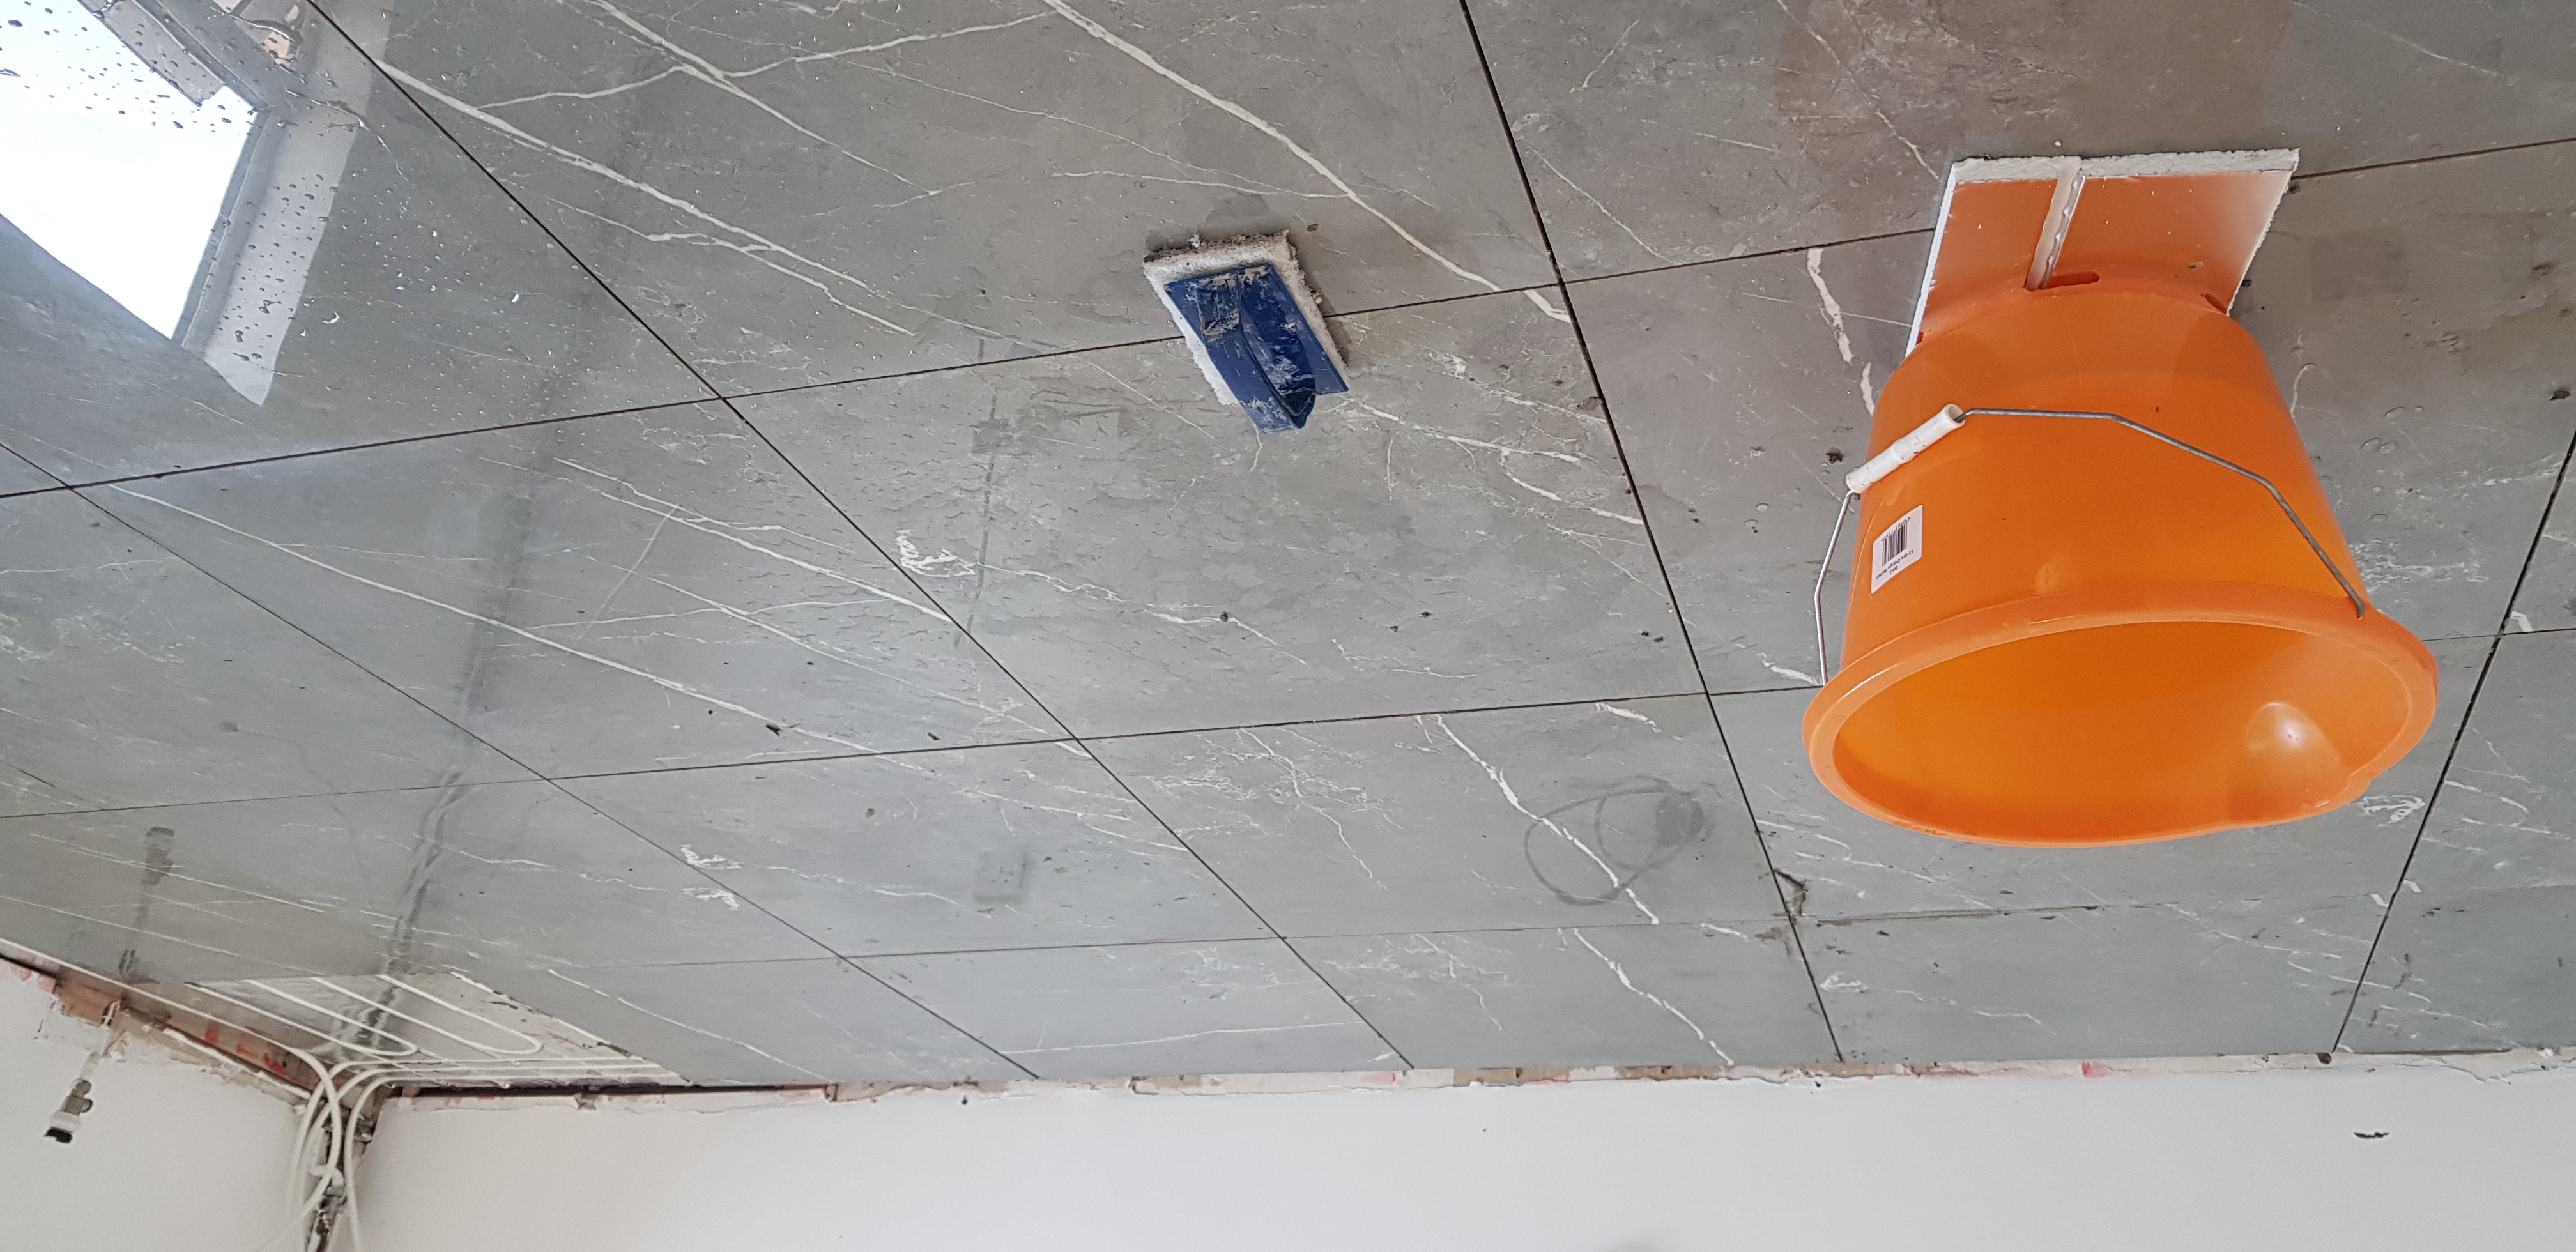
In my existing bathroom and the kitchen, the concrete floor was already there and I did not want to dig it up.
So I used Wunda 16mm polystyrene overlay boards that have rebates for 12mm pipe at 120mm centres. I kept each loop of pipe to a maximum length of 30m. I used 2 pipe loops of 27m rather than one loop of 54m. This created less resistance in the system and helped keep it balanced. This was then connected and balanced with the existing radiator system and run at the same temperature to maximise the heat pump efficiency.
The boards can be glued straight onto the concrete slab so long as it is clean and level. We used 600x600 10mm porcelain tiles on top of the overlay boards. They can be laid straight onto the boards using tile adhesive supplied by the UFH suppliers. I actually ended up using more than was required to make it a little thicker, so the total build up from the slab to the finished tile was around 35mm.
Having tested the floor prior to installation I was happy that it had minimal conductive heat loss as the ground beneath the slab was dry. Preparation is key. I had to remove the old flooring and the layers of vinyl and bitumen tiles that were still there and were very brittle and not easy to remove. Then the floor needed to be made level. If using a levelling compound make sure the compound keys into the existing floor. I covered the whole floor to avoid cold spots and put mineral wool under the kitchen cabinets.
In terms of how effective the finished floor is, the reaction time and room comfort is better than expected. It's worth bearing in mind that over-lay systems do not have as much thermal mass and as such heat up quicker but also cool down quicker. This makes the home easier to control and less prone to overheating, which of course made the home easier to control and less prone to overheating.
Why I leave the system on all of the time
As a final important point to note, it is best to leave the system on all the time. This means when a heat pump is installed all the radiators in the home operate at the same flow temperature as the underfloor heating. This way there is one system, no blending valves and the zones are easier to control.
David is a renewables and ventilation installer, with over 35 years experience, and is a long-standing contributor to Homebuilding and Renovating magazine. He is a member of the Gas Safe Register, has a Masters degree in Sustainable Architecture, and is an authority in sustainable building and energy efficiency, with extensive knowledge in building fabrics, heat recovery ventilation, renewables, and also conventional heating systems. He is also a speaker at the Homebuilding & Renovating Show.
Passionate about healthy, efficient homes, he is director of Heat and Energy Ltd. He works with architects, builders, self builders and renovators, and designs and project manages the installation of ventilation and heating systems to achieve the most energy efficient and cost effective outcome for every home.

