Wet Plaster or Dry Lining?
What’s the best way to finish internal walls and ceilings? Mark Brinkley looks at the main options and their cost — and explains how to make the right decision for your home

Bring your dream home to life with expert advice, how to guides and design inspiration. Sign up for our newsletter and get two free tickets to a Homebuilding & Renovating Show near you.
You are now subscribed
Your newsletter sign-up was successful
The issue of whether to finish walls with wet plaster or plasterboards (otherwise known as dry lining) has created debate ever since plasterboard came on the scene in the 1940s. But your choice will have an impact and you need to pick the finish that most closely matches the other elements of your design.
Many self-builders favour wet plaster because it matches the look and feel of traditional materials, it offers better soundproofing and airtightness, and doesn’t cause problems in fixing items to the walls (unlike some boards). But plasterboard has advantages, too — it offers speedy installation with no drying period or cracks.
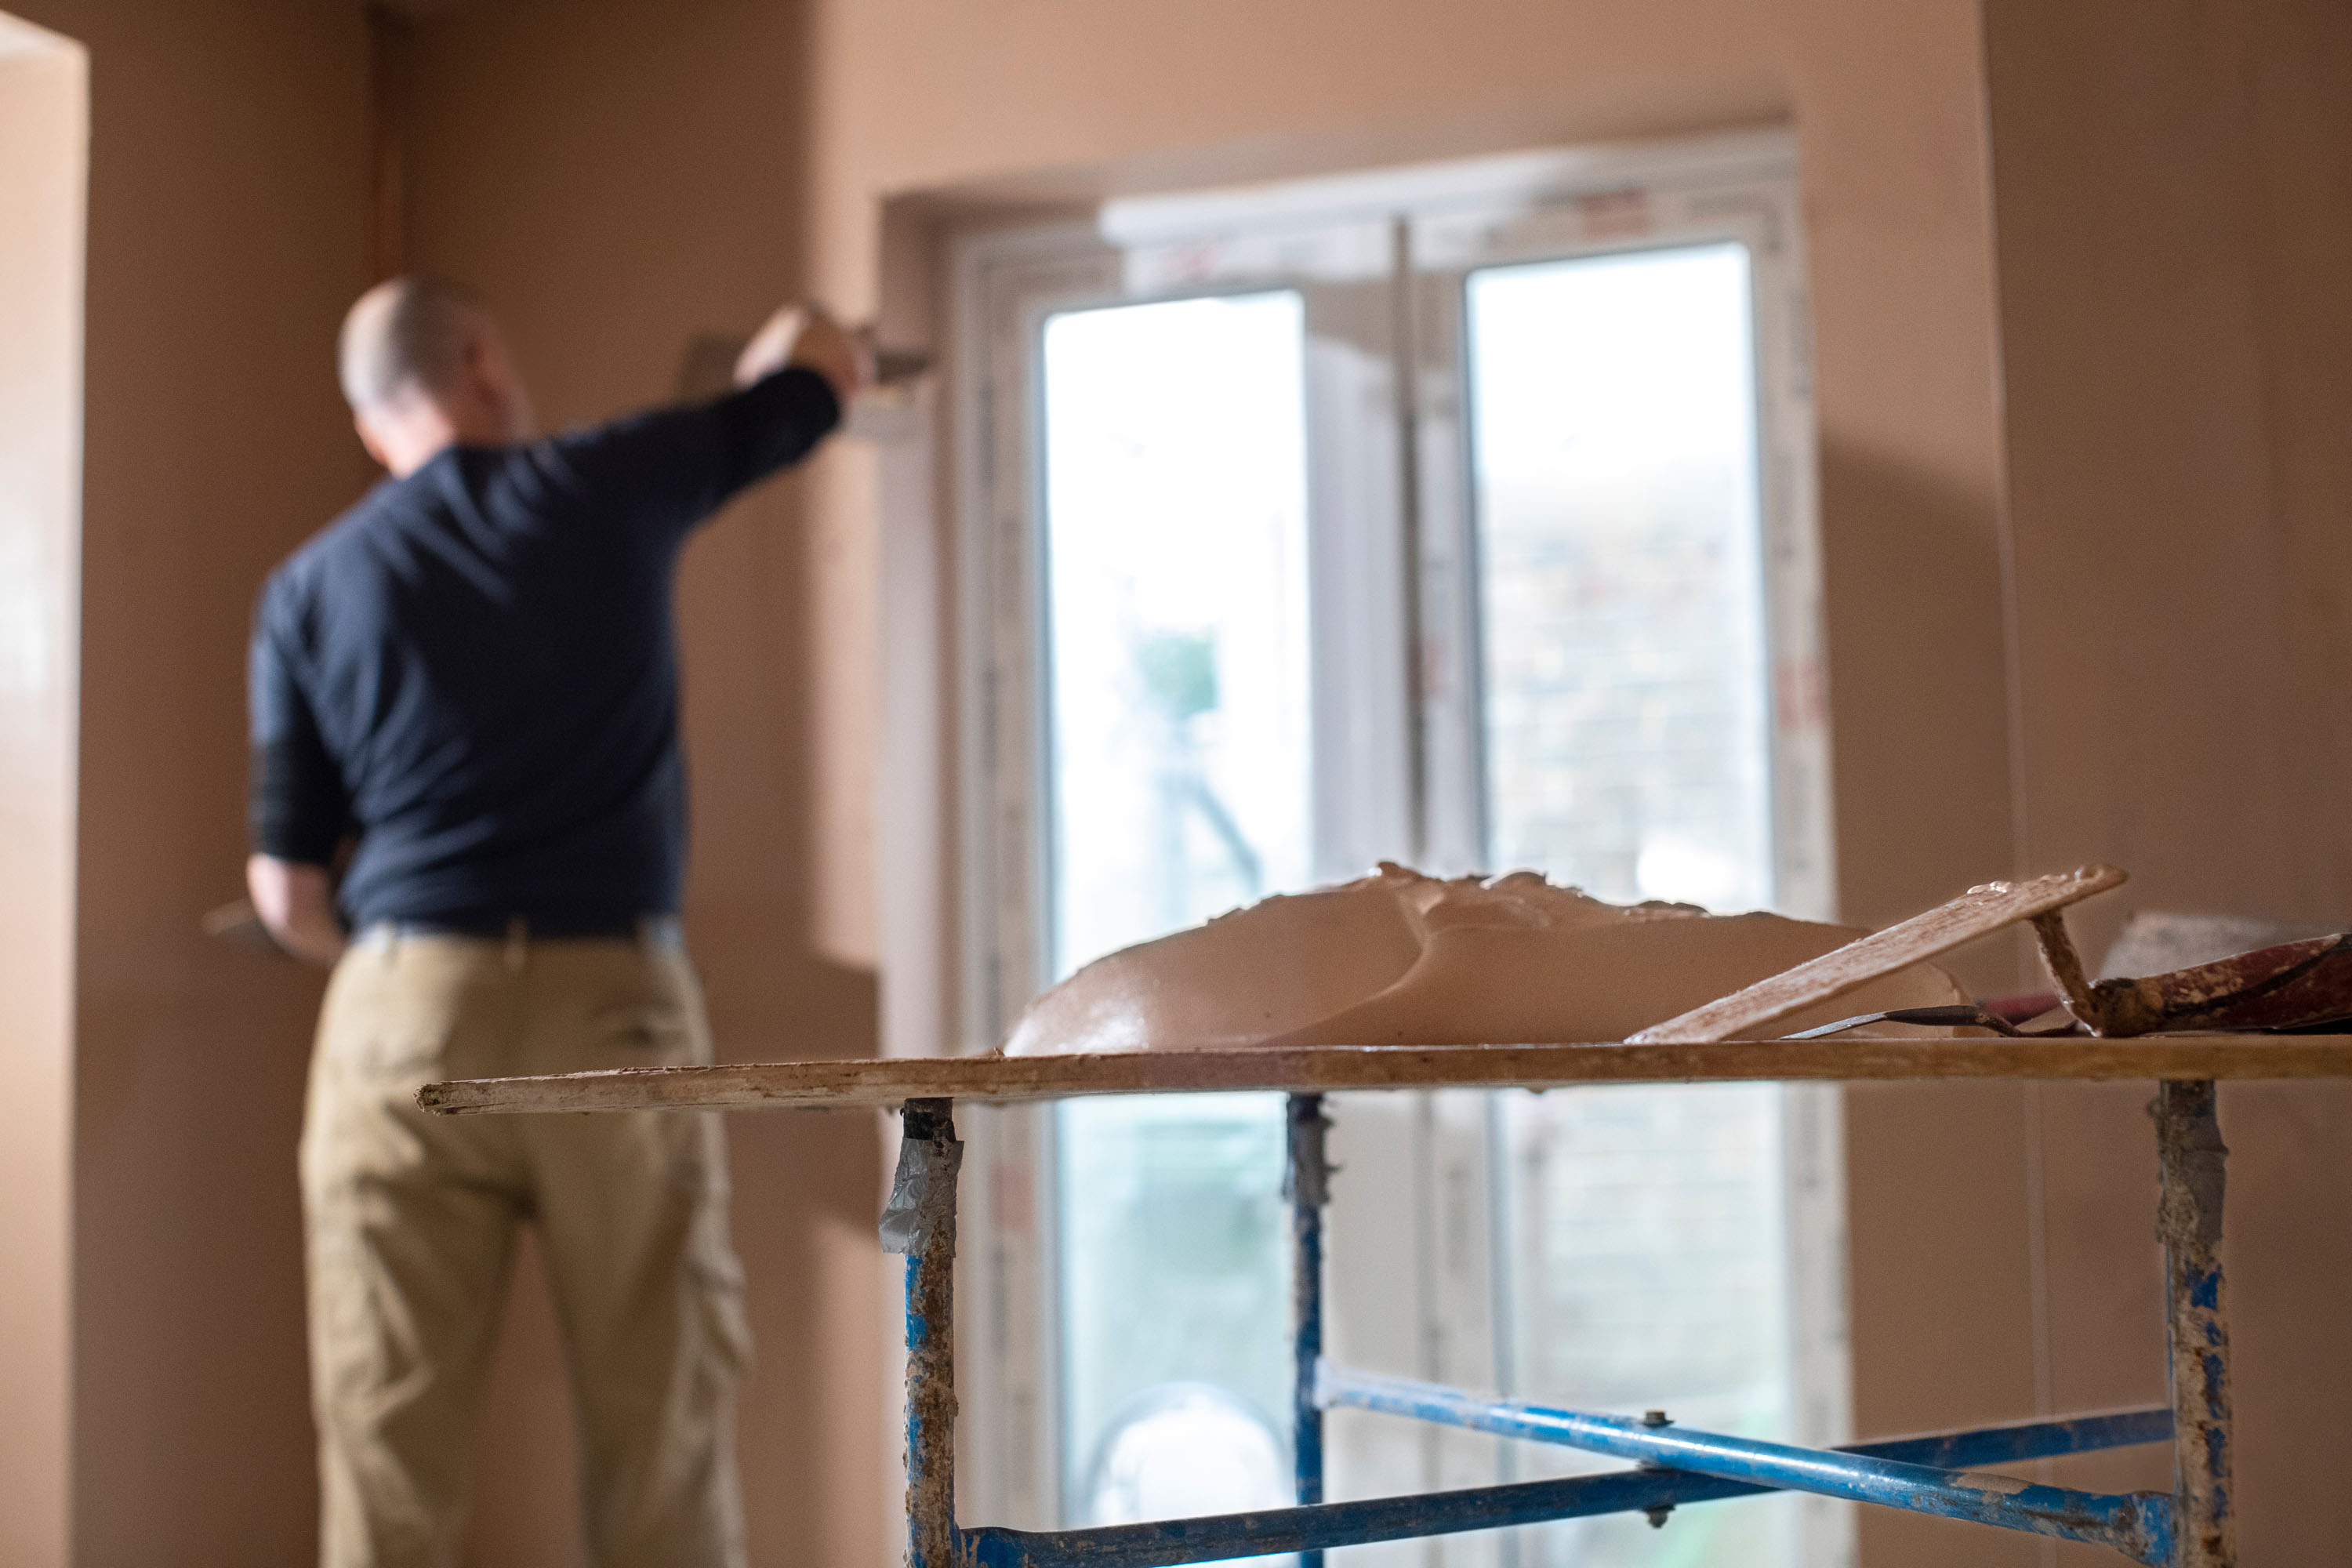
Option 1: Wet Plaster
Preferred by masonry lovers, wet plaster uses either cement renders or gypsum backings trowelled onto blockwork. There is little to choose between gypsum and cement in cost terms, and both are finished off with a thin skim coat of gypsum.
Pros
Simple to understand and gives a smooth, durable finish. It’s ideal for difficult areas like door or window reveals and dormers. It also gives a good seal around openings — offering superior airtightness.
Cons
Because it’s wet, it takes a long time to dry and this can also lead to hairline cracking issues with unwelcome callbacks and redecorating costs. It’s a skilled process, unsuitable for DIY self-builders to attempt, and good plasterers can be hard (and expensive) to find.
Bring your dream home to life with expert advice, how to guides and design inspiration. Sign up for our newsletter and get two free tickets to a Homebuilding & Renovating Show near you.
Material cost
£12-15/m²
Note: A scratch or ‘key’ coat refers to a base coat which is lightly scratched before the plaster dries and the top coat/s are applied. The next layer of plaster enters the scratches to form a bond.
Traditional wet plaster materials and methods
There is a small but growing interest in traditional wet plaster materials, mainly lime mortars and clay plasters. They are expensive and tend to be used by people interested in natural materials, or wanting walls that breathe.
In restoration work, you may want to go back to traditional plastering methods. Instead of plasterboard ceilings, you can use chestnut laths and then plaster them with lime mortars mixed with horse hair. Horse hair has its modern equivalent with fibres, which are now sometimes added to plasters to stop them cracking when drying out.
Option 2: Board on Dabs
Otherwise known as ‘dot and dab’, this is an alternative for masonry walls and is frequently used by volume housebuilders. Sheets of plasterboard are stuck against blockwork walls with dabs of adhesive, leaving a small cavity between the blockwork and board. The finish coat can be gypsum skim plaster or taped and jointed.
Pros
Builders like it because it avoids most of the problems with hairline cracking and callbacks. It also avoids the wait for wet plaster to dry.
Cons
The cavity is a waste of space. It makes fixing shelving and radiators much more difficult. Also, it does little for the overall airtightness of the house as it is difficult to seal.
Material cost
£12-16/m²
Option 3: Board on Studwork
Widely used in timber frame and SIPs (structural insulated panels) houses, it’s similar to board on dabs except the boards are nailed or screwed in, so there is no cavity. This is also how ceiling finishes are dealt with, whatever the build system.
Pros
As above — it’s fast and relatively easy.
Cons
It is still difficult to fix shelving and radiators to, and doesn’t offer the same level of sound-proofing as wet plaster unless you use a high-performance board.
Material cost
£12-16/m², similar to board on dabs.
Plasterboard: Skim it or Tape & Joint?
There are two rival methods for finishing plasterboard. Skim-coat plasters are trowelled on to produce a smooth, gloss finish ready for painting. The joints between the boards are covered with scrim (i.e. hessian). This is often the weak point in the method, because the scrim doesn’t always mask the gap and cracks appear if the backing timber moves, which tends to happen in new builds.
The alternative method (taping and jointing) is to use tapered-edge boards, tape and fill over the joints and nail holes, and then sand the surface before painting. It’s quick and crack-free but many people don’t like the rough, matt finish it produces.
Making the decision
While there isn’t a lot of difference in cost between the materials involved in wet and dry plastering, it takes twice as long to do the work on wet plastering, increasing labour costs. It can also take a long time to dry out, especially in winter when it can create a three- to four-week delay on site. Therefore, if speed and cost are a priority, plasterboard is by far the better option.
However, plasterboard is not as easy to fix items such as radiators and shelves to as wet plaster, which presents no such difficulties. Wet plaster also gives a smooth, shiny coat that is ideal for painting and covers up all manner of blemishes, making for neat junctions in doorways and windows. You will, however, need to find a skilled plasterer and accept that some cracking is possible.
Which board?
- Plasterboard is available in a variety of different sizes and formats, including square edge for skimming and tapered edge for taping and jointing. The cheapest route is to specify full size boards (1.2m x 2.4m) at standard thickness (12.5mm).
- There are two basic board thicknesses: 9.5mm for 400mm spacings and 12.5mm for 600mm.
- Various high-performance boards offer acoustic improvements (such as Gyproc ThermaLine SUPER), moisture-resistance and fireproofing; some boards are designed for use in wet areas and as tile backers.
Fermacell is a popular high-performance board used by many self-builders. Made of cellulose – tougher and stronger than plasterboard, meaning you can attach most fixings to it – it can be jointed easily by a novice and simply painted over. It’s expensive (twice the price of basic plasterboard) but de-skills the wall finishing, so it’s ideal for DIYers.
Note: £260/day is the typical rate for a plasterer and labourer team to install plasterboard in a new house.
Mark is the author of the ever-popular Housebuilder’s Bible and an experienced builder. The Housebuilder’s Bible is the go-to hardback for self builders; originally published in 1994, it is updated every two years with up-to-date build costs and information on planning and building regulations, and is currently in its 14th reiteration.
He has written for publications such as Homebuilding & Renovating for over three decades. An experienced self builder, his latest self build, a contemporary eco home built to Passivhaus principles, was created on a tight urban brownfield plot.

