Painting Window Sills: How To Spruce Up Inside and Outside
Painting window sills can help transform the exterior and interior of your home. Follow our step-by-step guide to get the perfect finish

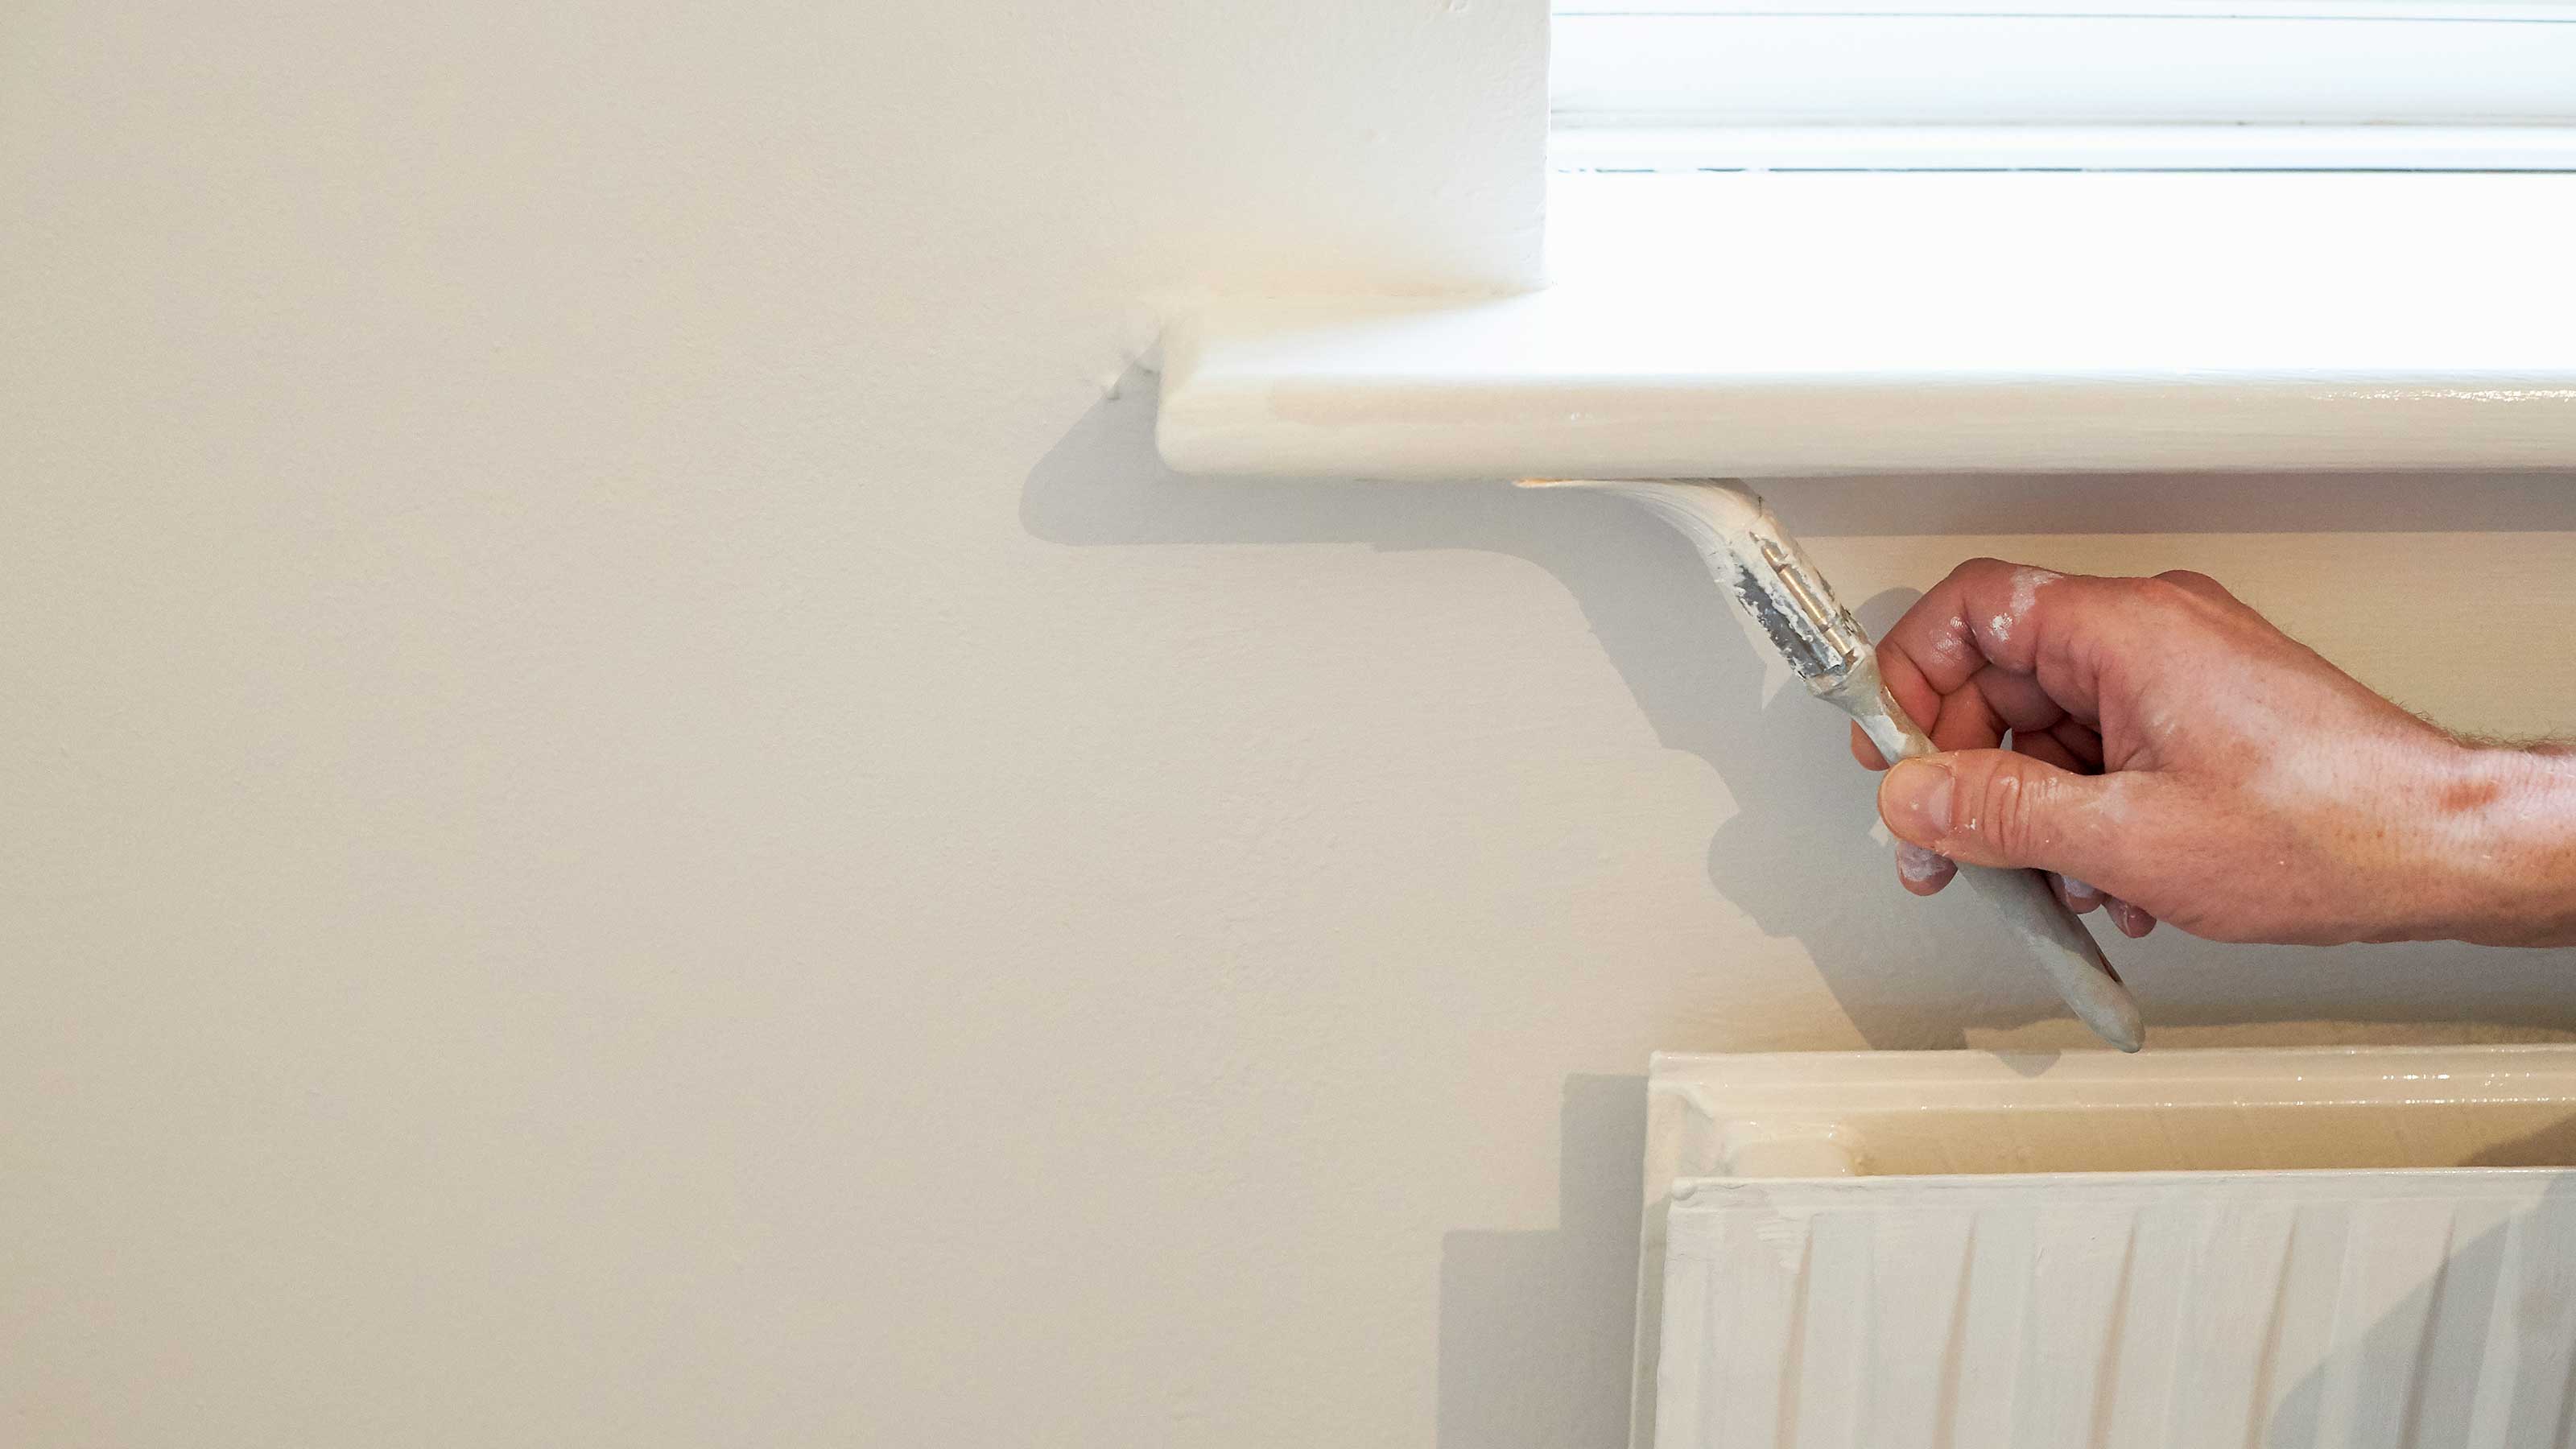
Painting window sills provides the perfect finish to complete the look of your windows. Inside they can provide a focal point to place ornaments and photo frames, so you need to make sure that they are not only hard-wearing but look good as well.
Painting windows white is a popular choice indoors as it gives a clean fresh look that matches well with almost any other colour. Matching your window sill to the window frame is good idea. But, you don’t have to stick with convention, why not try painting your window sill a complementary colour?
Exterior window sills serve a different purpose to interior window sills. They provide support for window frames and help protect your windows and walls from the rain. Choose a contemporary or classic colour and paint all sills the same for a smart uniform look.
Whatever colour you choose to paint your window sill, you will need to make sure that you get it right. Here we give the lowdown on how to get the perfect finish.
Painting Window Sills: A Step-By-Step Guide
1. Getting started
Before you start any prep or painting you need to remove – or move – any furniture so you have space to work in. Cover furniture with dust sheets and lay down dust sheets under the window sill to be painted.
If painting exterior window sills, make enough room to work in and leave space for a ladder if painting first floor window sills.
2. Prep the area
Start by removing any loose paint with a scraper — and/or a wire brush if outside. Then use a coarse grade sandpaper to even out the rough bumps and lumps if necessary. Use a a finer grade sandpaper – 180-220 grit is good – to get a smooth finish.
Use masking tape to cover edges you don't want paint on. If painting outside it is a good idea to cover the wall as well to stop paint accidentally getting on it.
Bring your dream home to life with expert advice, how to guides and design inspiration. Sign up for our newsletter and get two free tickets to a Homebuilding & Renovating Show near you.
3. Fill gaps and cracks
Now use an appropriate interior or exterior filler for any gaps or cracks. Leave to dry and rub down. Brush or vacuum up any dust and wipe down the sill with a damp cloth.
Everbuild Multi Purpose Wood Filler does a good job on wooden sills while Everbuild All Purpose Ready Mixed Filler is good for outdoors.
4. Paint on the primer
If painting bare wood add a wood primer; if painting bare masonry/concrete add an appropriate primer.
Start by cutting in with a brush, first along the inside edge and then work outwards. Finish by painting the front of the sill. Leave to dry and rub down lightly with a fine grade sandpaper and wipe with a damp cloth to clean.
5. Finish up
Follow the same pattern as the previous step with the brush and add the top coat. If using a roller first create an edge around the sill with the brush. Then fill in the gaps with a 4-inch roller. Do not overload the roller, thin coats are better. Now rub down lightly again and add another top coat to finish up.
Painting Window Sills: What Kind Of Paint Do I Need?
For an interior wooden window sills you will need a primer and/or undercoat as well as a top coat. Zinsser B-I-N interior Primer-Sealer is a good choice for bare wood. Dulux Trade Undercoat is a good solution for previously painted wood.
For the top coat, its typically a choice between satin vs gloss for a tough long-lasting finish. Alternatively, you can choose a matt or eggshell if you want a low sheen finish.
For exterior masonry or concrete sills that need a primer, Zinsser Bulls Eye 1-2-3 Interior & Exterior Primer-Sealer is a great option.
For the top coat you need one of the best exterior wood paints like Dulux Trade Weathershield, while Sandtex do a range of smooth and textured exterior paints. For a choice of contemporary colours try Frenchic Al Fresco.
Should I Use a Brush or Roller When Painting Window Sills?
The choice is yours. If you are confident with a brush you will get a good almost- brushstroke free finish. However, a roller will give you a different finish.
A short or medium pile roller will give a textured finish which is better suited to outdoor sills. If you want an almost smooth finish a foam roller is the best choice. This can be used indoors or outdoors.
If using a roller make sure to use a 4-inch roller. You will also need a brush – try a 2-inch cutting in brush – to cut in before you use the roller.
Do I Need to Prime Window Sills Before Painting?
For interior wooden window sills you only need to prime if you have bare wood sills. You will need a decent wood primer/undercoat for the job.
The same principles apply for exterior concrete/masonry sills that have yet to be painted. For this you will need a decent exterior masonry primer/undercoat.
Should I Sand Window Sills Before Painting Them?
The simple answer to this is yes. If the window sill hasn't been painted before you might be able to get away without sanding, but in most cases you will need to sand before painting.
If the previous paint job is in poor condition you'll need to get rid of as much loose paint as possible with a scraper. You can then use an 80-120 grit sandpaper to get rid of large ridges or lumps.
Finish with 180-220 grit sandpaper to get a smooth finish. Use an electric hand sander to get the job done quicker.
What Colour Should I Paint Window Sills?
White is the popular choice for interior window sills. This typically matches the window frame and helps create a uniform look that give the illusion of space.
For exterior window sills you can choose any colour you like that is available. You can match the window sills to the current colour of your front door for a uniform look.
Alternatively you can look at painting a uPVC door a contemporary colour and matching the window sills, again creating a clean uniform look to your home.
Steve Jenkins is a freelance content creator with over two decades of experience working in digital and print and was previously the DIY content editor for Homebuilding & Renovating.
He is a keen DIYer with over 20 years of experience in transforming and renovating the many homes he has lived in. He specialises in painting and decorating, but has a wide range of skills gleaned from working in the building trade for around 10 years and spending time at night school learning how to plaster and plumb.
He has fitted kitchens, tiled bathrooms and kitchens, laid many floors, built partition walls, plastered walls, plumbed in bathrooms, worked on loft conversions and much more. And when he's not sure how to tackle a DIY project he has a wide network of friends – including plumbers, gas engineers, tilers, carpenters, painters and decorators, electricians and builders – in the trade to call upon.

