Paint over gloss: A how-to guide to achieving a great finish
Discover how to paint over gloss, including old or chipped surfaces, and ways to create a lustrous new sheen, with our essential DIY guide

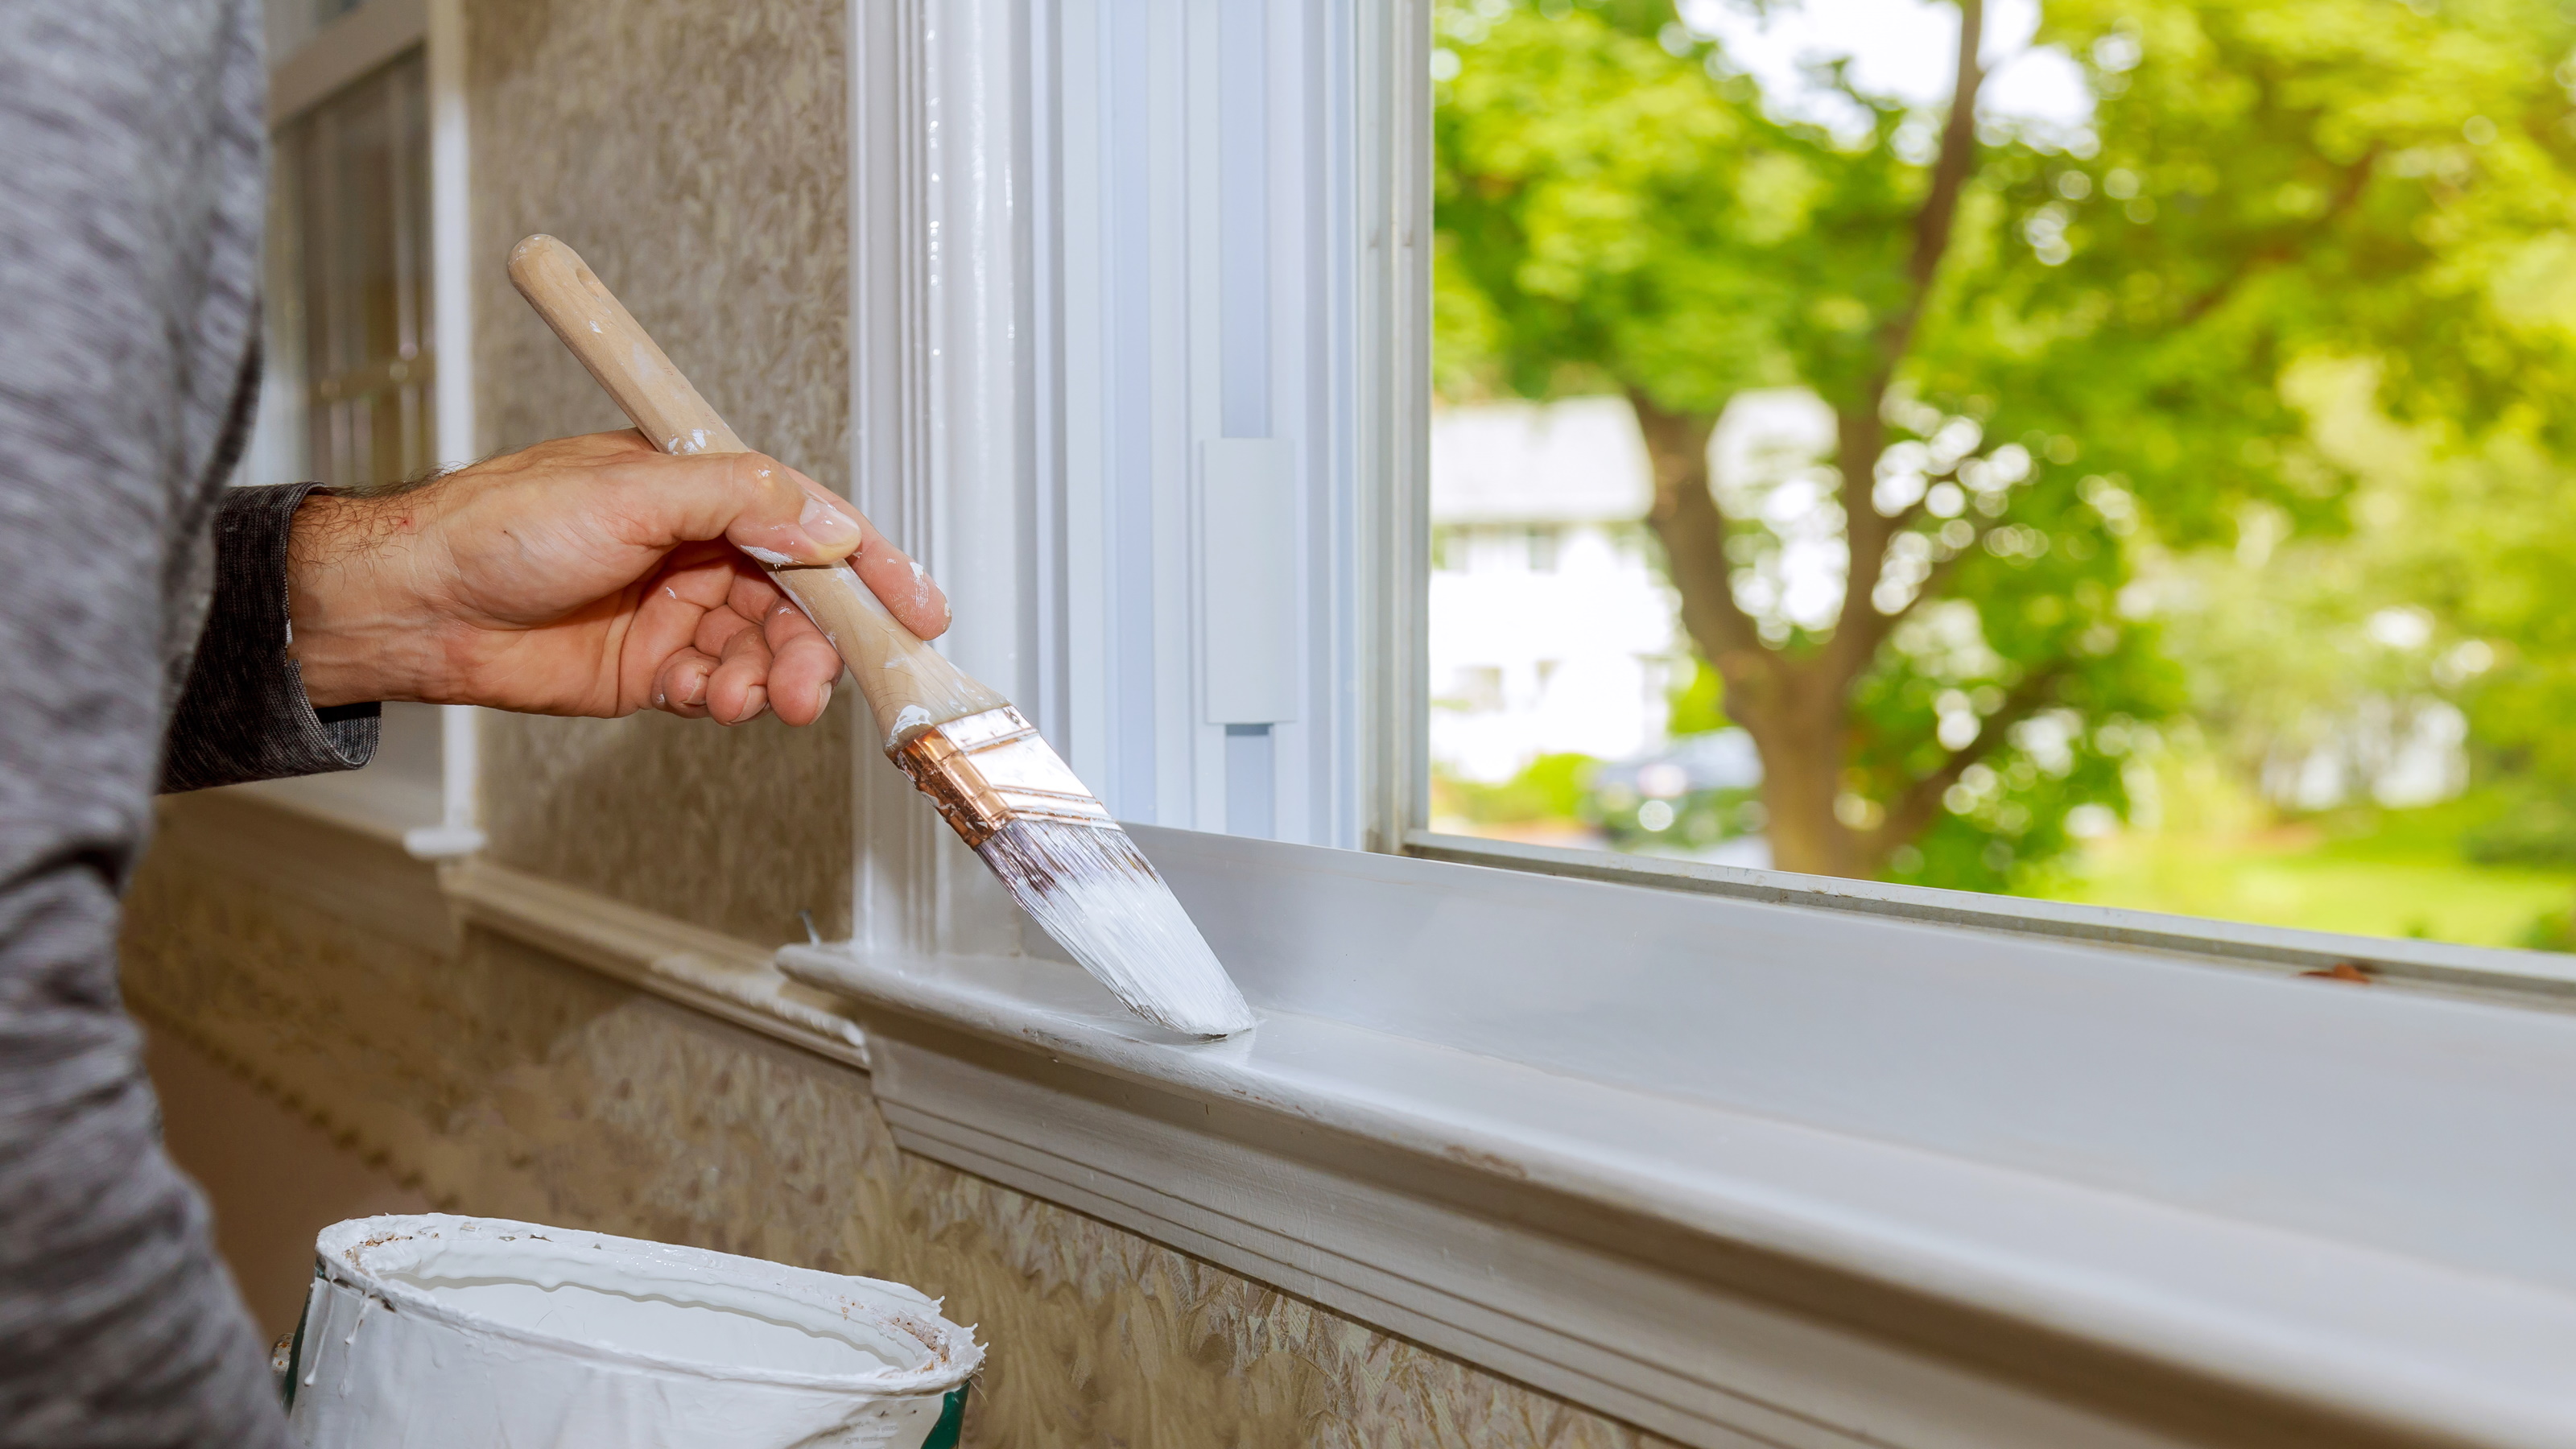
Learning how to paint over gloss will help you lift your tired surfaces and have them looking refreshed again in no time.
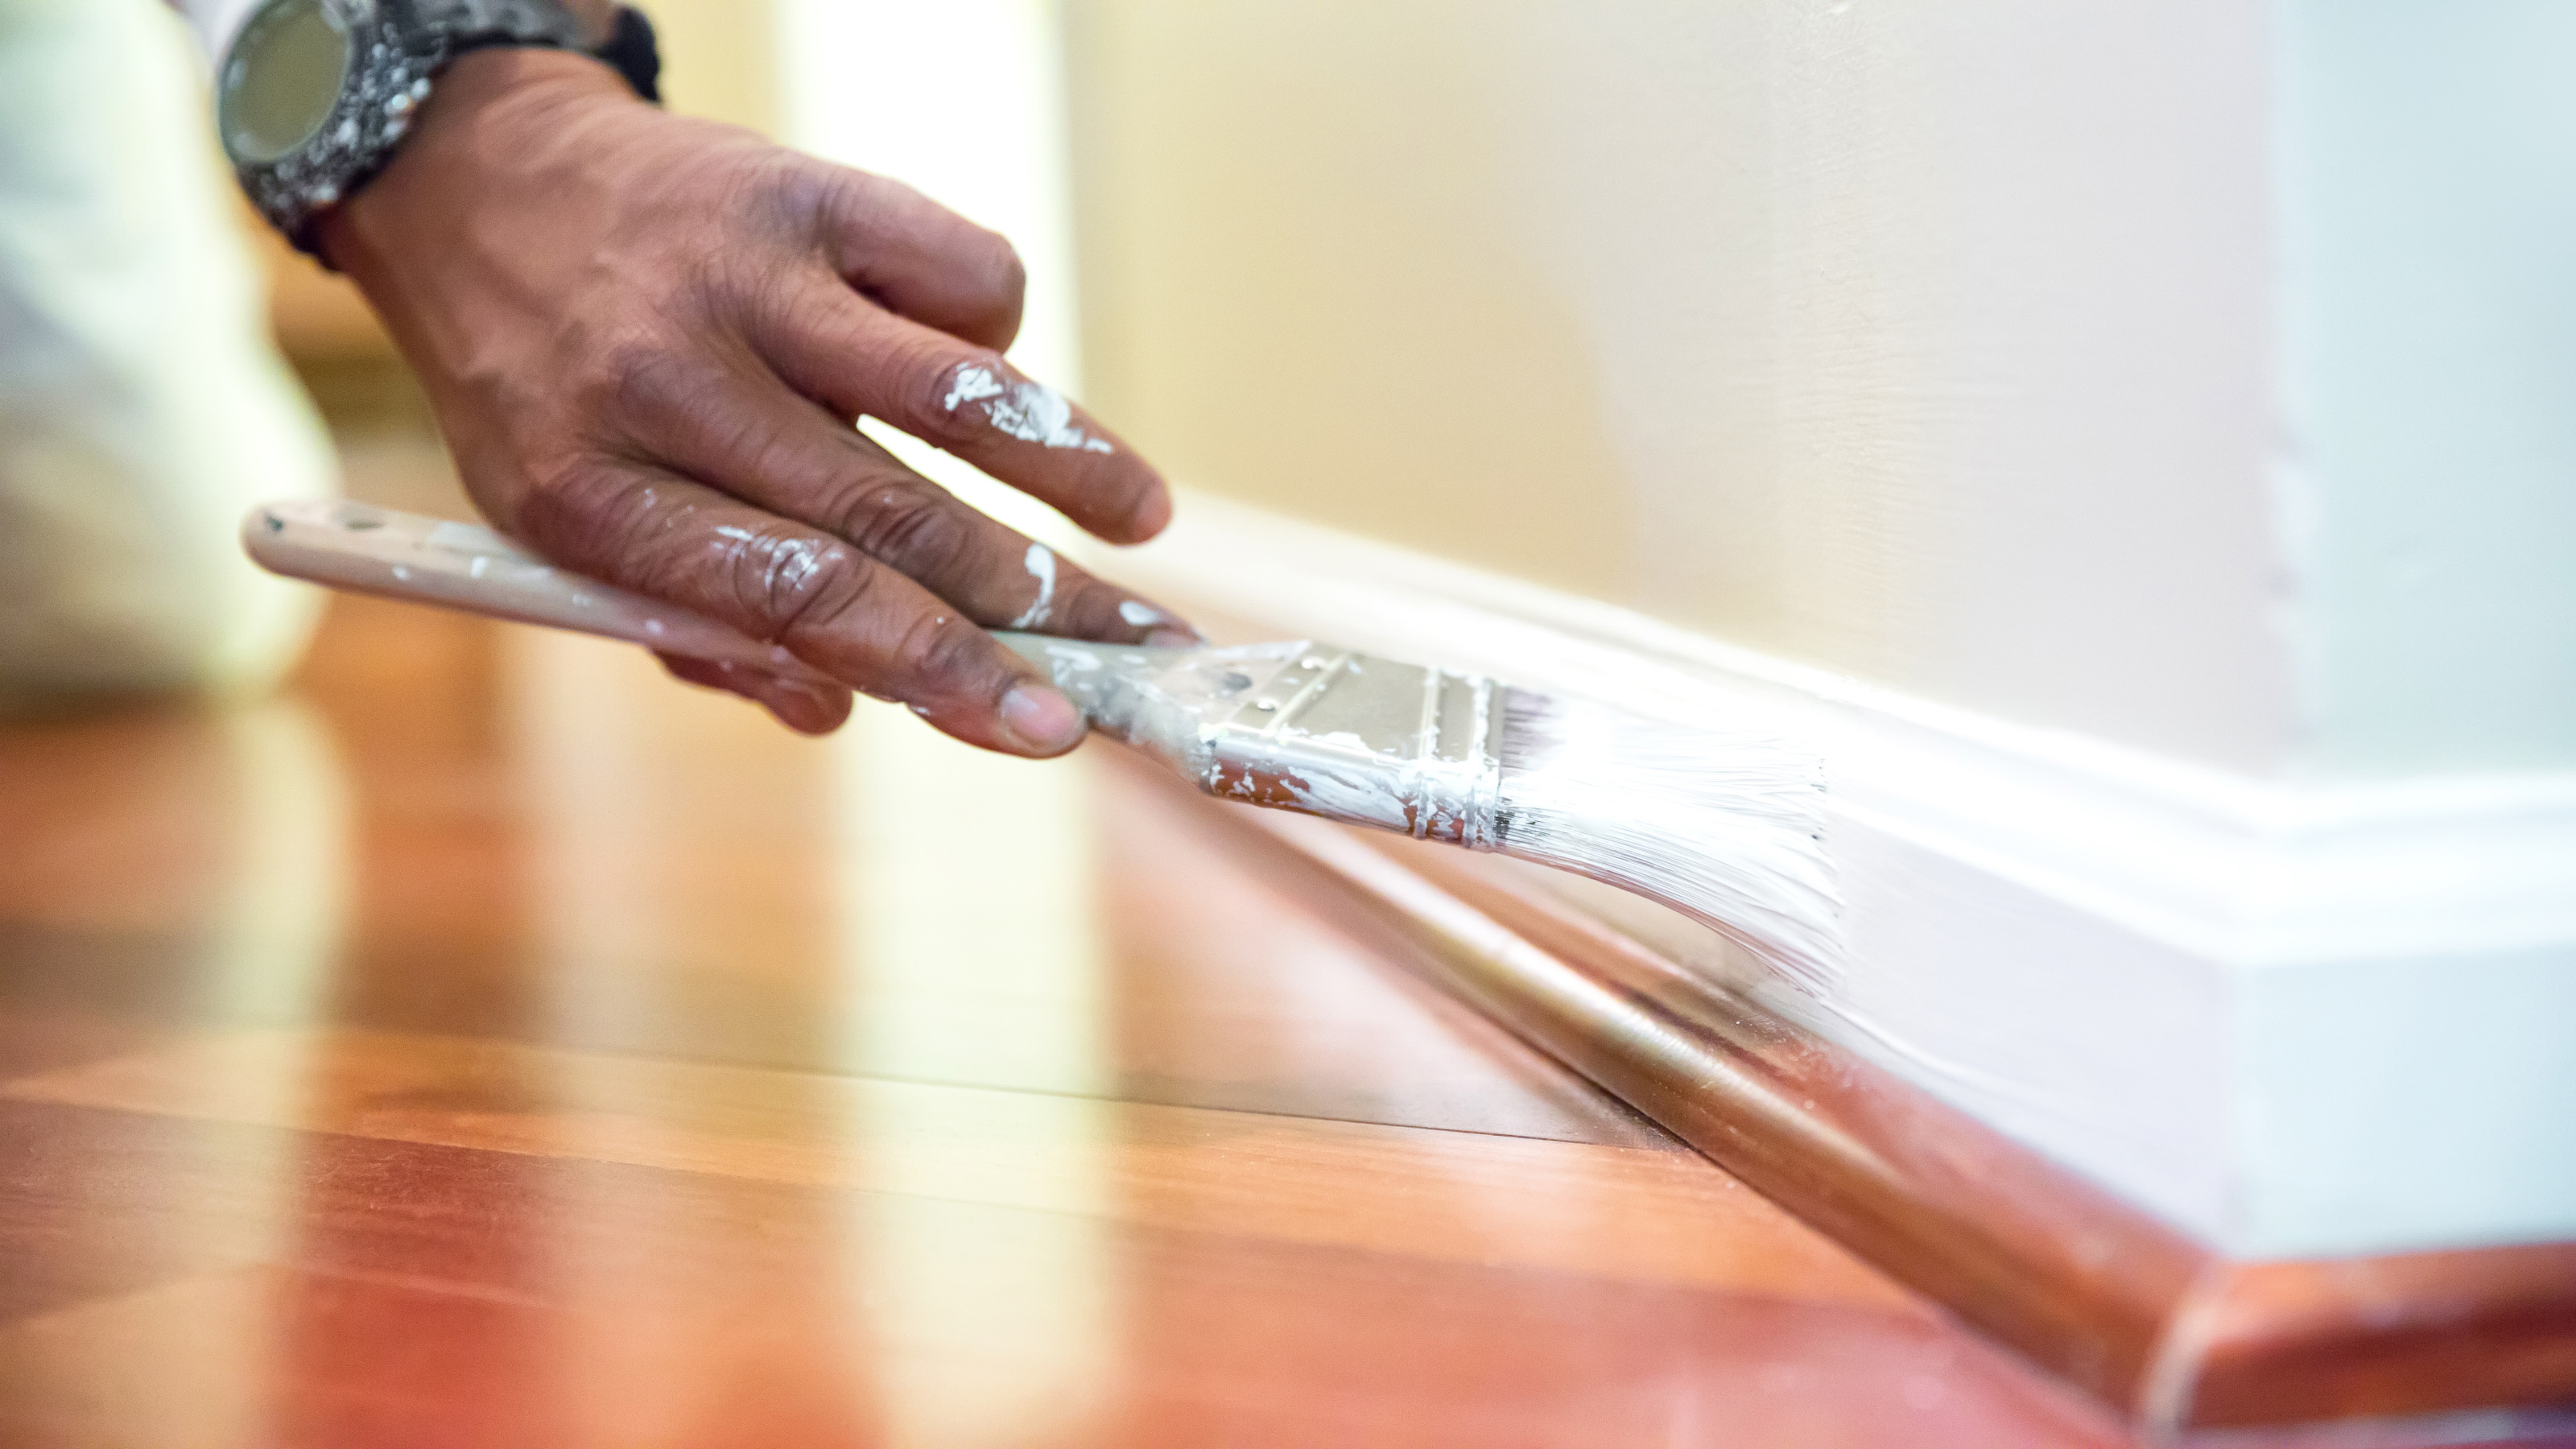
Glossed windows, doors and skirting boards look amazing when they're first finished. But wear and tear will see them get scuffed and dirty and in need of a new top coat to restore them to their former glory.
Whether painting a wall or another area of your home, gloss requires careful consideration before a new coat can be applied. You shouldn’t just paint straight onto gloss if you want a good-looking, long-lasting finish.
Here we give you some pro tips and tricks on how to prepare and paint over gloss.
Can I Paint Straight Over Gloss?

Need more advice or inspiration for your project? Get two free tickets to the Homebuilding & Renovating Show
While it is possible to paint straight over gloss, we do not recommend this. The shiny surface of the gloss doesn’t provide good adhesion for whatever paint you use over the top of gloss. The new paint will therefore chip easily and won’t look good for long.
However, if the gloss paint you want to paint over is in very good condition and only recently painted, i.e. a few weeks/months ago, it should be OK.
We still advise that you clean the paint with sugar soap first, and go over the surface with a fine grit sandpaper – 220 is good – before painting. This will give better adhesion for the paint.
Bring your dream home to life with expert advice, how to guides and design inspiration. Sign up for our newsletter and get two free tickets to a Homebuilding & Renovating Show near you.
Should I Sand or Strip Back Old Gloss Paint?
Typically, sanding over the existing gloss is the quickest and easiest solution, but this depends on the condition of the paint. If the paint is relatively chip-free, isn’t flaking anywhere and just needs a spruce up, then a quick sanding will get it ready for a new coat – or two – of some of the best gloss paint.
If your gloss paint is in poor condition, having previously been applied badly, or has many existing layers that will take a lot of sanding to get it ready for repainting, now is a good time to strip it back to bare wood and start again. This will give your surface an almost entirely new look when finished.

What Is the Best Way to Remove Old Gloss Paint?
There are two options when it comes to removing old gloss paint from woodwork: paint stripper or heat gun.
If you have intricate mouldings, it is best to use a paint stripper to help lift the paint off the surface so that you don’t damage the wood or material below.
The only downside with paint strippers is that you have to apply and wait for the stripper to work. They also create more mess. On stubborn paint, you often have to repeat the process, which makes it more time-consuming.
A heat gun is the best option for most woodwork, i.e. windows, doors, and skirting boards. It is more effective and budget-friendly, too.
As well as a heat gun, you will need a paint scraper to remove the paint. Consider using a combination shave hook scraper alongside a more traditional flat scraper. These are great for removing window frames, door frames and doors.
If you’re new to heat guns, make sure that you read the instructions on how to use and practice on a small out-of-the-way area first, until you are more confident with using it.
Can I Paint Over Chipped Gloss Paint?
Yes. If your gloss paint is still in good condition, it's definitely worth repairing any unwanted chips.
You will need fine grit sandpaper, undercoat, gloss and a small paint brush — ideally a one-inch product.
First, remove any loose paint around the chip before using the fine grit sandpaper to gently blend in the edges of the chip. Next, clean and apply a thin coat of undercoat with the one-inch brush.
Finally, let it dry, gently rub down and repeat with another layer of undercoat and then the gloss.
What Paint Is Best to Paint Over Gloss?
If prepared properly, you can use almost any paint you want as the top coat. But it would make sense to use satin or gloss, or a variation such as semi-gloss or eggshell, to give a good, hard-wearing, long-lasting finish.
If you are emulsioning the walls and want the same colour woodwork but cannot find the perfect match, you can use emulsion. But be warned, this won’t stay looking good or last as long as the previously mentioned choices.
Remember to ask yourself how much paint do I need before beginning any work, as you don't want to keep stopping and starting once the painting is underway.
How to Paint Over Gloss: A Step-by-Step Guide
When you come to paint over gloss, this is how to ensure your finish is as successful as can be:
1. Prepare the Surface
First, wash down the existing paintwork with sugar soap to get rid of any dirt and grease. If needed, fill any cracks with wood filler or similar and leave to dry.
Rub down the wood filler with a 120-grit sandpaper, then sand the entire area, i.e. skirting boards, windows and doors, with a 180-grit sandpaper.
If the woodwork has a lot of flat surface area, use a hand or mouse sander to get the job done quicker. Once the gloss sheen has been completely sanded off, you are ready to paint.
2. Add an Undercoat
You will need to add at least one coat of undercoat. Use a two-to-three-inch brush to apply and leave to dry as per the manufacturer's instructions.
Once dry, check that the undercoat has covered the surface properly. If not, add another coat.
Rub down between coats with a fine 220-grit sandpaper. If painting bare wood, first add a primer, followed by two coats of undercoat. Again, rub down gently between coats.
3. Add the Top Coat
To finish, apply a top coat (gloss, satin, or eggshell, for example) and leave to dry.
One coat should be enough, but make a judgement call and if needed, add another. Just make sure to leave for 24 hours before applying the final coat.
Steve Jenkins is a freelance content creator with over two decades of experience working in digital and print and was previously the DIY content editor for Homebuilding & Renovating.
He is a keen DIYer with over 20 years of experience in transforming and renovating the many homes he has lived in. He specialises in painting and decorating, but has a wide range of skills gleaned from working in the building trade for around 10 years and spending time at night school learning how to plaster and plumb.
He has fitted kitchens, tiled bathrooms and kitchens, laid many floors, built partition walls, plastered walls, plumbed in bathrooms, worked on loft conversions and much more. And when he's not sure how to tackle a DIY project he has a wide network of friends – including plumbers, gas engineers, tilers, carpenters, painters and decorators, electricians and builders – in the trade to call upon.

