How to Fit an Engineered Wood Floor
Totally stable but offering a real wood finish, engineered floors are a popular choice. This step-by-step guide explains how to fit one in a weekend

Bring your dream home to life with expert advice, how to guides and design inspiration. Sign up for our newsletter and get two free tickets to a Homebuilding & Renovating Show near you.
You are now subscribed
Your newsletter sign-up was successful
Engineered timber floors are hugely popular — and for good reason. They are quicker and simpler to fit than solid timber boards, offer greater dimensional stability, yet still have the beauty and warmth of a solid wood floor, unlike laminate flooring.
Fitting an engineered timber floor is well within the capabilities of most, but there are often a few common questions to address first.
- Most engineered boards come supplied with tongue-and-groove joints and are designed to be laid as a floating floor, needing no nailing or gluing. They can be laid over pretty much any subfloor, such as concrete or particleboard, but also over existing floors such as stone, tile, linoleum and old timber floors. They are also suitable for use over wet underfloor heating systems, but not always with electric mat systems.
- In the case of concrete subfloors, it is advised that a 0.2mm polyethylene film is used as a moisture barrier between the two floors, to avoid any moisture in the subfloor coming in to contact with the engineered floor. You should also always use a 0.2mm polyethylene film under the underlay to act as a moisture barrier when introducing a wet underfloor heating system.
- Before you even think about beginning the installation of your engineered floor, the flooring should be acclimatised to the climate of the room in which it is being fitted. Keep the boards in the sealed, unopened boxes for at least 48 hours, laying flat in a room with a temperature of at least 18°C and on a floor surface temperature of at least 15°C.
When you are ready to lay the floor, bear in mind that in general, engineered flooring looks best when laid parallel to light entering through the windows, but you can lay it whichever way you think works. The only restriction is on boards laid over an existing hardwood floor, where the boards should be laid at a 90° angle to each other.
Before you begin, measure the width of the room and divide this figure by the width of the engineered boards — this will give you the number of rows and the required width of the last row. If the width of this last row turns out to be less than 60mm wide, you should aim to cut the first row lengthways so that the last row can be left a little wider.
You must also plan to include expansion gaps of approximately 10mm around the flooring where it meets the walls, door frames and around pipes, to account for shrinkage and expansion.
1. You should begin installing the boards by starting in one corner with the tongue side of the panels facing the wall. Use spacers between the edge of the boards and the wall.
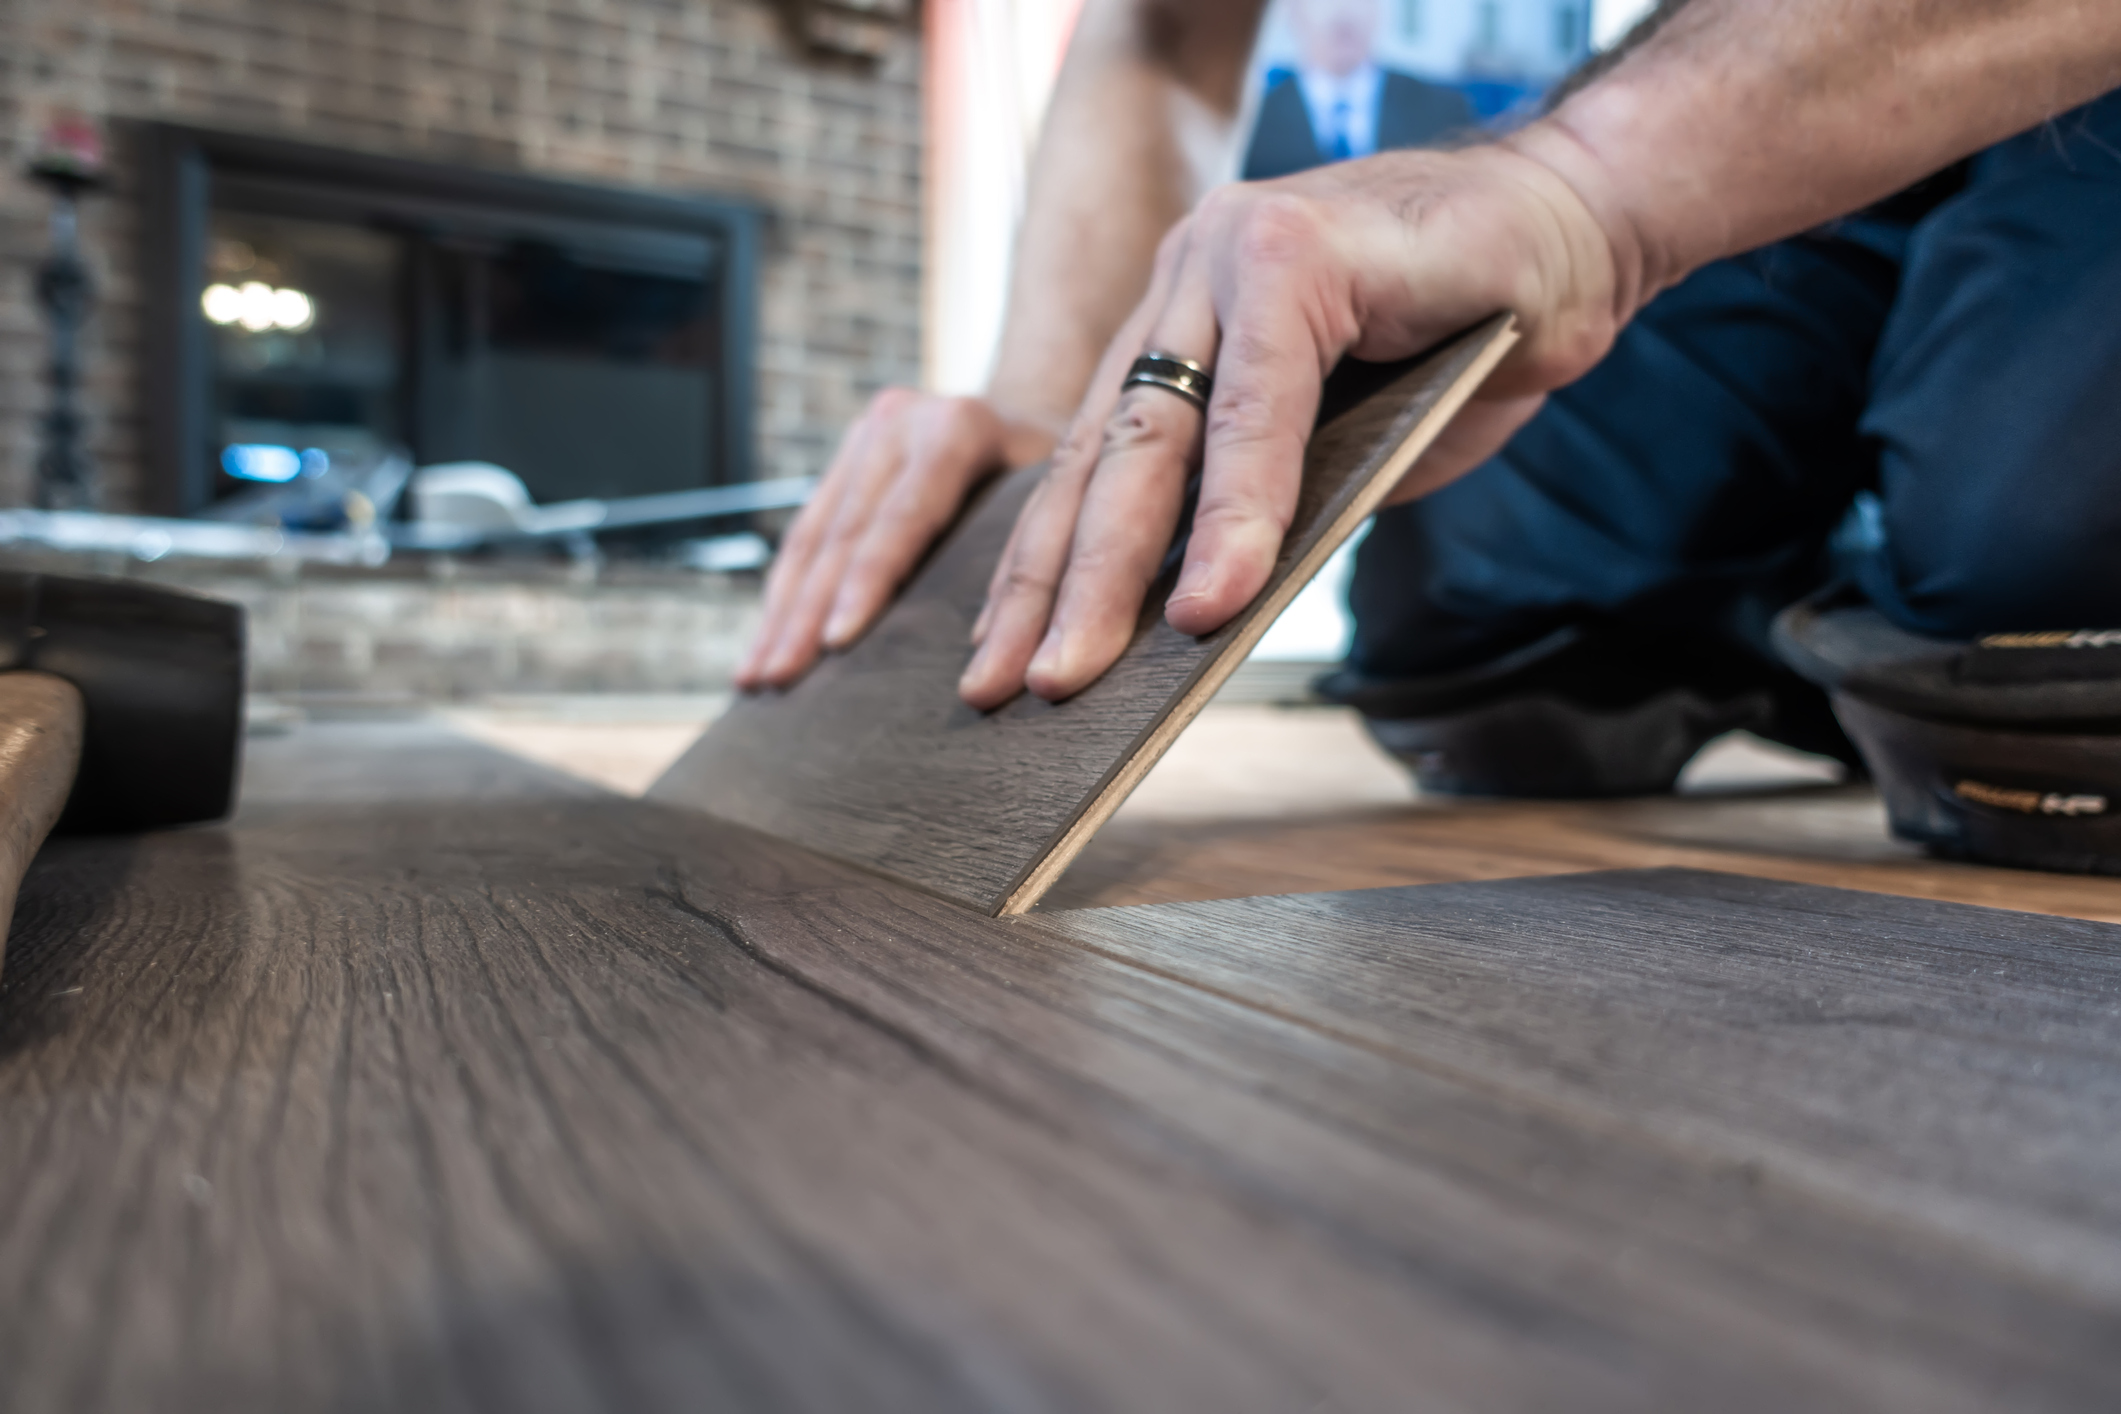
2. Connect the second board by inserting it at an angle then tapping it indirectly using a hammer and push block.
Bring your dream home to life with expert advice, how to guides and design inspiration. Sign up for our newsletter and get two free tickets to a Homebuilding & Renovating Show near you.
3. Cut the last panel in the row to fit and then use the off-cut to begin the next row, creating a staggered pattern, unless the off-cut is less that 500mm long, in which case it is advisable to use a new panel.
Cutting Around Pipes
Measure the position of the pipes and mark them on the board (keeping in mind the expansion gap required). Next, drill a hole 16mm bigger than the pipe diameter to allow for expansion, and saw at a 45? angle to the holes. Apply glue to the sawn-out section and fit, not forgetting spacers.
Solid, Engineered or Laminate?
Solid timber floorboards, as the name suggests, consist of solid timber, often with tongue-and-groove joints, while engineered products are a solid layer of timber bonded to several layers of softwood glued together at angles for stability. The thicker the solid top layer, the better.
Laminate boards are not timber at all, simply a photograph of timber covering a composite wood product with a clear layer placed on top.
Natasha was Homebuilding & Renovating’s Associate Content Editor and was a member of the Homebuilding team for over two decades. In her role on Homebuilding & Renovating she imparted her knowledge on a wide range of renovation topics, from window condensation to renovating bathrooms, to removing walls and adding an extension. She continues to write for Homebuilding on these topics, and more. An experienced journalist and renovation expert, she also writes for a number of other homes titles, including Homes & Gardens and Ideal Homes. Over the years Natasha has renovated and carried out a side extension to a Victorian terrace. She is currently living in the rural Edwardian cottage she renovated and extended on a largely DIY basis, living on site for the duration of the project.

