Bring your dream home to life with expert advice, how to guides and design inspiration. Sign up for our newsletter and get two free tickets to a Homebuilding & Renovating Show near you.
You are now subscribed
Your newsletter sign-up was successful
If you wrote a book entitled ‘Crimes Against Property’, the chapter on ceilings would contain some pretty grizzly horrors. Top of this list is thick, textured ‘artex’. There is something profoundly off-putting about forests of drips frozen in time, dangling above your head.
As if that wasn’t bad enough, textured coatings often contain small amounts of asbestos fibres. Fortunately this is not considered a hazard as long as you do not drill, sand or damage such coverings and inhale the fibres.
Other distinctly naff ceiling treatments from the past include peeling polystyrene foam tiles, cheap ’80s Swedish sauna-inspired pine cladding, and gloomy office-style suspended ceiling panels with barely concealed strip lights. Painted woodchip or anaglypta wallpaper is aesthetically pleasing by comparison. But looks aren’t everything.
Given that in a raging house fire the flames will track across ceilings, it’s obviously not a good idea to smother ceilings in flammable materials. One can only speculate as to the motivation behind such ‘improvements’, perhaps to conceal unevenness or cracking. Or maybe these were simply misguided attempts to keep out the cold?
Unfortunately, however, the degree to which such materials enhance thermal or sound insulation is minimal. Today most buyers want to see smooth, plain plastered ceilings, or in period homes, naturally undulating original lath and plaster.
Lath and Plaster
Most pre-1930s houses have ceilings made of traditional lath and plaster which has a pleasing texture that’s slightly irregular. ‘Laths’ are thin strips of wood (about 25mm wide) nailed to the ceiling joists, spaced about 5mm apart. Plaster was then applied to the underside of the laths, held in place by being squeezed through the gaps to create a ‘key’. The plaster was made from lime mixed with sand, bulked up with horse hair for strength, usually applied in two or three layers to an increasingly fine finish.
To check what type of ceiling you have, take a look from above, under the loft insulation, or lift a bedroom floorboard. If there are a lot of small timber laths with creamy blobs of plaster in between, the ceiling is original.
Bring your dream home to life with expert advice, how to guides and design inspiration. Sign up for our newsletter and get two free tickets to a Homebuilding & Renovating Show near you.
There are good reasons for retaining original ceilings. As well as enhancing historic interiors, traditional lath and plaster is chunkier and has better soundproofing and insulating qualities than modern plasterboard. Unfortunately, some builders are quick to condemn old ceilings with the odd crack or bulge, but they are usually repairable for a fraction of the cost of replacement.
Plasterboard
Plasterboard consists of sheets of compressed rigid gypsum plaster sandwiched between heavy-duty lining paper. Boards are available in thicknesses of 9.5mm or 12.5mm and are fixed to joists using drywall screws (clout nails are no longer used). Once the plasterboard is in place, the joints can then be sealed with scrim tape, filled and the surface given a skim finish with a thin coat of plaster.
Other Materials
‘Fibreboard’ sheets were a forerunner to plasterboard during the inter-war period. Made from compressed wood fibre, the sheets are tan in colour with a soft spongy feel. Defects are similar to those of plasterboard, although fibreboard is flammable.
Thankfully less common are ceilings made from asbestos cement sheets, again sometimes seen in 1920s and ’30s houses (used also to repair bomb damage in the war). Both these types of ceiling often comprise of a timber framework infilled with panels. Because this form of asbestos isn’t usually a hazard (as long as the fibres are not breathed in) there shouldn’t be any significant risk.
Such ceilings can be concealed with plasterboard or by a new suspended ceiling.

Cornices and Roses
Victorian ceilings usually have beautiful plaster cornices and mouldings at the junctions of walls and ceilings, and commonly feature elaborate ceiling roses. Wherever possible, these small works of art should be preserved and restored — for most buyers they add to the property’s appeal and value.
By now most will be clogged with paint, but a lot can be achieved to restore them to their original glory using poultice strippers, a brush and a toothpick. However, major restoration of decorative plasterwork is a skilled job. Missing sections can normally be professionally recast (DIY store mass-produced coving is a vastly inferior species compared with intricate original plaster mouldings). Reforming short lengths of defective moulding or cornicing costs around £63/m.
Even where a ceiling genuinely needs to be demolished (not usually advisable) it should be possible to remove the ceiling right up to the mouldings, leaving them in position.
Decoration
Ceilings sometimes tell a story. For example, if the former residents were hardened smokers, the once virgin white expanse above may by now be a natty shade of nicotine brown.
Emulsioning a ceiling is well within most DIYers capabilities. But the job becomes a lot more challenging when confronted with layers of old woodchip wallpaper or anaglypta, or where ceilings are entombed within thick layers of artex or in polystyrene tiles.
Here, wallpaper steamers and scrapers may be needed. Surfaces suffering from flaky paint or small hairline cracks may first require the application of a painted base coat prior to lining or emulsioning.
Textured Finishes
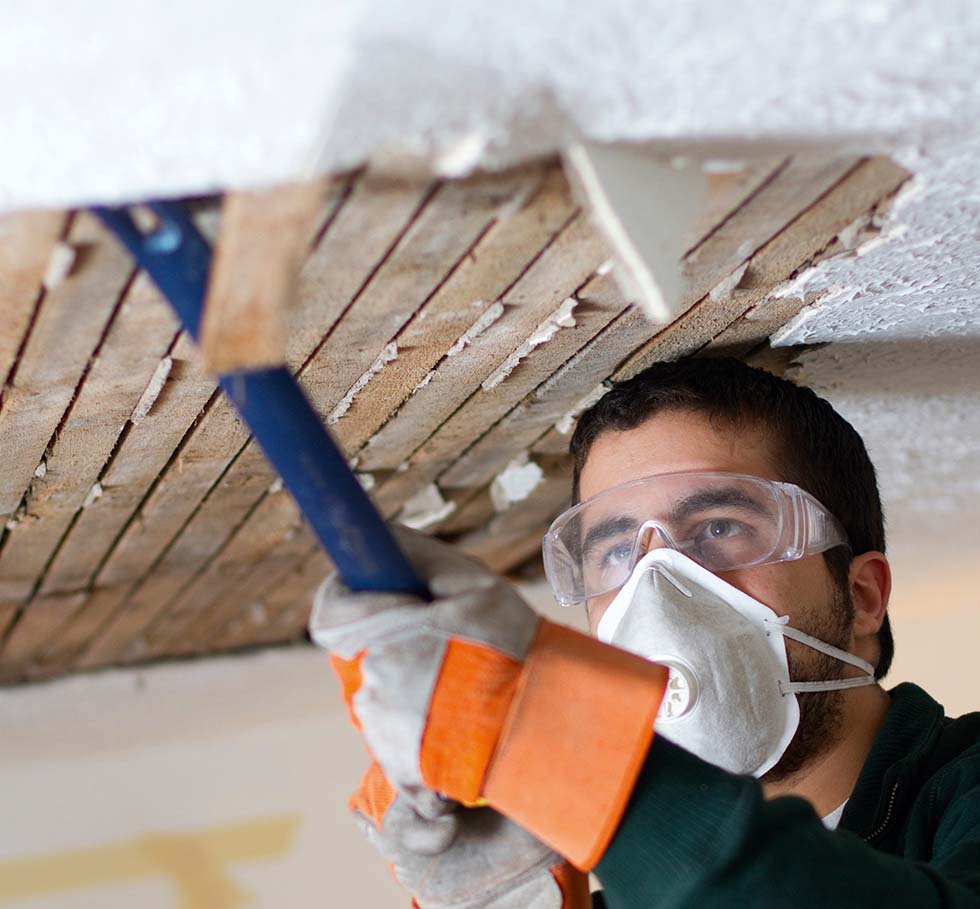
As noted previously, artex-type coatings may contain small amounts of asbestos fibres (at least those built before 1999 when all forms of asbestos were finally banned). Stripping textured paints can be done by steaming and careful scraping, taking appropriate precautions with dust masks and goggles. Sanding should never be attempted.
There are a number of DIY plaster products on the market for ‘smoothing over’ textured surfaces too. These claim to be able to achieve a perfectly smooth surface that’s ready to paint. But for larger areas they can work out relatively expensive, so it may be a better idea to employ a professional plasterer.
Plastering over artex finishes is possible – having first knocked off all the peaks and giving it a bonding coat of PVA glue – but there is a risk that if it’s subjected to vibration or door slamming then it can drop off. The best advice is to knock off the peaks and then fix a fresh layer of plasterboard underneath, tape the joints and skim plaster as normal.
Insurance
In some cases it may be possible to claim on your buildings insurance for damage to ceilings. Insurers won’t usually pay out for leaking roofs (defined as a ‘lack of maintenance’), but may pay for water damage due to storms or for sorting out the consequence of a leak.
Minimising Mess
Unless it’s absolutely essential, avoid pulling down old ceilings. This is one of the filthiest jobs known to man, particularly if the ceiling is in a Victorian bedroom with over a century of accumulated soot in the loft.
If impossible to avoid, the room should first be scrupulously sealed for dust before taking down the ceiling. Then consideration needs to be given to the logistical task of carting dozens of bags of dusty plaster out of the house.
If it’s an upper-floor ceiling, all the insulation and stored items in the loft will need to be temporarily accommodated too. Plus, the ceiling light will need the attention of an electrician.
Then of course there’s the job of plastering — which also involves a fair amount of mess. So, if possible, rooms should first be completely cleared, or at least covered in dust sheets.

Sagging and Bulging Ceilings
Identification
Uneven ceilings, cracked finishes and bowed surfaces are signs. In older houses some areas of plaster may have become ‘live’, sounding hollow when tapped.
Implications
This will depend on the type of ceiling. Plasterboard tends to warp when very wet, and in extreme conditions ceilings can collapse (i.e. from burst pipes and overflowing tanks in lofts). Ceilings can sag where the plasterboard sheets were not fully supported with enough screws when first fitted, too.
Old lath and plaster ceilings are naturally uneven — which is part of their charm. They can fail if the old plaster was mixed with insufficient hair reinforcement, or the laths were fixed too close together leaving too narrow a gap for the plaster to squeeze through and form nibs. The plaster then loses its key and falls away. Or, the coats themselves may have separated.
Other causes include overloading and vibration, damp, decay or damage caused by beetle infestation.
Remedial Work
With a plasterboard ceiling, once the cause of any dampness has been eradicated, the affected area can be cut out and replaced with an infill piece of board and plastered to match. Poorly supported boards will need additional fixing with drywall screws. Boards should be fixed to the joists and screwed every 150mm.
New sheets of plasterboard can be fixed directly on top of (i.e. underneath) an existing damaged ceiling. The new boards must be staggered relative to any existing cracked ones and the screws need to be at least 65mm long. Fitting new plasterboard to the underside of an existing ceiling of a room 3.5×3.5m in size, with plasterboard joints ‘scrimmed out’ and fully plastered, will cost in the region of £400*. (Clearing the room and decoration costs excluded.)
Where old lath and plaster ceilings are badly bowing, the area of sagged plaster can be propped from below using a sheet of plywood and a length of timber to temporarily push it back into position. Then, working from above, pour rapid setting plaster along the line of the gaps between the laths to form new nibs (after a light preliminary spray with water to prevent suction). Once dry, the prop can be removed.
Cracks in Lath and Plaster
Identification & Implications
Small, irregular-shaped cracks and severe unevenness are signs. Unless the cause of cracking is addressed, there’s no point replastering because it will just crack again.
Ceilings crack for a number of reasons:
- There may be too much weight in the loft (such as a heavy water tank), or very heavy furniture to the floor above.
- In some older properties the original builders may have skimped on the number or size of joists, or the spans are ambitiously long, or joists may have subsequently been cut for heating pipes.
- Ceilings move in tune with the rest of the house, and old buildings with shallow foundations tend to naturally move with the seasons, so thin cracks may reappear, needing periodic redecoration.
Remedial Work
Excess loadings in lofts and upper floors should be removed or repositioned. Weak floor and ceiling joists can be doubled up with new members placed alongside, or supported with a new beam run underneath (but consult a structural engineer first).
Check cracked areas for lumps of loose plaster by pushing very gently. If the problem area is fairly small, cut out the loose part and fix a piece of plasterboard to the joists. Or ‘patch repair’ plasters can be applied to fill the bare area. The same remedy can be used where small clumps of plaster have fallen away exposing the laths behind; apply a thin surface coat to achieve a flush finish.
Where the laths have come loose, any sound ones can be refixed to the joists using screws with wide washers. Additional support for loose laths can be provided by fixing new battens between the joists, working from above. Defective laths can be carefully cut out and replaced with new ones (available from specialist suppliers).
Where an old ceiling is badly damaged, the part in poor condition can be taken down and reconstructed, reusing some of the sound existing laths.
Mouldy Ceilings
Identification & Implications
Recurrent black mould growth can be a problem in many a home. This is a common localised problem resulting from condensation forming on ceilings that abut cold spaces, such as lofts, rear extensions or flat-roofed areas.
It is caused by poor insulation and a lack of ventilation and tends to be most evident in rooms where moist warm air is generated such as bathrooms and kitchens. When steamy vapour hits a cold ceiling it will condense back into water.
Remedial Work
- The solution is to insulate above the ceiling (where access is possible) with mineral wool to a depth of at least 270mm, allowing a path for ventilation above.
- Alternatively, ceilings can be lined internally with thick polyurethane-insulated plasterboard.
- Improving ventilation is important too — for example, through the introduction of extractor fans, or with open fireplaces, or trickle vents to windows. Make sure tumble driers are ventilated to the outside, and if possible, minimise activities such as indoor clothes drying and boiling food.
- To get rid of the mould, clean it off with water and apply diluted bleach (1:4 bleach/water solution) or a suitable fungicide. Then finish with a coat of mould-resistant paint.

Cracks or Unevenness to Plasterboard Ceilings
Identification & Implications
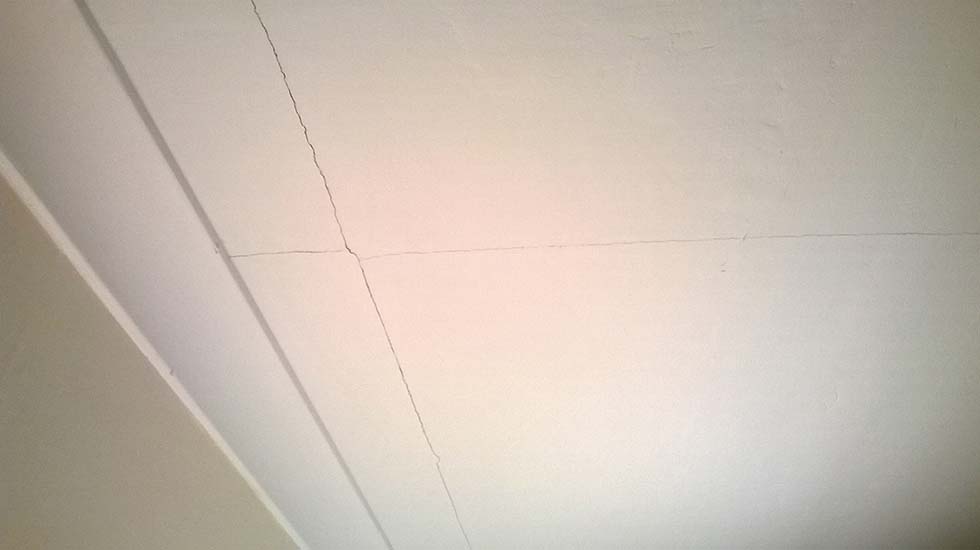
Thin, straight hairline cracks at plasterboard joints, and/or exposed nail heads are signs. Cracking between plasterboard panels is not, however, normally a serious problem. It may be down to poor original fixing, the tape and fill joints being omitted, or using cheap textured paint in lieu of a professional plaster finish.
Thermal movement can be a cause too, and is caused by different adjacent materials expanding and contracting at different rates relative to each other. Another common defect is where you can see lines of small, round craters (about 10mm wide) or lumps, due to clout nails being nailed in either too far or not far enough.
Remedial Work
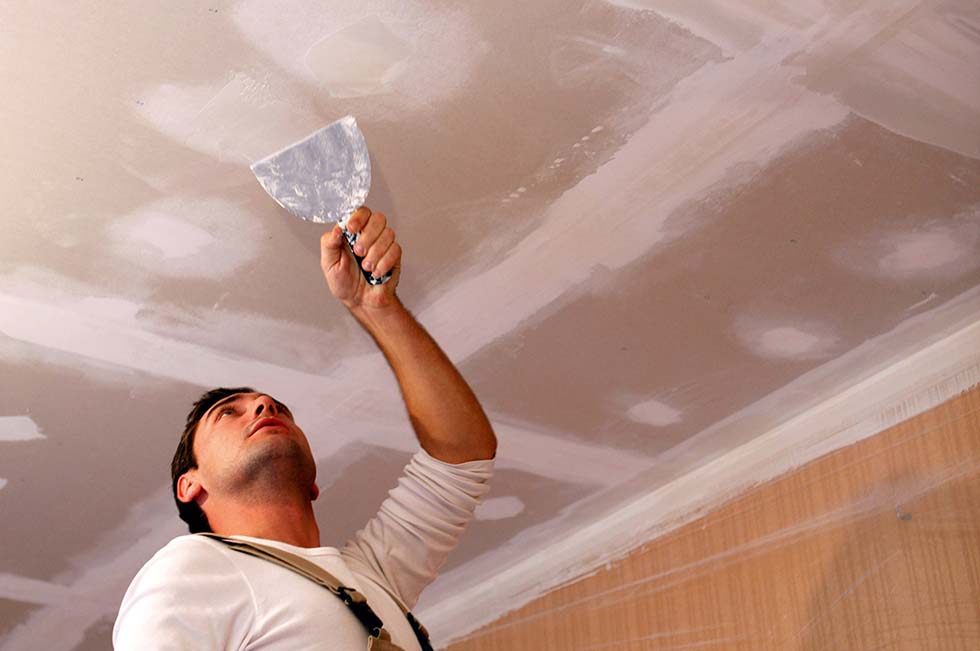
Joints can be raked out and filled using a covering strip of jointing tape before applying joint filler and plastering over. Consider lining with a heavy-gauge lining paper to conceal the joints too. Cutting out and making good a crack will cost in the region of £11/m.
- Where surfaces are marred by exposed clout nails, apply a sufficiently thick skim plaster finish, having first inserted some additional screws to improve support for any loose boards.
- When plastering new plasterboard, each joint between sheets must be taped over with self-adhesive scrim about 50mm wide. This is then filled with joint filler prior to skim plastering.
Chartered surveyor Ian Rock MRICS is a director is Rightsurvey.co.uk and the author of eight popular Haynes House Manuals, including the Home Extension Manual, the Self Build Manual and Period Property Manual.
Ian is also the founder of Zennor Consultants. In addition to providing house surveys, Zennor Consultants provide professional guidance on property refurbishment and maintenance as well as advising on the design and construction of home extensions and loft conversions, including planning and Building Regulations compliance.
Ian has recently added a 100m2 extension to his home; he designed and project managed the build and completed much of the interior fit-out on a DIY basis.

