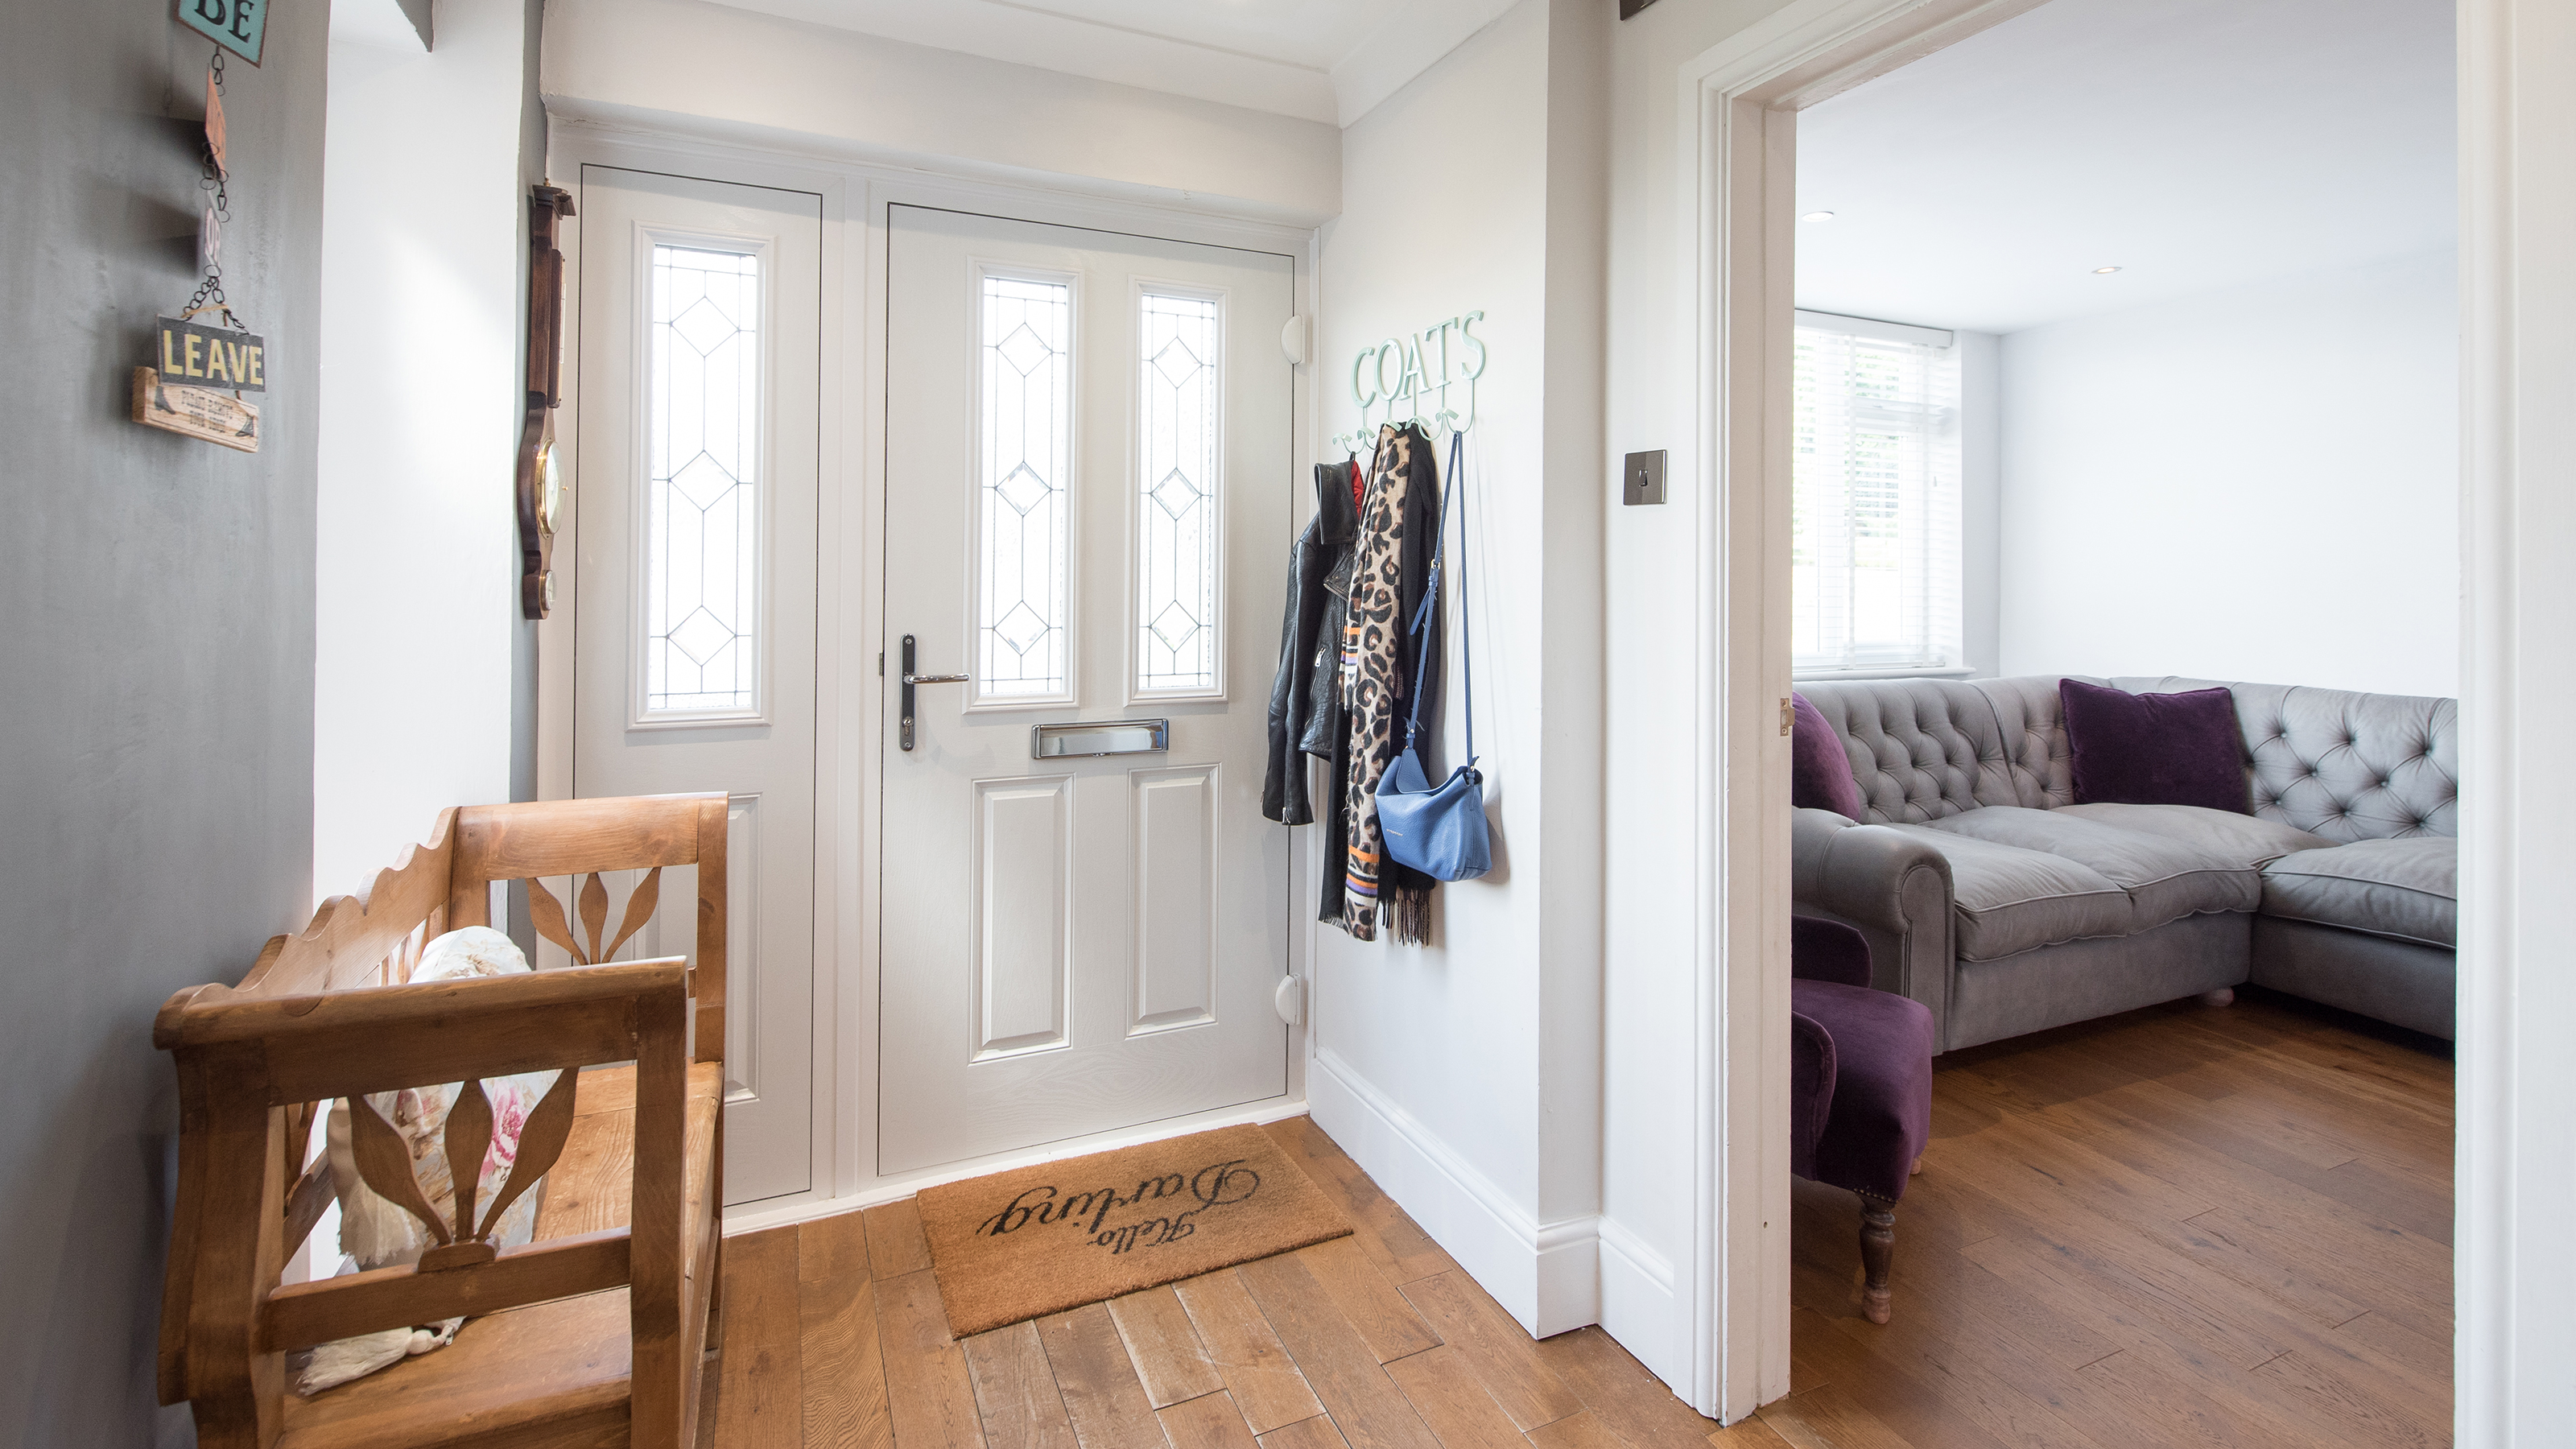
Draught proofing a front door: Tips to shut out the cold
Draught proofing a front door should be high on your to-do list this winter — plus, it could lower your energy bills. Here's how it's done
Bring your dream home to life with expert advice, how to guides and design inspiration. Sign up for our newsletter and get two free tickets to a Homebuilding & Renovating Show near you.
You are now subscribed
Your newsletter sign-up was successful
Draught proofing a front door properly is an essential job if you want to keep out the cold. If you are finding yourself subjected to uncomfortable chilly breezes that seem to be making their way into your home, draught proofing should make a difference.
Draught proofing around windows and doors could save homeowners of the average gas-fuelled semi-detached property in England, Scotland or Wales around £60 a year, according to the Energy Saving Trust. This is because draught proofing lowers heat loss so it should be possible to turn your heating down.
It isn't just money you'll save — cold breezes whistling in under and around your door do not make for a welcoming, comfortable entrance hall.
Here, we take a look at the most effective methods of draught proofing your front door, and the best news is that they need not cost the earth.
Is draught proofing a front door a DIY job?
Happily, you shouldn't need to call out the professionals in order to draught proof a front door — most of the methods we have mentioned here should be well within the capabilities of most DIYers. Not only will this save you money, but at a time of year when most tradespeople seem busier than ever as homeowners scrabble to get their homes set for the colder seasons, this will also mean you can get the job done quickly, with no waiting around.
1. Fit draught strips around the door's perimieter
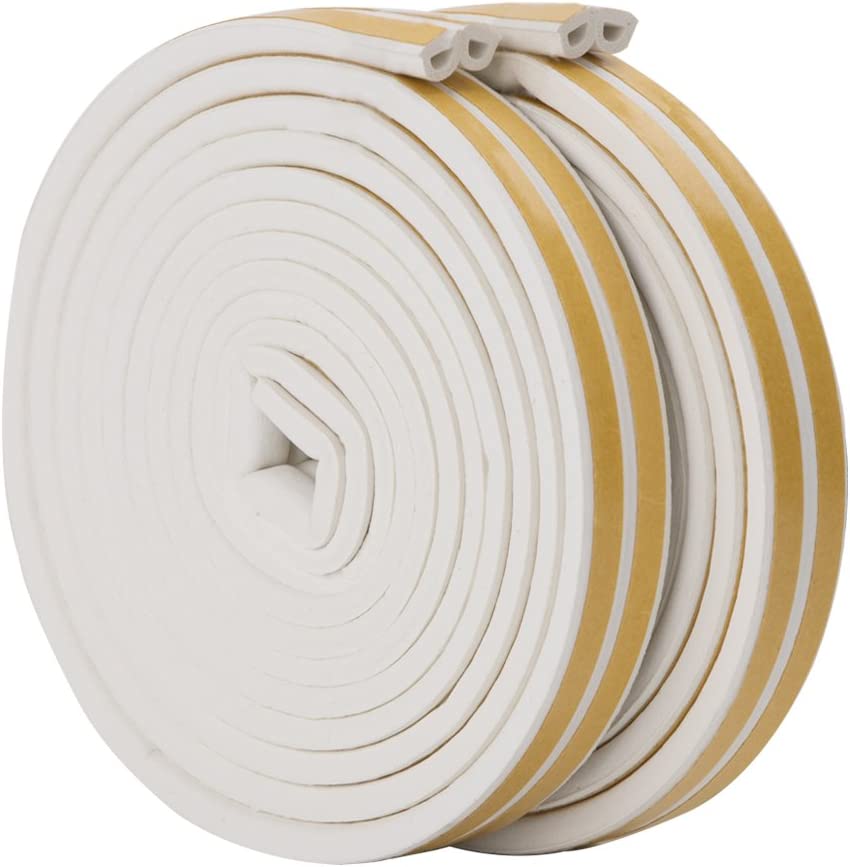
Probably the best known way of draught proofing a front door – and a very effective one too – is to use self-adhesive weatherproof strips.
These come in various guises, made from rubber or foam or as brush or wiper strips. They are often also used for insulating windows and usually have a self-adhesive backing, making fitting simple — just cut to fit and stick into place to form a tight seal between the door and its frame.
Bring your dream home to life with expert advice, how to guides and design inspiration. Sign up for our newsletter and get two free tickets to a Homebuilding & Renovating Show near you.
It is important when using self-adhesive strips to ensure that the door and frame are scrupulously clean to get the strips to adhere well and you should aim for a tight fit when cutting them to the right size too.
Some brush or wiper style strips will also require screws or nails to be fixed into place — if so, check that they are included. It is also worth considering buying weatherstrips that incorporate an acoustic seal — ideal if you live on a busy road.
2. Use brush strips on the bottom of the door
The bottom edges of front doors can be real hotspots (or should that be cold spots?) for draughts. For this reason, fitting brush strips or hinged flap draught excluders to this section of the door is highly recommended.
Brush strips usually come in the form of a thin metal bar, with the brush fixed to the bottom. These bars can be cut to length and are normally screwed into place. Some are designed to slide onto the bottom of the door before being fastened with screws. You need to ensure that the bristles on the strip reach the floor.
Another option is hinged flap draught excluders made from rubber. These are fitted in a similar way but feature a rubber wiper section.
3. Cover the keyhole
How to insulate your house rule number one: avoid gaping gaps to outside. As you might expect from a hole leading to the exterior, the keyhole in your front door can be a pesky cause of draughts. For this reason, it really does pay to cover it up.
Fit a covered escutcheon over the keyhole — a metal disc that is screwed into place and slides out of the way to allow for the key. More modern locks can be covered with keyhole lock cover guards, like these ones for around £5 on Amazon, that lift up when access is needed.
A final option is a brush draught excluder for keyholes. The bristles prevent chilly draughts but allow keys through.
4. Don't forget to deal with the letterbox
Let the post in but keep the draughts out of your letterbox by fitting a letterbox flap or brush. Yes they make it a little tricker for the postie to pop your letters through but they will stop the wind blowing through too — just be sure to carefully measure your letterbox before you buy.
Alternatively, you could invest in a brand new letterbox — most new models are designed to be energy efficient and come fitted with both brushes and flaps.
Your third option is to get rid of the letterbox altogether. Either seal it up or fill in the gap where it once was with timber. A wall-mounted external letterbox fitted to one side of your front door or by your gate can then take over.

5. Use a draught excluder at the base of the door
Breathe a sigh of relief — no tools required for this one. Soft, long cushions or bolsters designed to be pushed up to the base of the door, covering any gaps between the bottom edge and the frame, are surprisingly effective.
Choose one with a good weight and a design that is long enough to span the width of your door — there are some really attractive designs available to compliment the rest of your interior scheme. You could even have a go at making one yourself if you are that way inclined.

7. Hang a heavy curtain
Although often thought of as a traditional and perhaps rather old fashioned idea, do not underestimate the difference hanging thick, heavy curtains in front of draughty spots, such as windows and old doors, can make.
Opt for curtains with thick linings and those made from hefty fabrics — thermal curtains would be ideal and make sure the designs you choose are slightly wider and longer than your front door to really exclude all draughts.

6. Think about upgrading any glazing
If you are after a more permanent solution and don't mind calling in the professionals, you might like to consider whether it is time to replace any old, single glazing in your front door.
There is no need to replace your whole door to upgrade the glass panels, many glazing companies can carry out this job in situ, while others will collect the door and take it away to fit new glass. They can even add draught proofing measures at the same time.
8. Consider installing a new front door
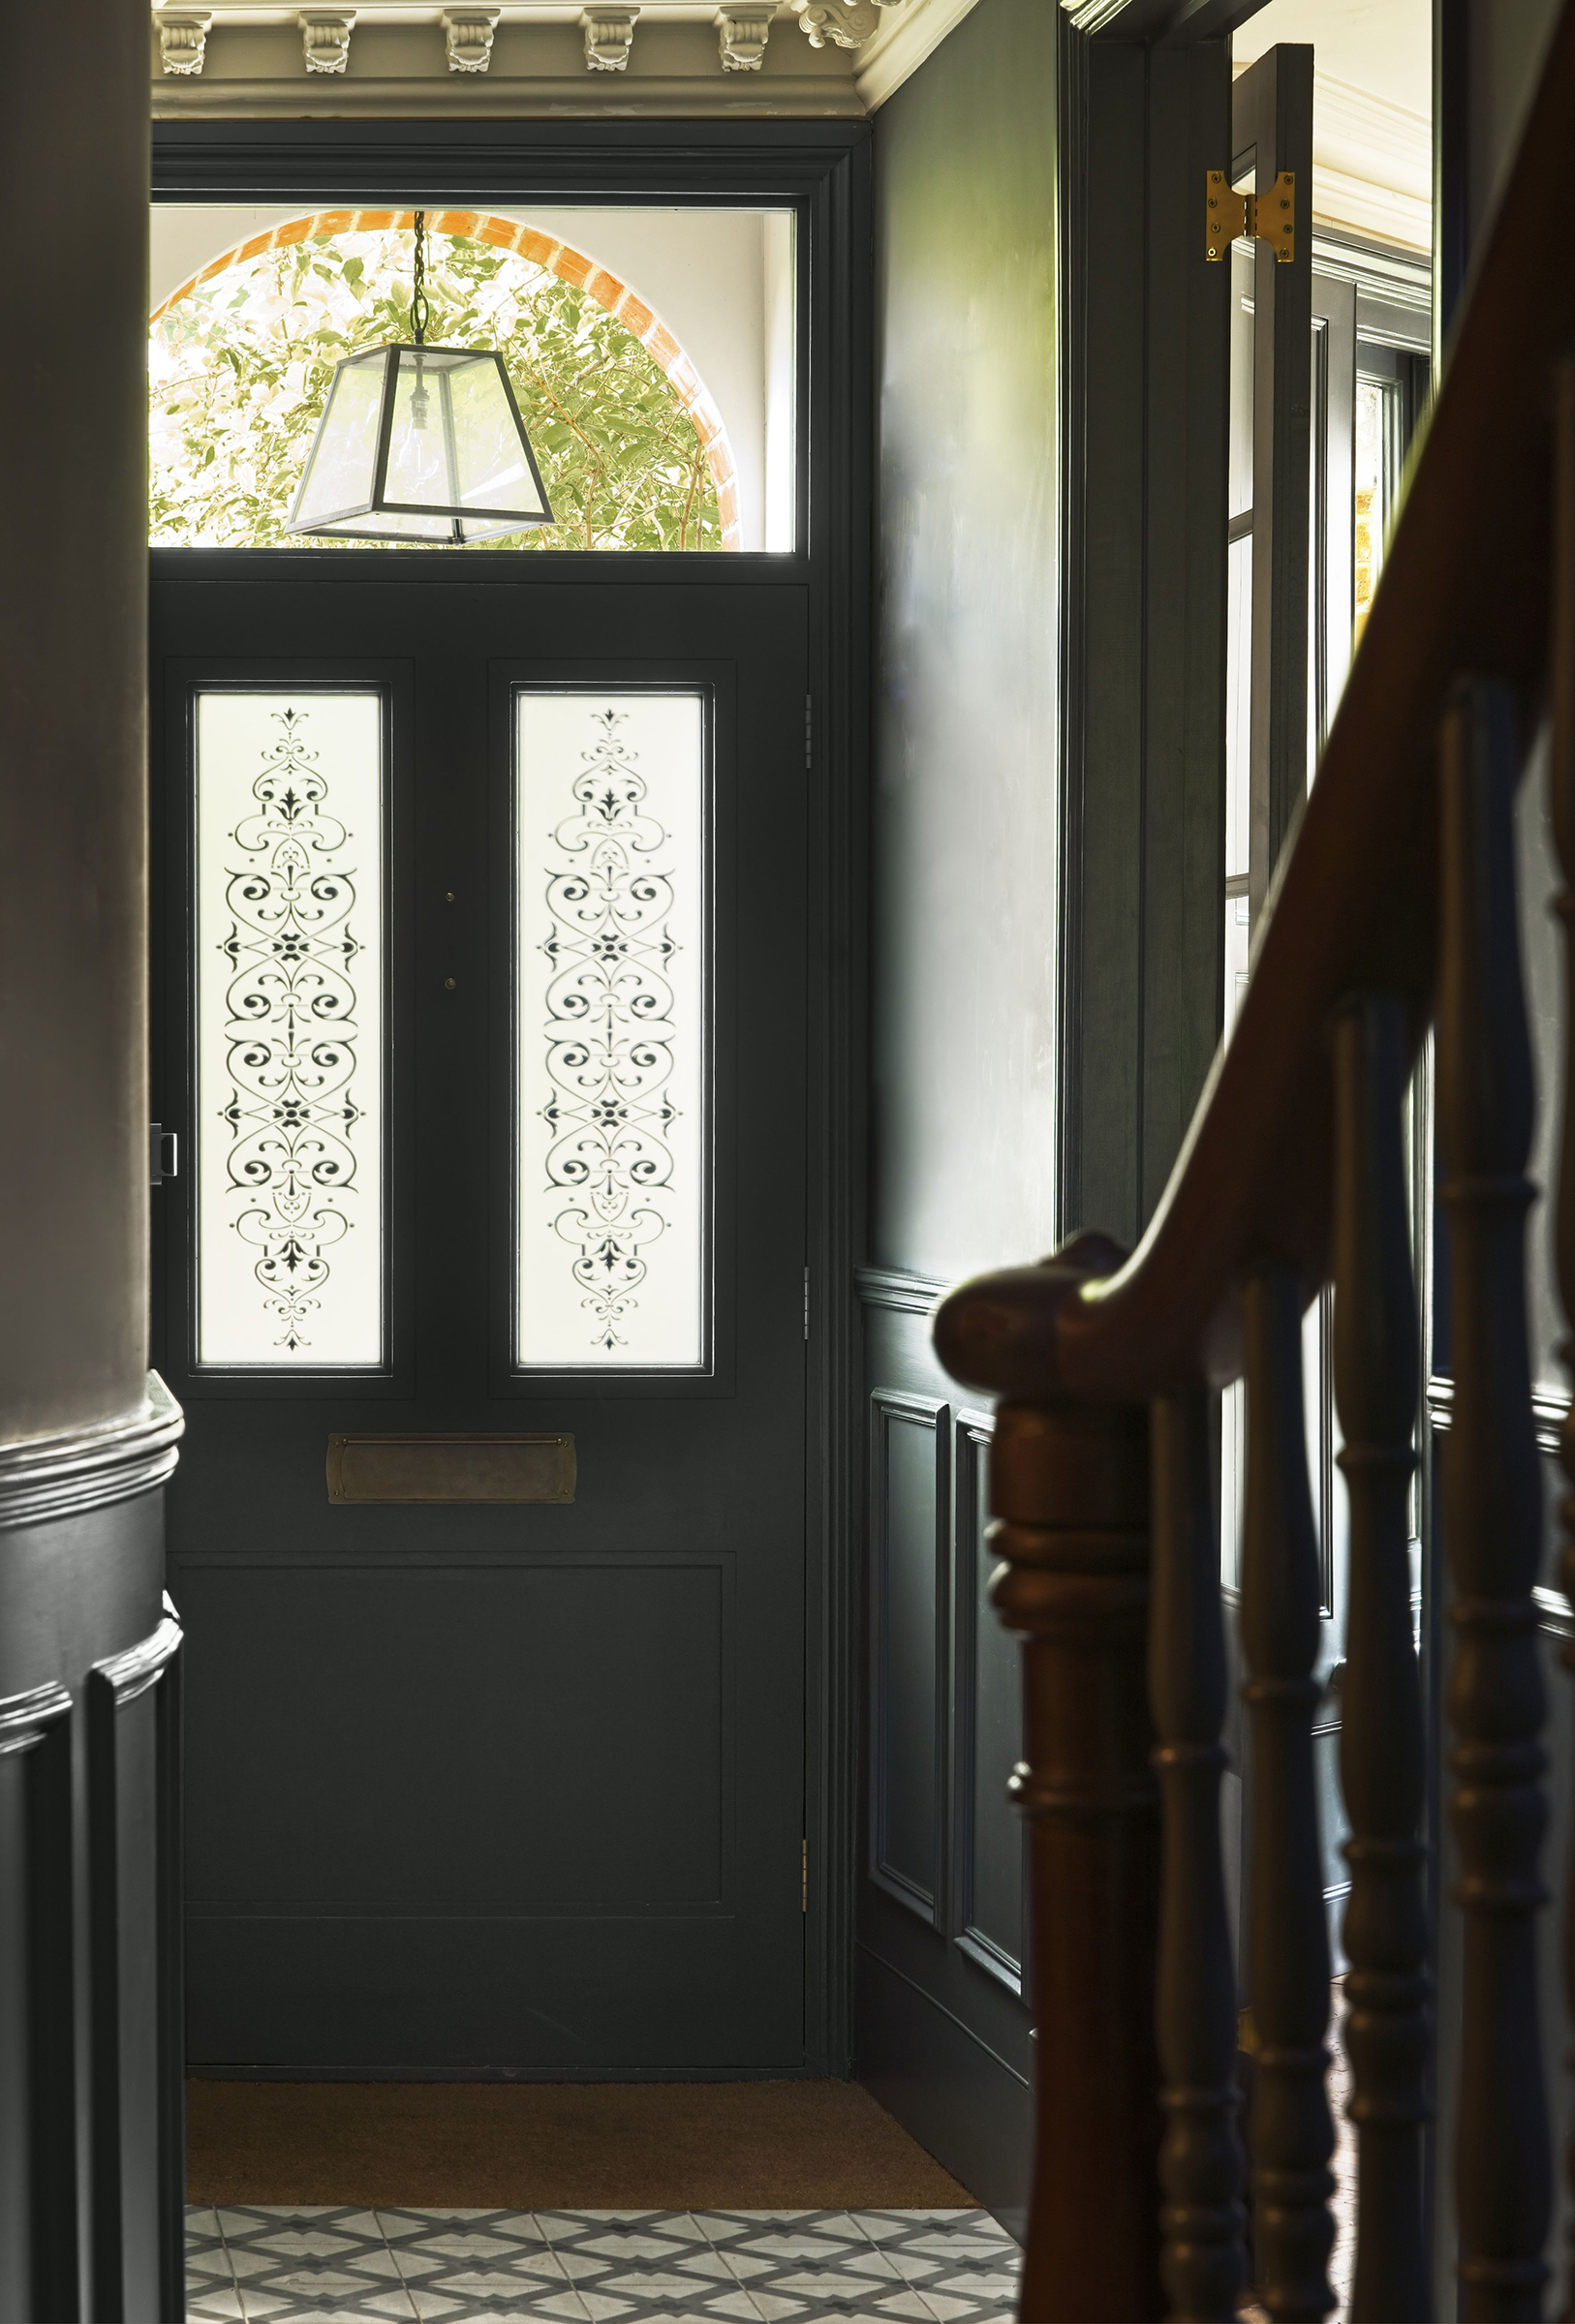
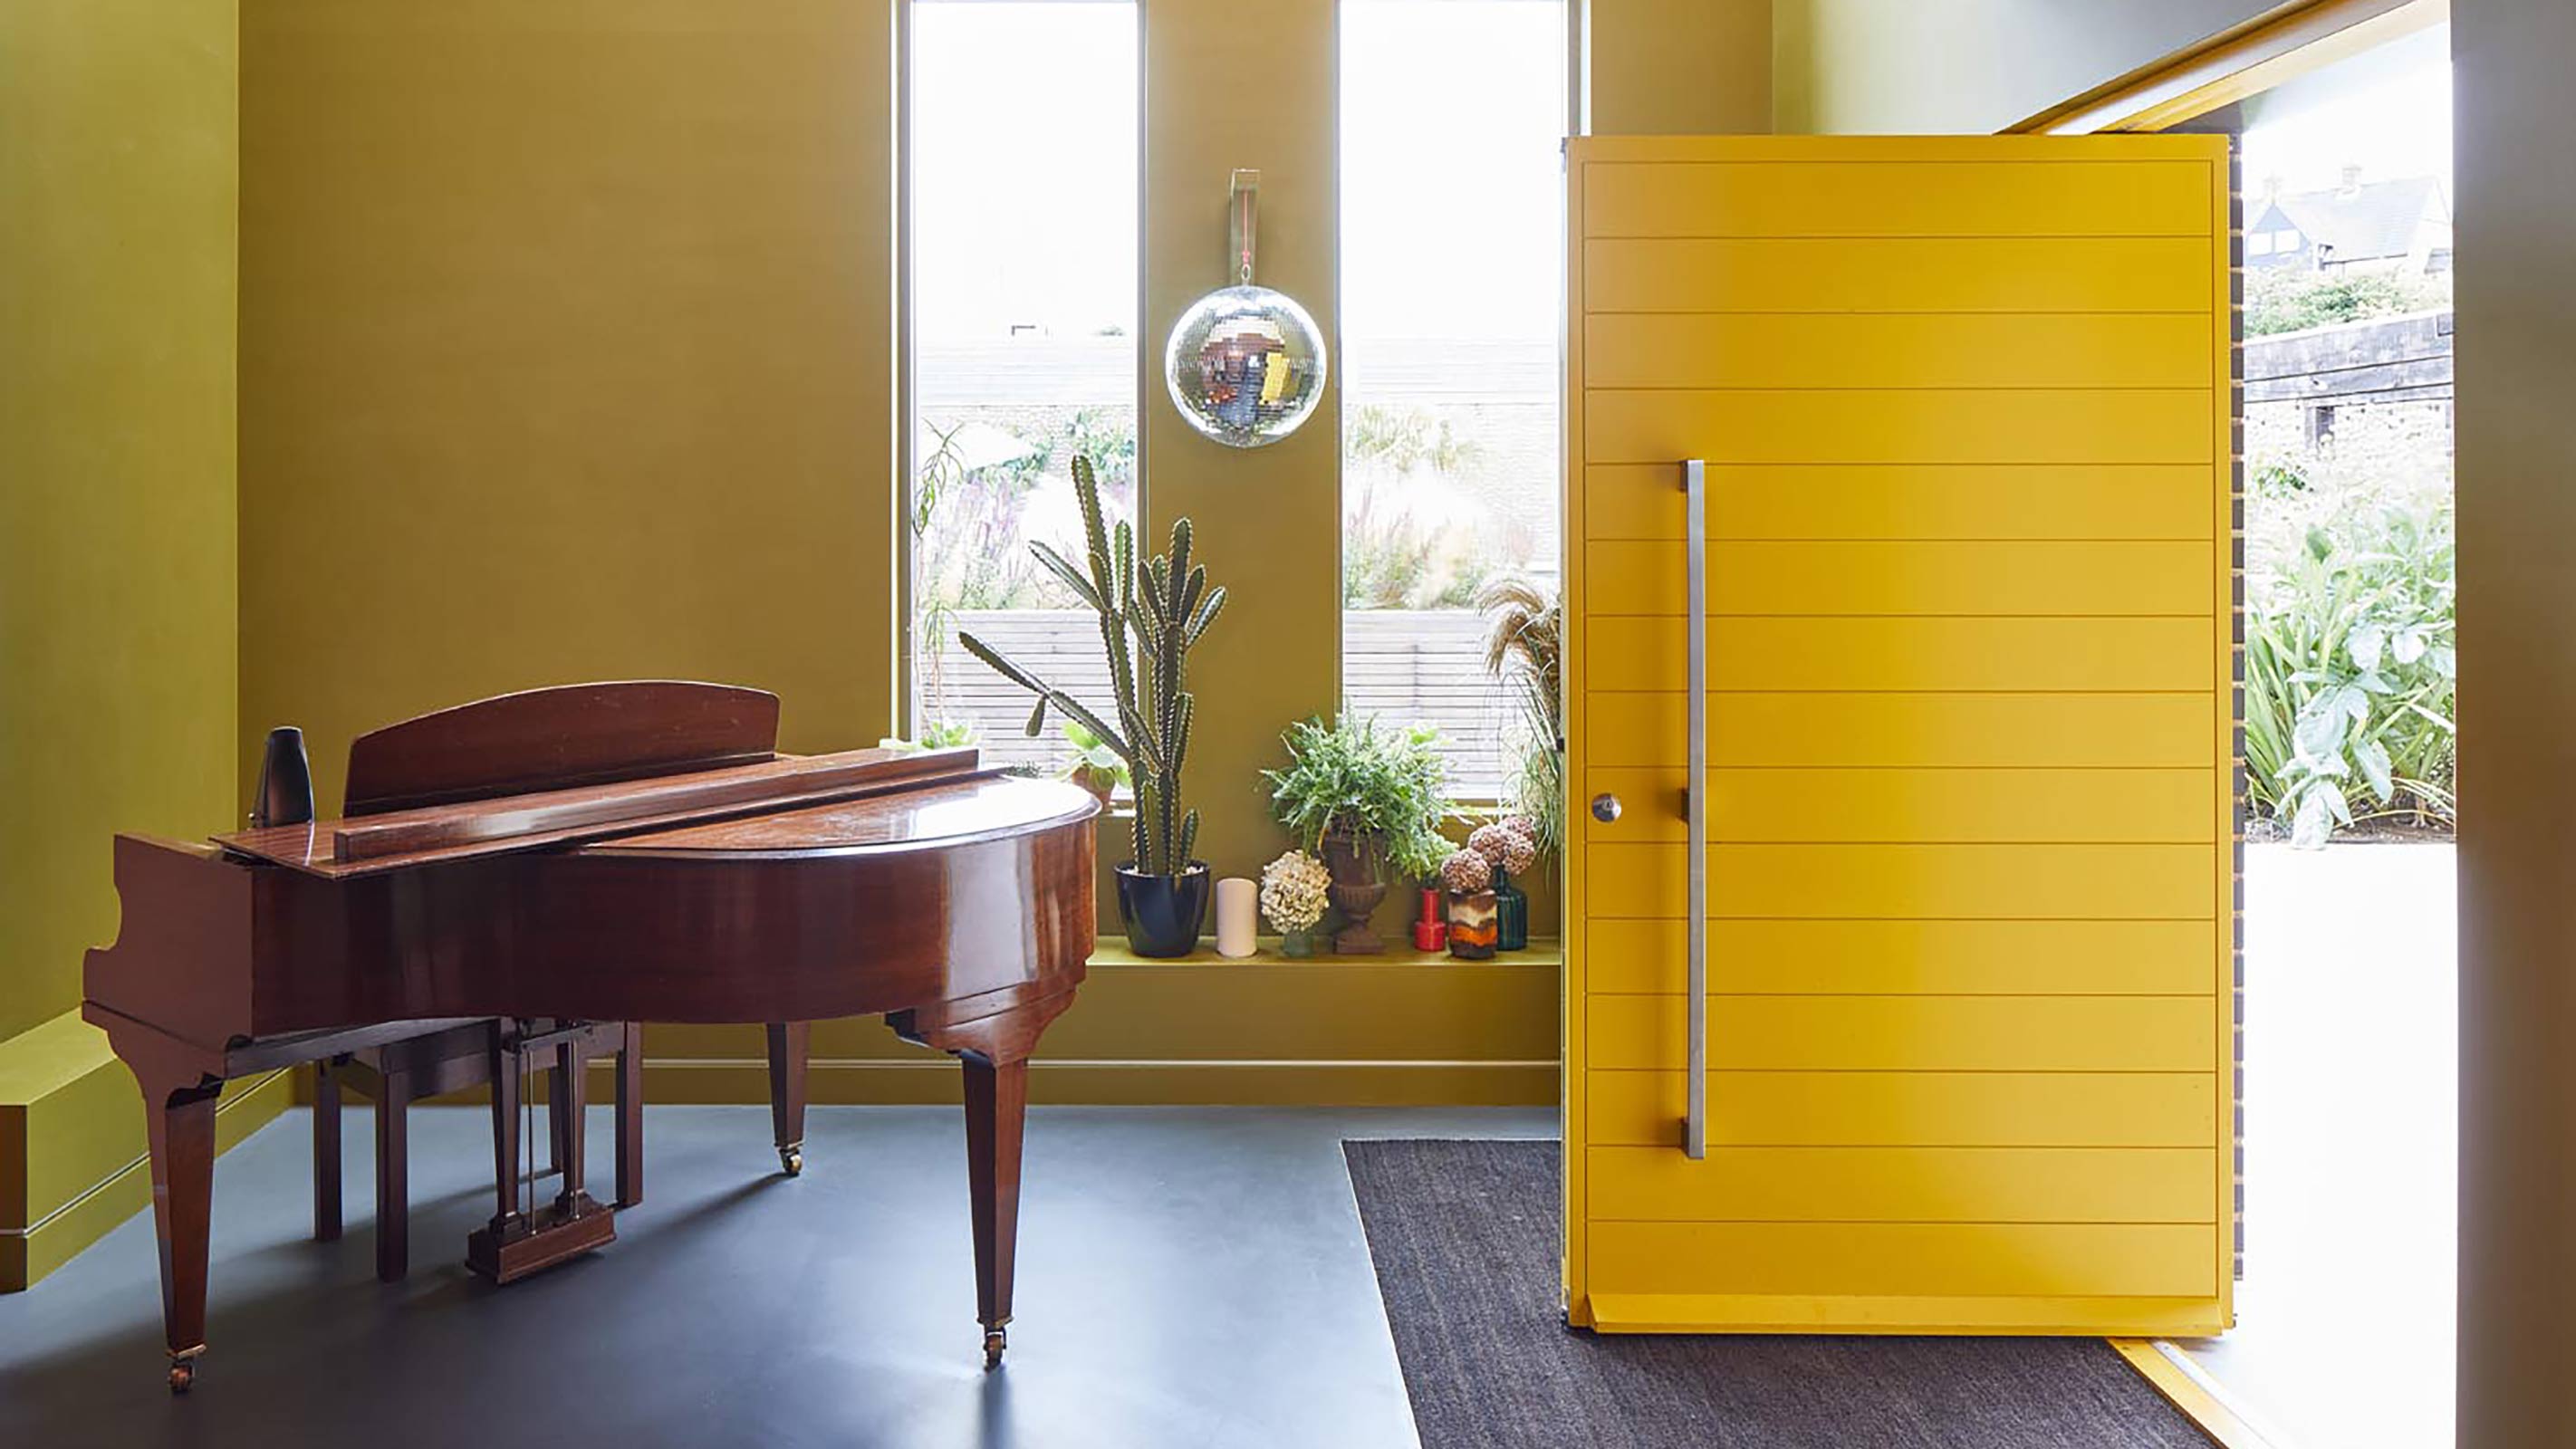
And, finally, how about splashing out on a new front door entirely? Obviously this one is going to cost you, but if you have been mulling over front door ideas for some time and feel that your home's kerb appeal could do with a boost, then the front door is most definitely the place to start.
If you live in a period house with an original door, do think twice before replacing it with a new one as it is this kind of authentic feature that gives most older houses their character and charm. However, if your existing door is doing nothing for your house either visually or in the thermal efficiency stakes, then it might just be time for a change.
Natasha was Homebuilding & Renovating’s Associate Content Editor and was a member of the Homebuilding team for over two decades. In her role on Homebuilding & Renovating she imparted her knowledge on a wide range of renovation topics, from window condensation to renovating bathrooms, to removing walls and adding an extension. She continues to write for Homebuilding on these topics, and more. An experienced journalist and renovation expert, she also writes for a number of other homes titles, including Homes & Gardens and Ideal Homes. Over the years Natasha has renovated and carried out a side extension to a Victorian terrace. She is currently living in the rural Edwardian cottage she renovated and extended on a largely DIY basis, living on site for the duration of the project.

