Bring your dream home to life with expert advice, how to guides and design inspiration. Sign up for our newsletter and get two free tickets to a Homebuilding & Renovating Show near you.
You are now subscribed
Your newsletter sign-up was successful
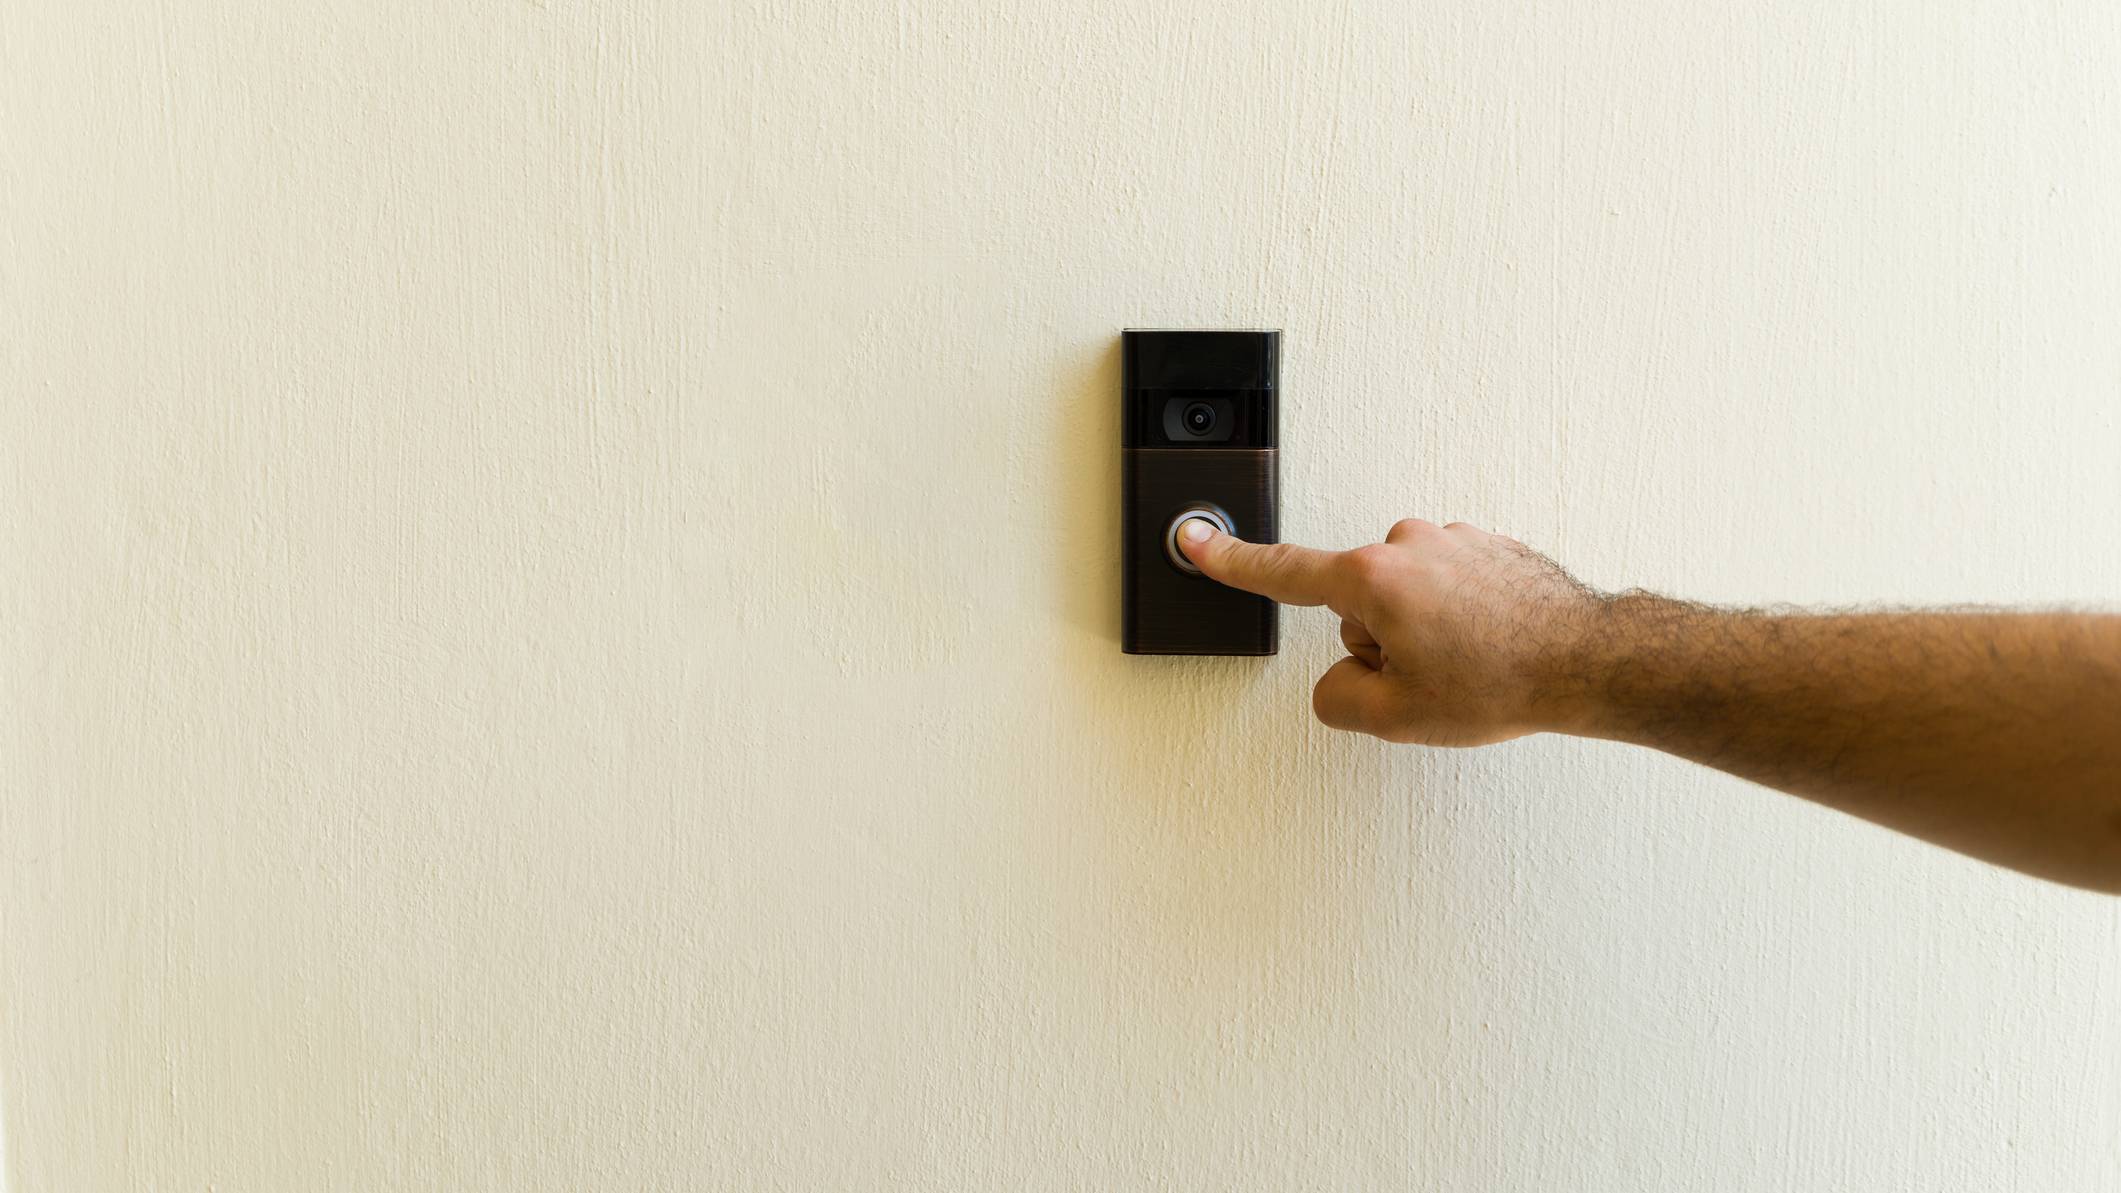
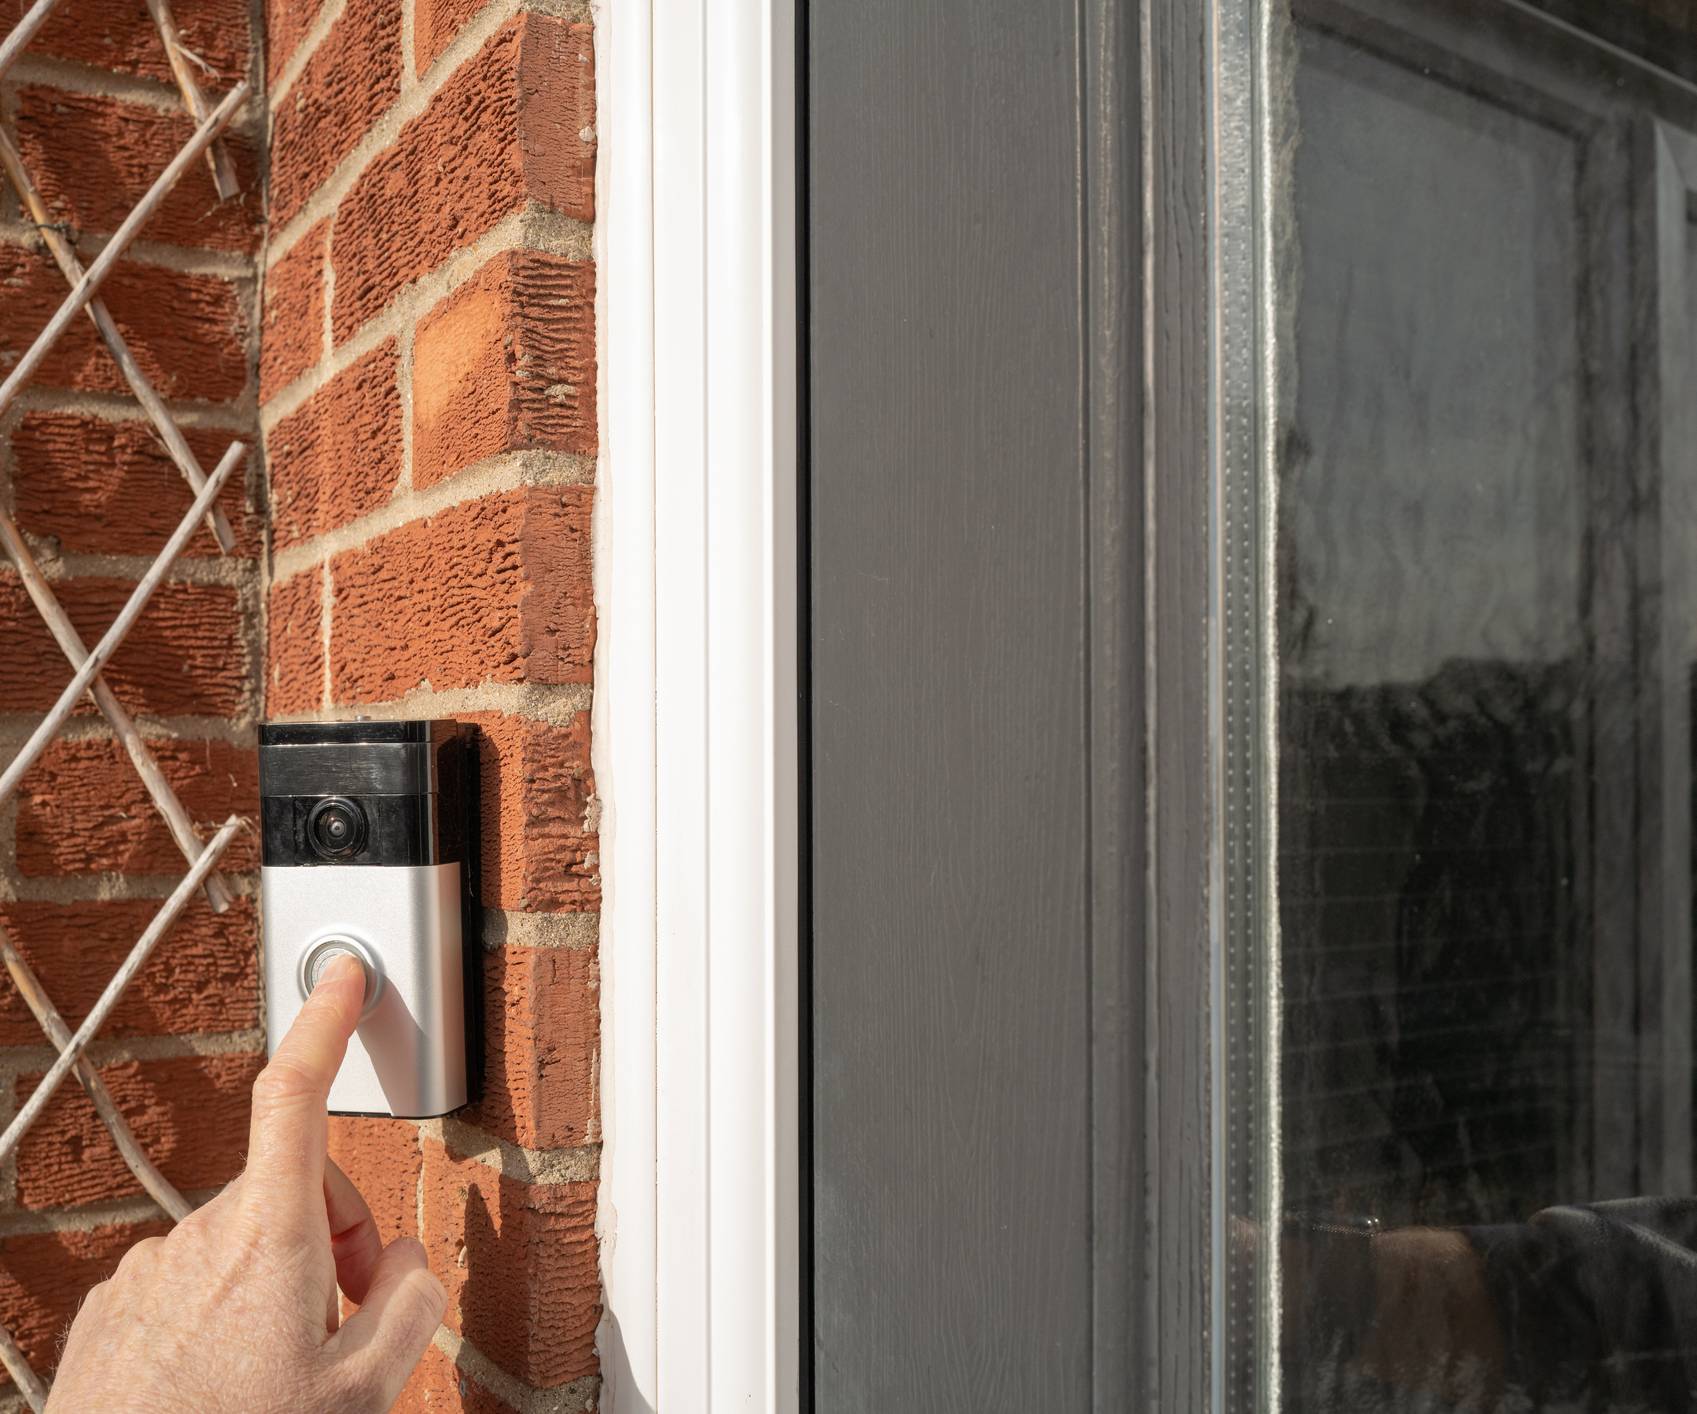
Congratulations on your shiny, new Ring doorbell… and commiserations on now having to install it.
Over 1 in 5 Brits now have a video doorbell at home, but the devices are still relatively new to most households. Not many of us will have installed more than one in our lifetimes.
This guide will take you through the process of installing a Ring doorbell, with expert tips to help you get the best out of your new home security system. Most of the steps are simple, but there are some considerations and potential errors to be aware of before you start the set-up.
Installing a wired Ring video doorbell requires expertise in working with household electricity. Wiring in should not be attempted by DIYers who are not properly trained in electrical work.

Hayley Brown is a smart home expert at AO.com, which retails a wide range of household tech including video doorbells.
Powering your Ring doorbell: wired vs. battery
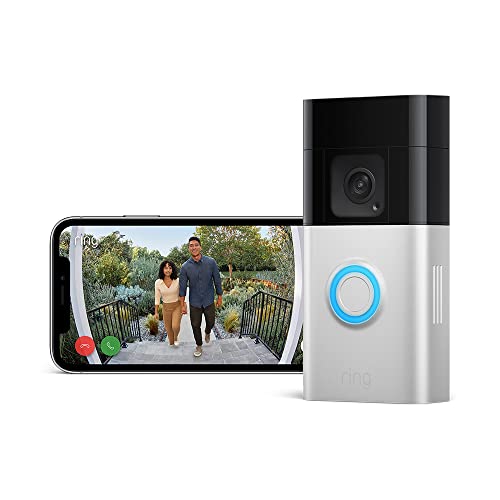
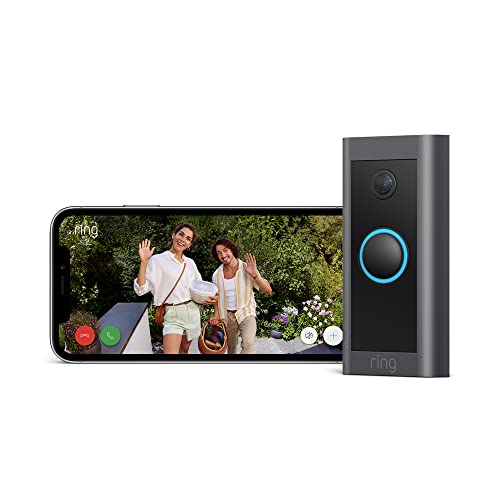
There are two ways to power a Ring doorbell: via a wired connection, or using a rechargeable battery. Different models from the brand’s range are designed specifically for one power source or the other.
With wired Ring doorbells, the doorbell is hardwired to a low-voltage doorbell transformer, which takes power from your mains electricity supply and feeds it to the doorbell continuously.
A battery-powered Ring doorbell has a removable, rechargeable lithium-ion battery, which must be taken out and recharged when it gets close to depletion. You’ll be able to see on the Ring app when the charge level is low.
“Battery powered Ring doorbells are far easier to install for most households – you simply mount the bracket, charge the battery, and connect this to your Wi-Fi through a mobile phone app,” says Hayley Brown, a smart home expert at AO.com.
Bring your dream home to life with expert advice, how to guides and design inspiration. Sign up for our newsletter and get two free tickets to a Homebuilding & Renovating Show near you.
“Wired models are much fiddlier, particularly if your home doesn’t already have a doorbell circuit. If you’re not confident with electrics, then a battery powered model is the lower-stress option.”
The major benefit to a wired installation is that the doorbell should always be powered, with no need for occasional charging. Even if you go travelling for several weeks, the doorbell should keep working and capturing footage. Wired Ring doorbells are also slimmer and arguably better-looking.
“A wired installation is the more reliable option in the long run because you don’t have to worry about recharging batteries or losing power at the wrong moment,” says Clive Holland, a property expert and Fix Radio presenter.
“Once it’s fitted, it’s a set-it-and-forget-it job, which appeals to many homeowners.”

Clive Holland is the former host of Cowboy Trap on the BBC. Now a broadcaster on Fix Radio, the UK’s only national radio station for builders and tradespeople, Holland is one of the UK’s leading property and DIY experts.
How to install a Ring video doorbell: Step-by-step
1. Doorbell placement
Placing your Ring doorbell in the ideal spot will ensure it’s easy for visitors to use and able to capture the footage you need.
If you’re going to use the doorbell with a wired electricity supply, you’ll need to choose a spot where wiring can be conveniently connected to the device through the wall. You might already have this wiring in place from a previously installed doorbell.
Otherwise, positioning should be guided by getting the right viewpoint for the doorbell’s camera.
“Ring recommends placing your device around 1.2 metres from the ground – not at eye level,” says Brown.
“By doing this, you’ll capture faces as well as packages left at the doorstep, making both visits and deliveries handy for you to check on using your phone.”
If you need to position your doorbell at an angle to get the required viewpoint, you’ll be able to do this using the wedge mounts provided with your Ring doorbell.
“Try to tilt the camera slightly downwards or sideways to avoid pointing straight at a busy street,” Brown advises.
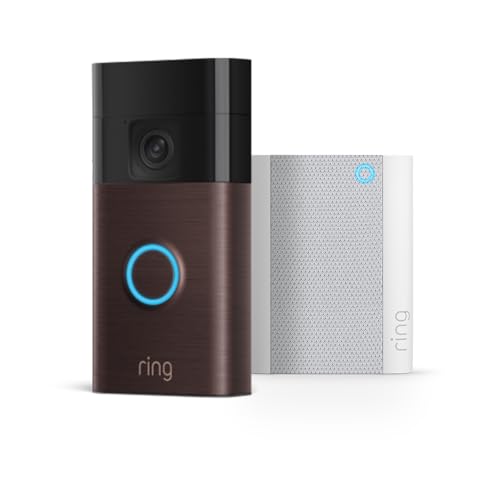
“Also consider your Wi-Fi and be sure to test the signal strength at the front door before you install your doorbell. If the signal is weak then perhaps consider getting a Wi-Fi extender or Ring’s very own Chime Pro, which serves this purpose as well as acting as a door chime.”
Turn the doorbell on and check its viewpoint using the Ring app before settling on a final position.
2. Mounting the doorbell
For installation of a wired Ring doorbell, this step should be carried out by a qualified electrician. Mains electricity supply to the affected area should be turned off at the consumer unit before drilling.
All Ring doorbells come with a mounting kit and specific instructions on how this should be installed by the door to your home. This might include a choice of mounts, including a wedge mount or corner mount.
Mark holes on the building where the mount will be screwed into place, then drill these to the specified width. If you’re drilling into a hard material such as brick or stone, you’ll need to use a hammer drill with a masonry drill bit, and then insert the supplied wall plugs (also known as anchors) into the drilled-out holes. With softer materials such as wood, you can simply drill the holes using an ordinary drill bit.
You can now screw your mount into place using a screwdriver and the supplied screws. The doorbell should slot into it securely.
3. Electrical setup
For installation of a wired Ring doorbell, this step should be carried out by a qualified electrician. Mains electricity supply to the affected area should be turned off at the consumer unit before drilling.
If you’re installing a battery Ring doorbell, electrical setup should be straightforward. Just make sure the device’s battery is charged sufficiently before slotting it onto the mount.
Meanwhile, wired installation is an expert job.
“While some confident DIYers might be tempted to tackle a wired installation themselves, I always recommend bringing in a professional,” says Holland.
“Working with electrics carries risks, and a qualified installer can get the job done quickly, safely, and to a high standard. Most local electricians or even smart home specialists will be familiar with fitting video doorbells, and many can be booked at short notice.”
4. Configuration
With your doorbell fully installed, you can move onto configuring the device via the Ring app, which you’ll use to control and manage the device on your smartphone or tablet.
Your Ring doorbell’s specific set of features and capabilities will vary depending on the model, and also whether you pay for a subscription to Ring Home, which has three subscription tiers giving access to different advanced features such as video playback, doorbell calls and A.I.-assisted video search.
In any case, you can configure settings such as motion zones (areas of the camera’s viewpoint that do not trigger alerts or recording, such as a busy road), a connected chime that will sound inside the home when someone presses the doorbell, and shared users for the device.
Shop Ring doorbells
Does setup vary between Ring doorbell models?
Broadly speaking, setting up one Ring doorbell model is similar to setting up another. You’ll always need to follow the positioning, mounting, power setup and configuration processes outlined above. (Of course, there are different electrical requirements for battery-powered and wired models.)
With that said, Ring doorbell models do sometimes have slight differences in their setup processes. For instance, some models have additional wedge or corner mounts to choose between. Read the instruction manual for your chosen model to ensure you’re following the correct steps:
- Battery Video Doorbell Pro instructions
- Battery Video Doorbell Plus instructions
- Battery Video Doorbell instructions
- Door View Cam instructions
- Wired Video Doorbell Pro instructions
- Video Doorbell Wired instructions
- Video Doorbell Elite instructions
FAQs
Which Ring doorbell is the easiest to install?
Brown advises that the battery powered models in the Ring video doorbell range are the easiest choice for DIY setup.
“They’re far easier to install and can simply be recharged indoors every couple of months,” she says.
“While wired Ring doorbells do not need to be recharged, the faff of installation can be an obstacle. You’d be far better off getting a battery Ring doorbell for the best balance of convenience and flexibility.”
Holland agrees that wired Ring doorbells are more difficult to install – although they can be more convenient in the longer term.
“It takes more time, tools, and confidence to get the wiring right, and not everyone wants the hassle,” he says.
“Battery-powered units, on the other hand, are much simpler to fit, and you can usually get them up and running in under an hour.”
Who can professionally install a Ring video doorbell?
Installing a wired video doorbell is outside of many DIYers’ comfort zone, due to the wiring involved. If you lack the necessary training in electrical work, you should get the job done by a professional electrician.
“You can use one of Ring’s own approved installers who often partner with local trusted trades, or look for an electrician registered with NICEIC or NAPIT. These accreditations ensure they’re qualified to fit your Ring doorbell,” says Brown.
“Take into account customer reviews to make sure others have had good experiences with your chosen sparky,” she adds.
If you want to install a Ring battery doorbell but you’re not confident with the mounting process or setup, then a local handyman should be more than capable of doing the job. Alternatively, you could ask a DIY-confident friend to do it for you.
What are some common mistakes to avoid when installing a Ring doorbell?
“A key mistake is poor positioning – too high, too low, or pointing at the wrong angle – which can mean you don’t get the footage you actually need,” says Holland.
“Another common one is not checking the Wi-Fi signal before fitting, leading to connection dropouts and frustration.
“With wired installations, you come across people attempting to connect without properly shutting off the power, which is a real safety hazard,” he adds.
Installing a Ring video doorbell is one step towards creating a sophisticated smart home setup. For further inspiration, see our guides to smart lighting, smart locks and home security system costs.
Pete Wise is a freelance writer and keen DIYer from Leeds. Pete's tool reviews have featured in titles including Homebuilding & Renovating, Ideal Home and The Independent. He also writes features and news articles for publications such as The Guardian, BBC Good Food and T3. When he isn't busy writing, Pete can often be found at libraries, pubs and live music venues. He finds tile-cutting strangely zen.
