Tiling a corner: How to tackle internal and external corners
Tiling a corner isn't as difficult as you might think. Here we reveal a few trade secrets to get a smooth, good looking finish

Bring your dream home to life with expert advice, how to guides and design inspiration. Sign up for our newsletter and get two free tickets to a Homebuilding & Renovating Show near you.
You are now subscribed
Your newsletter sign-up was successful
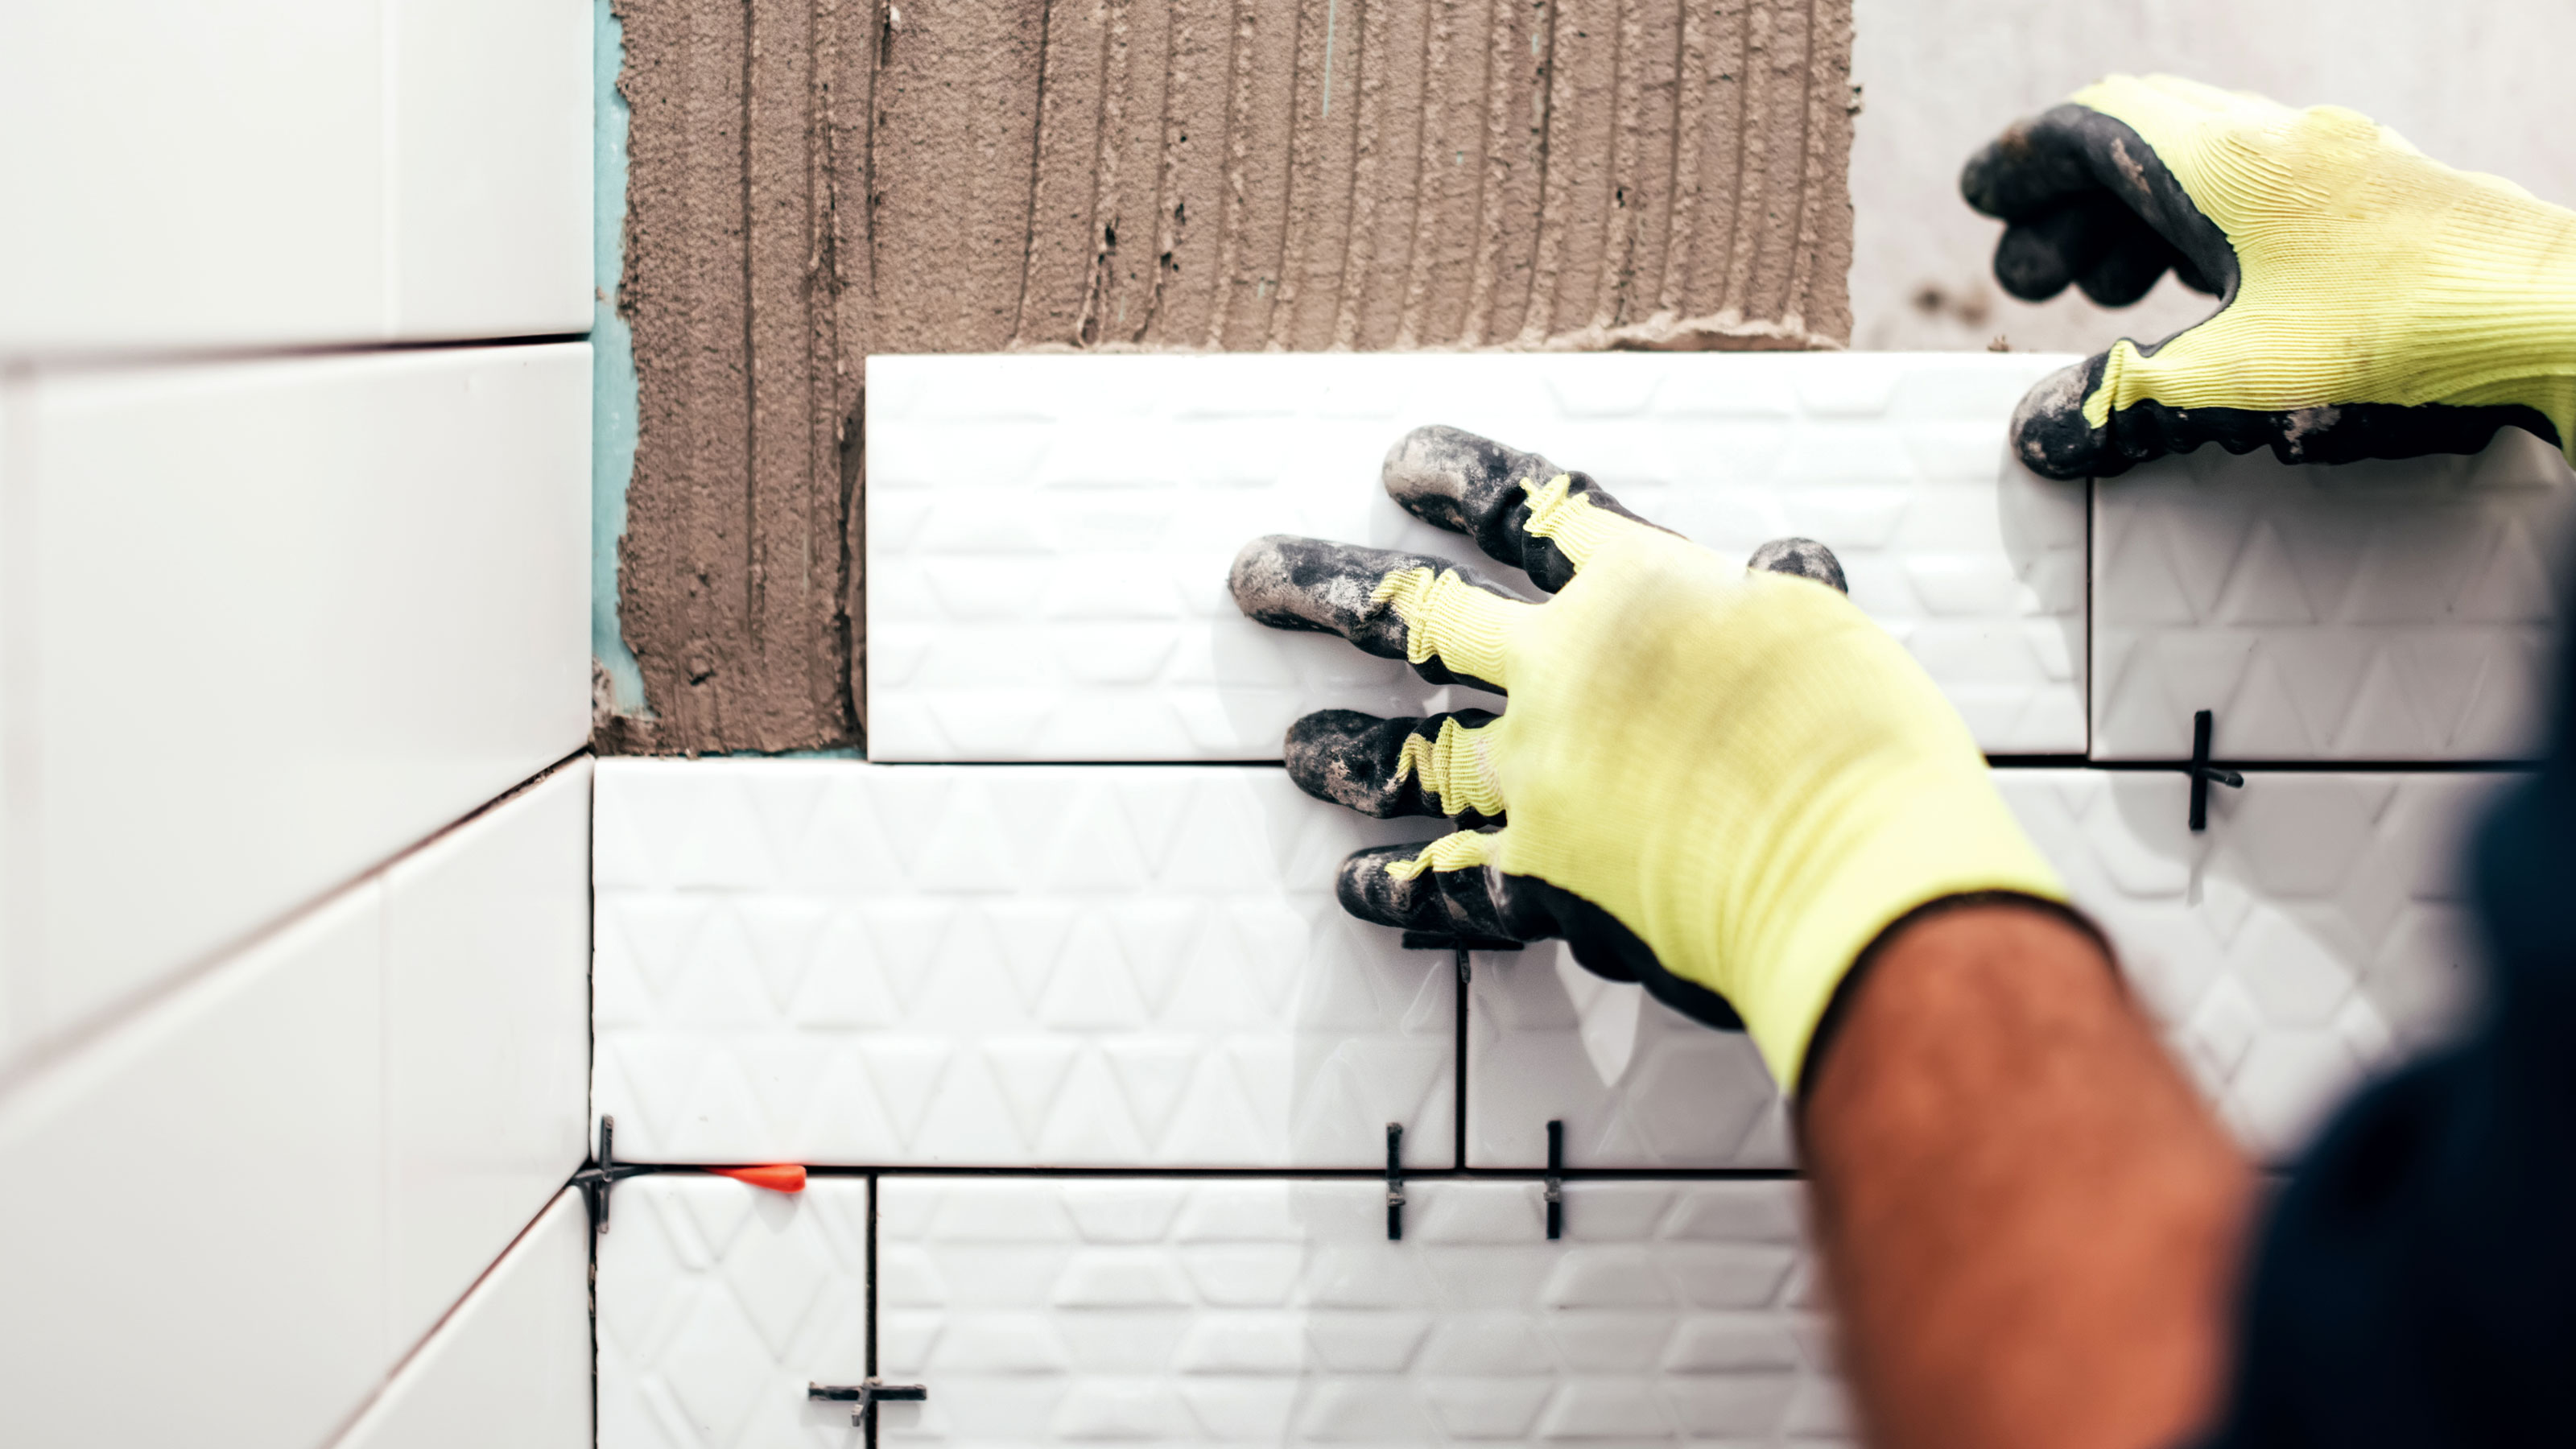
When tiling a corner there are two types of corner you are likely to encounter — and these are internal and external corners. The easier of the two is typically an internal corner as it involves less work, while external corners usually require more precision and additional equipment to help line everything up correctly.
Before you start, it is worth bearing in mind that knowing how to tile a wall is a necessary prerequisite before moving on to the more intricate work involved in tiling a corner. But, if you have already mastered the basics you can find the know how you need to tackle corners in this easy to follow guide.
Tiling a corner: Tools you’ll need
- Tile cutter
- Notched trowel
- Tape measure
- Felt tip pen
- Tile nippers
- Tile file
How to tile an internal corner
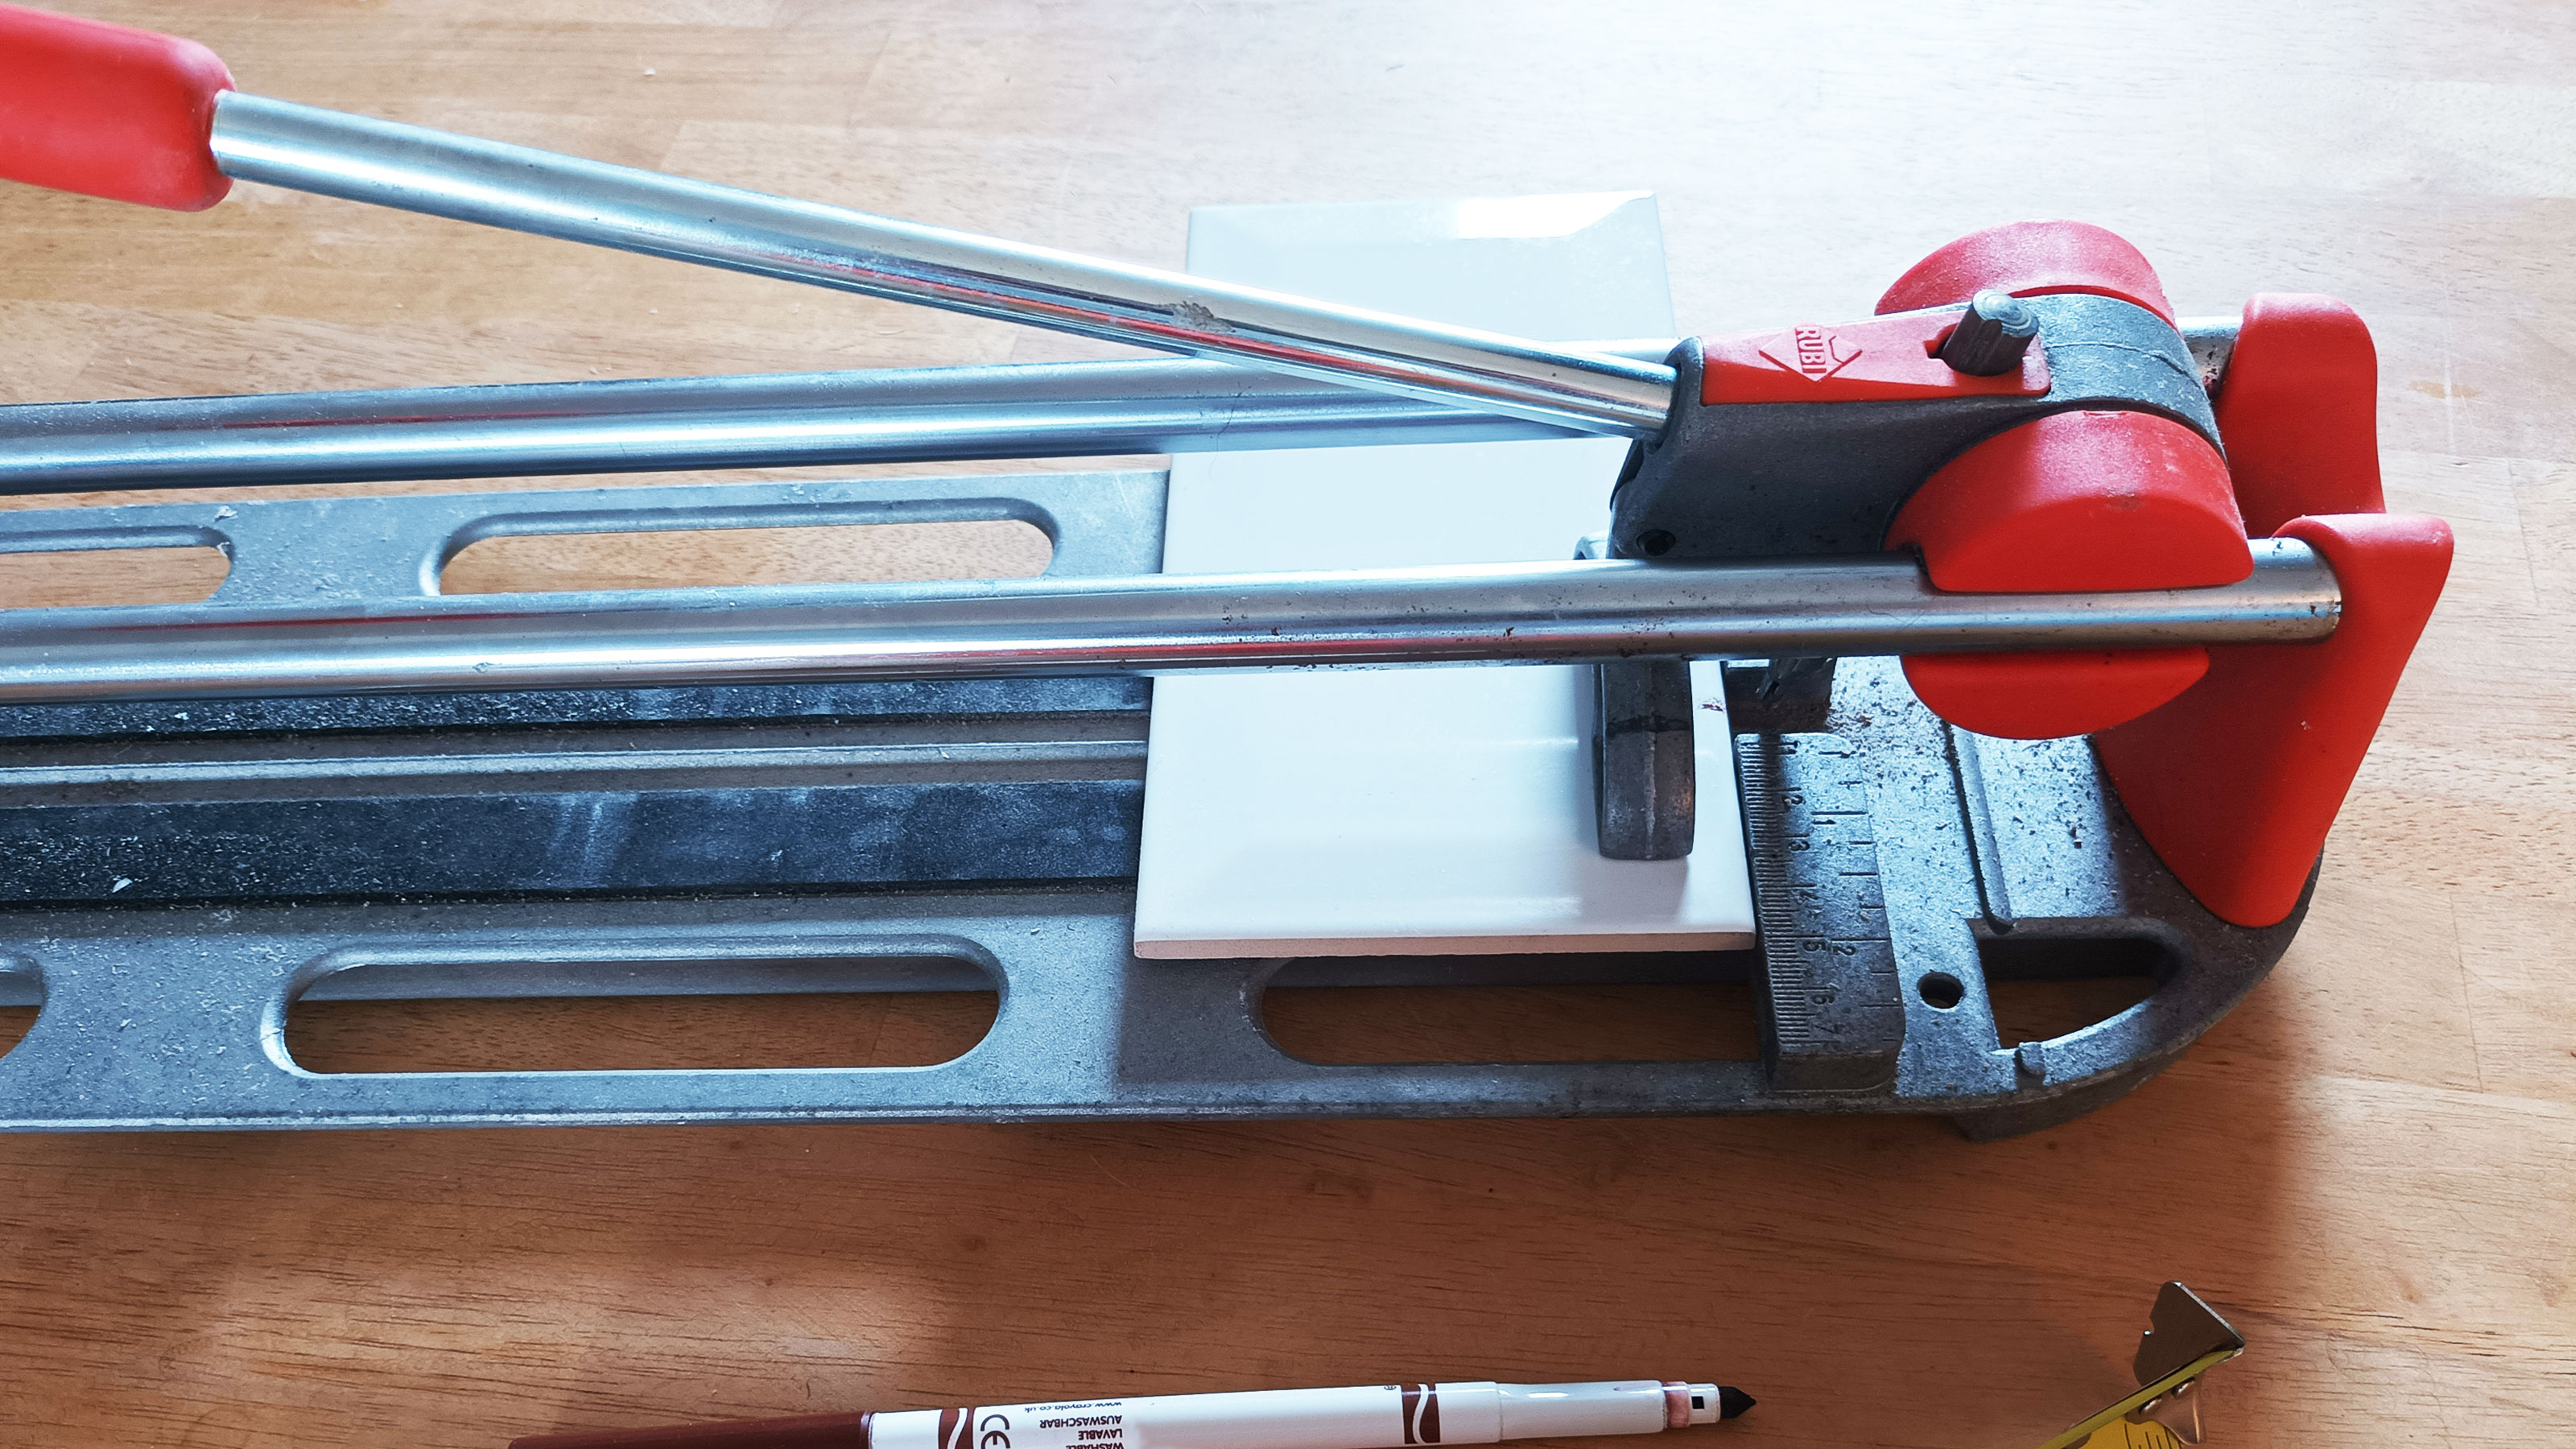
When approaching a corner you’ll reach a point where you can’t place a whole tile onto the wall. Here you will need to measure up and cut the tile to make it fit. Measure from the last whole tile into the corner. Then take away the tile spacer size - typically 2mm or 3mm to get a tight fit.
If the tile cut is more than 40mm you can use a tile cutter like the VonHaus Tile Cutter from B&Q. If the tile cut is less than 40mm it is difficult to use a manual tile cutter. The alternative is to use an electric tile cutter (if you have one) or a pair of tile nippers like the Silverline Tile Nippers from Amazon. Check out our guide on cutting tiles for more tips.
Once cut it’s time to check the fit. “For internal corners, once your tile is cut, you need to check to see that it fits and make small adjustments using a tile file," explains Harriet Goodacre, Tile Consultant at Topps Tiles.
To finish, she adds: “Use the narrow end of a notched spreader to put adhesive on the back of the cut tile and press it into place so it’s level.”

How to tile an external corner
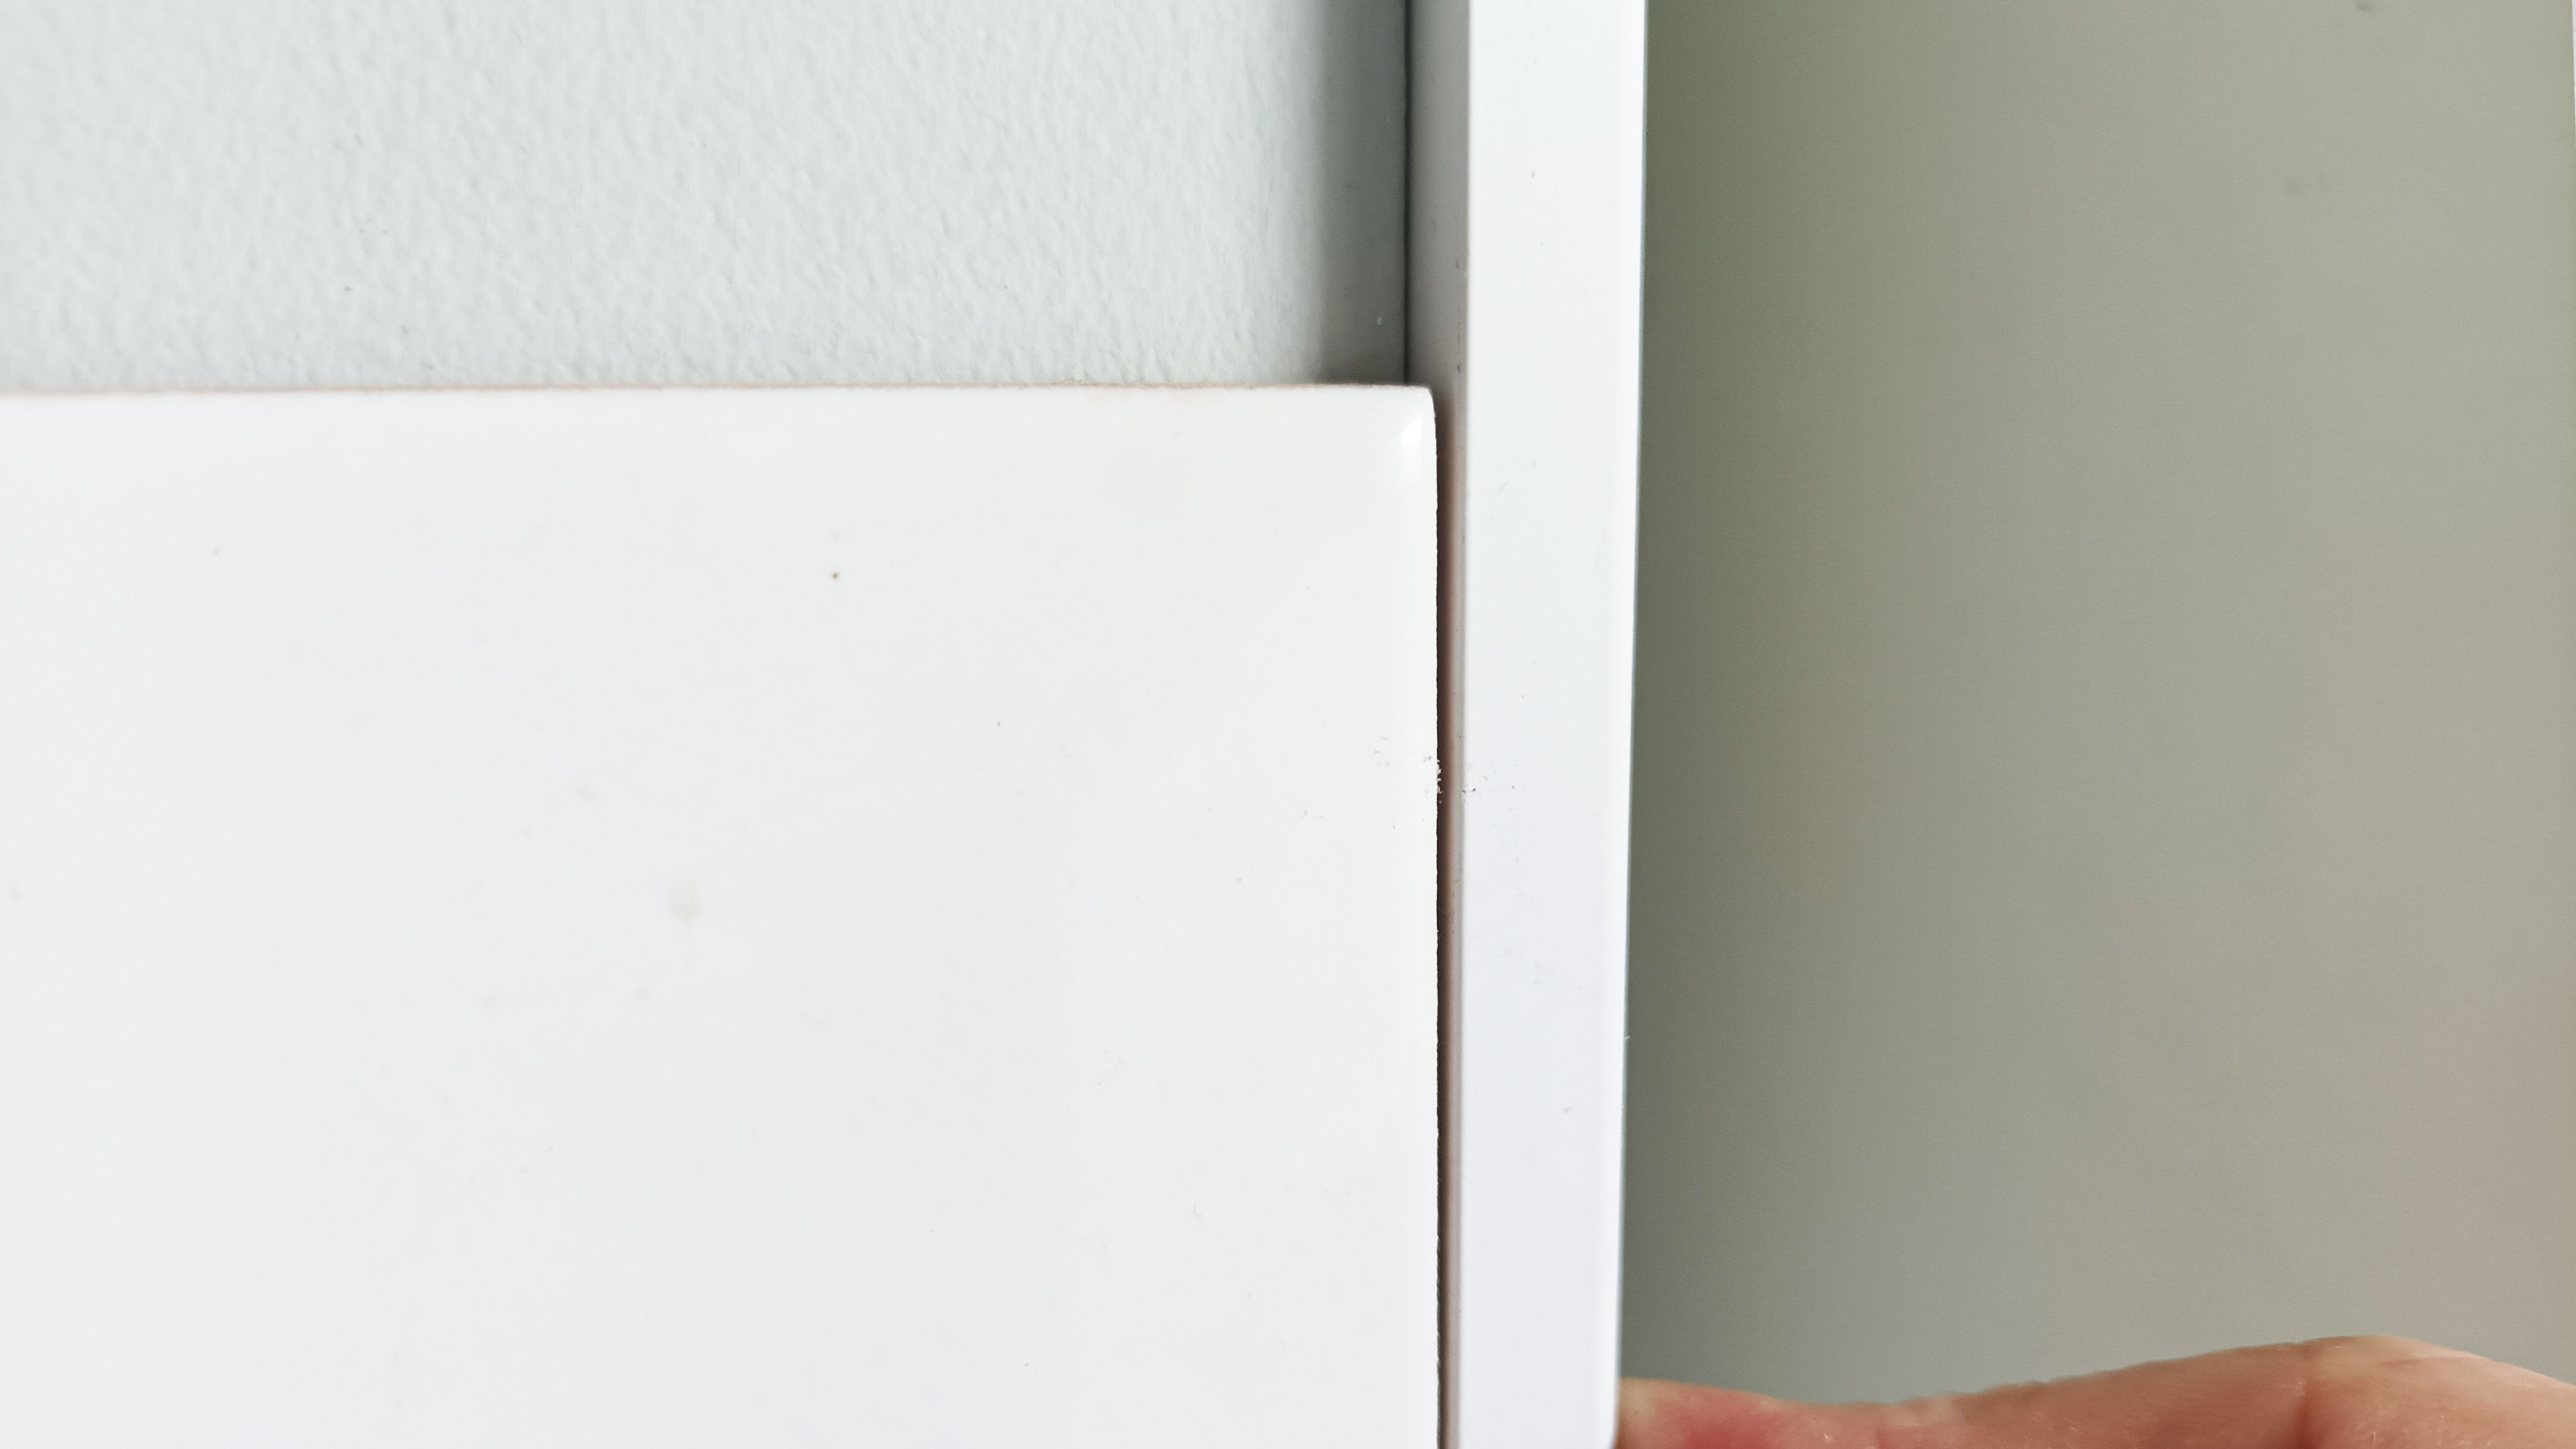
The common option for tiling around an external corner is to use tile trim like this Diall White Straight PVC External edge from B&Q which helps hide any manmade tile edges that haven’t been glazed. But you will need to choose the right size, as Goodacre reveals: “For external corners, you’ll require a tile trim to help protect the edges of your tiles from chipping. Choose a trim one size bigger than your tile depth so you have room for the adhesive.” So if you have a tile that has a depth of 6mm get 8mm trim.
Measure the trim so that you have the right length and cut with a hacksaw. Now get a notched trowel and apply tile adhesive (about the width of the tile trim) along the wall edge where the trim is going to go. Now press the trim into the adhesive. The trim should overhang the wall edge by the width of the tile you are using i.e. 6mm. Test by holding a tile against the edge of the trim to make sure you have the right size overhang to create a seamless corner.

What size tile trowel do I need?
Tile trowels have notches that come in different styles and sizes for different tile sizes and applications. These determine the depth of the adhesive and the space between the strips of adhesive. For example, large floor tiles need bigger notches than standard wall tiles.
As a general rule you will need a trowel with 6mm or 8mm notches, like the Faithfull Soft Grip Notched Trowel from Amazon which is suitable for most wall tiles typically up to 30cm x 30cm. You can use this size for smaller tiles and mosaics, but a 3mm notch is a better choice as this provides better adhesion.
Different size notches mean that different amounts of adhesive are used on a tiling project. Check out our How much tile adhesive do I need? guide to help make sure that you have the right amount for a job.
Bring your dream home to life with expert advice, how to guides and design inspiration. Sign up for our newsletter and get two free tickets to a Homebuilding & Renovating Show near you.
Steve Jenkins is a freelance content creator with over two decades of experience working in digital and print and was previously the DIY content editor for Homebuilding & Renovating.
He is a keen DIYer with over 20 years of experience in transforming and renovating the many homes he has lived in. He specialises in painting and decorating, but has a wide range of skills gleaned from working in the building trade for around 10 years and spending time at night school learning how to plaster and plumb.
He has fitted kitchens, tiled bathrooms and kitchens, laid many floors, built partition walls, plastered walls, plumbed in bathrooms, worked on loft conversions and much more. And when he's not sure how to tackle a DIY project he has a wide network of friends – including plumbers, gas engineers, tilers, carpenters, painters and decorators, electricians and builders – in the trade to call upon.

