How to fit an extractor fan to stop moisture and mould
Get expert advice on how to fit an extractor fan, where you should consider placing it and what type of fan you will need

Bring your dream home to life with expert advice, how to guides and design inspiration. Sign up for our newsletter and get two free tickets to a Homebuilding & Renovating Show near you.
You are now subscribed
Your newsletter sign-up was successful
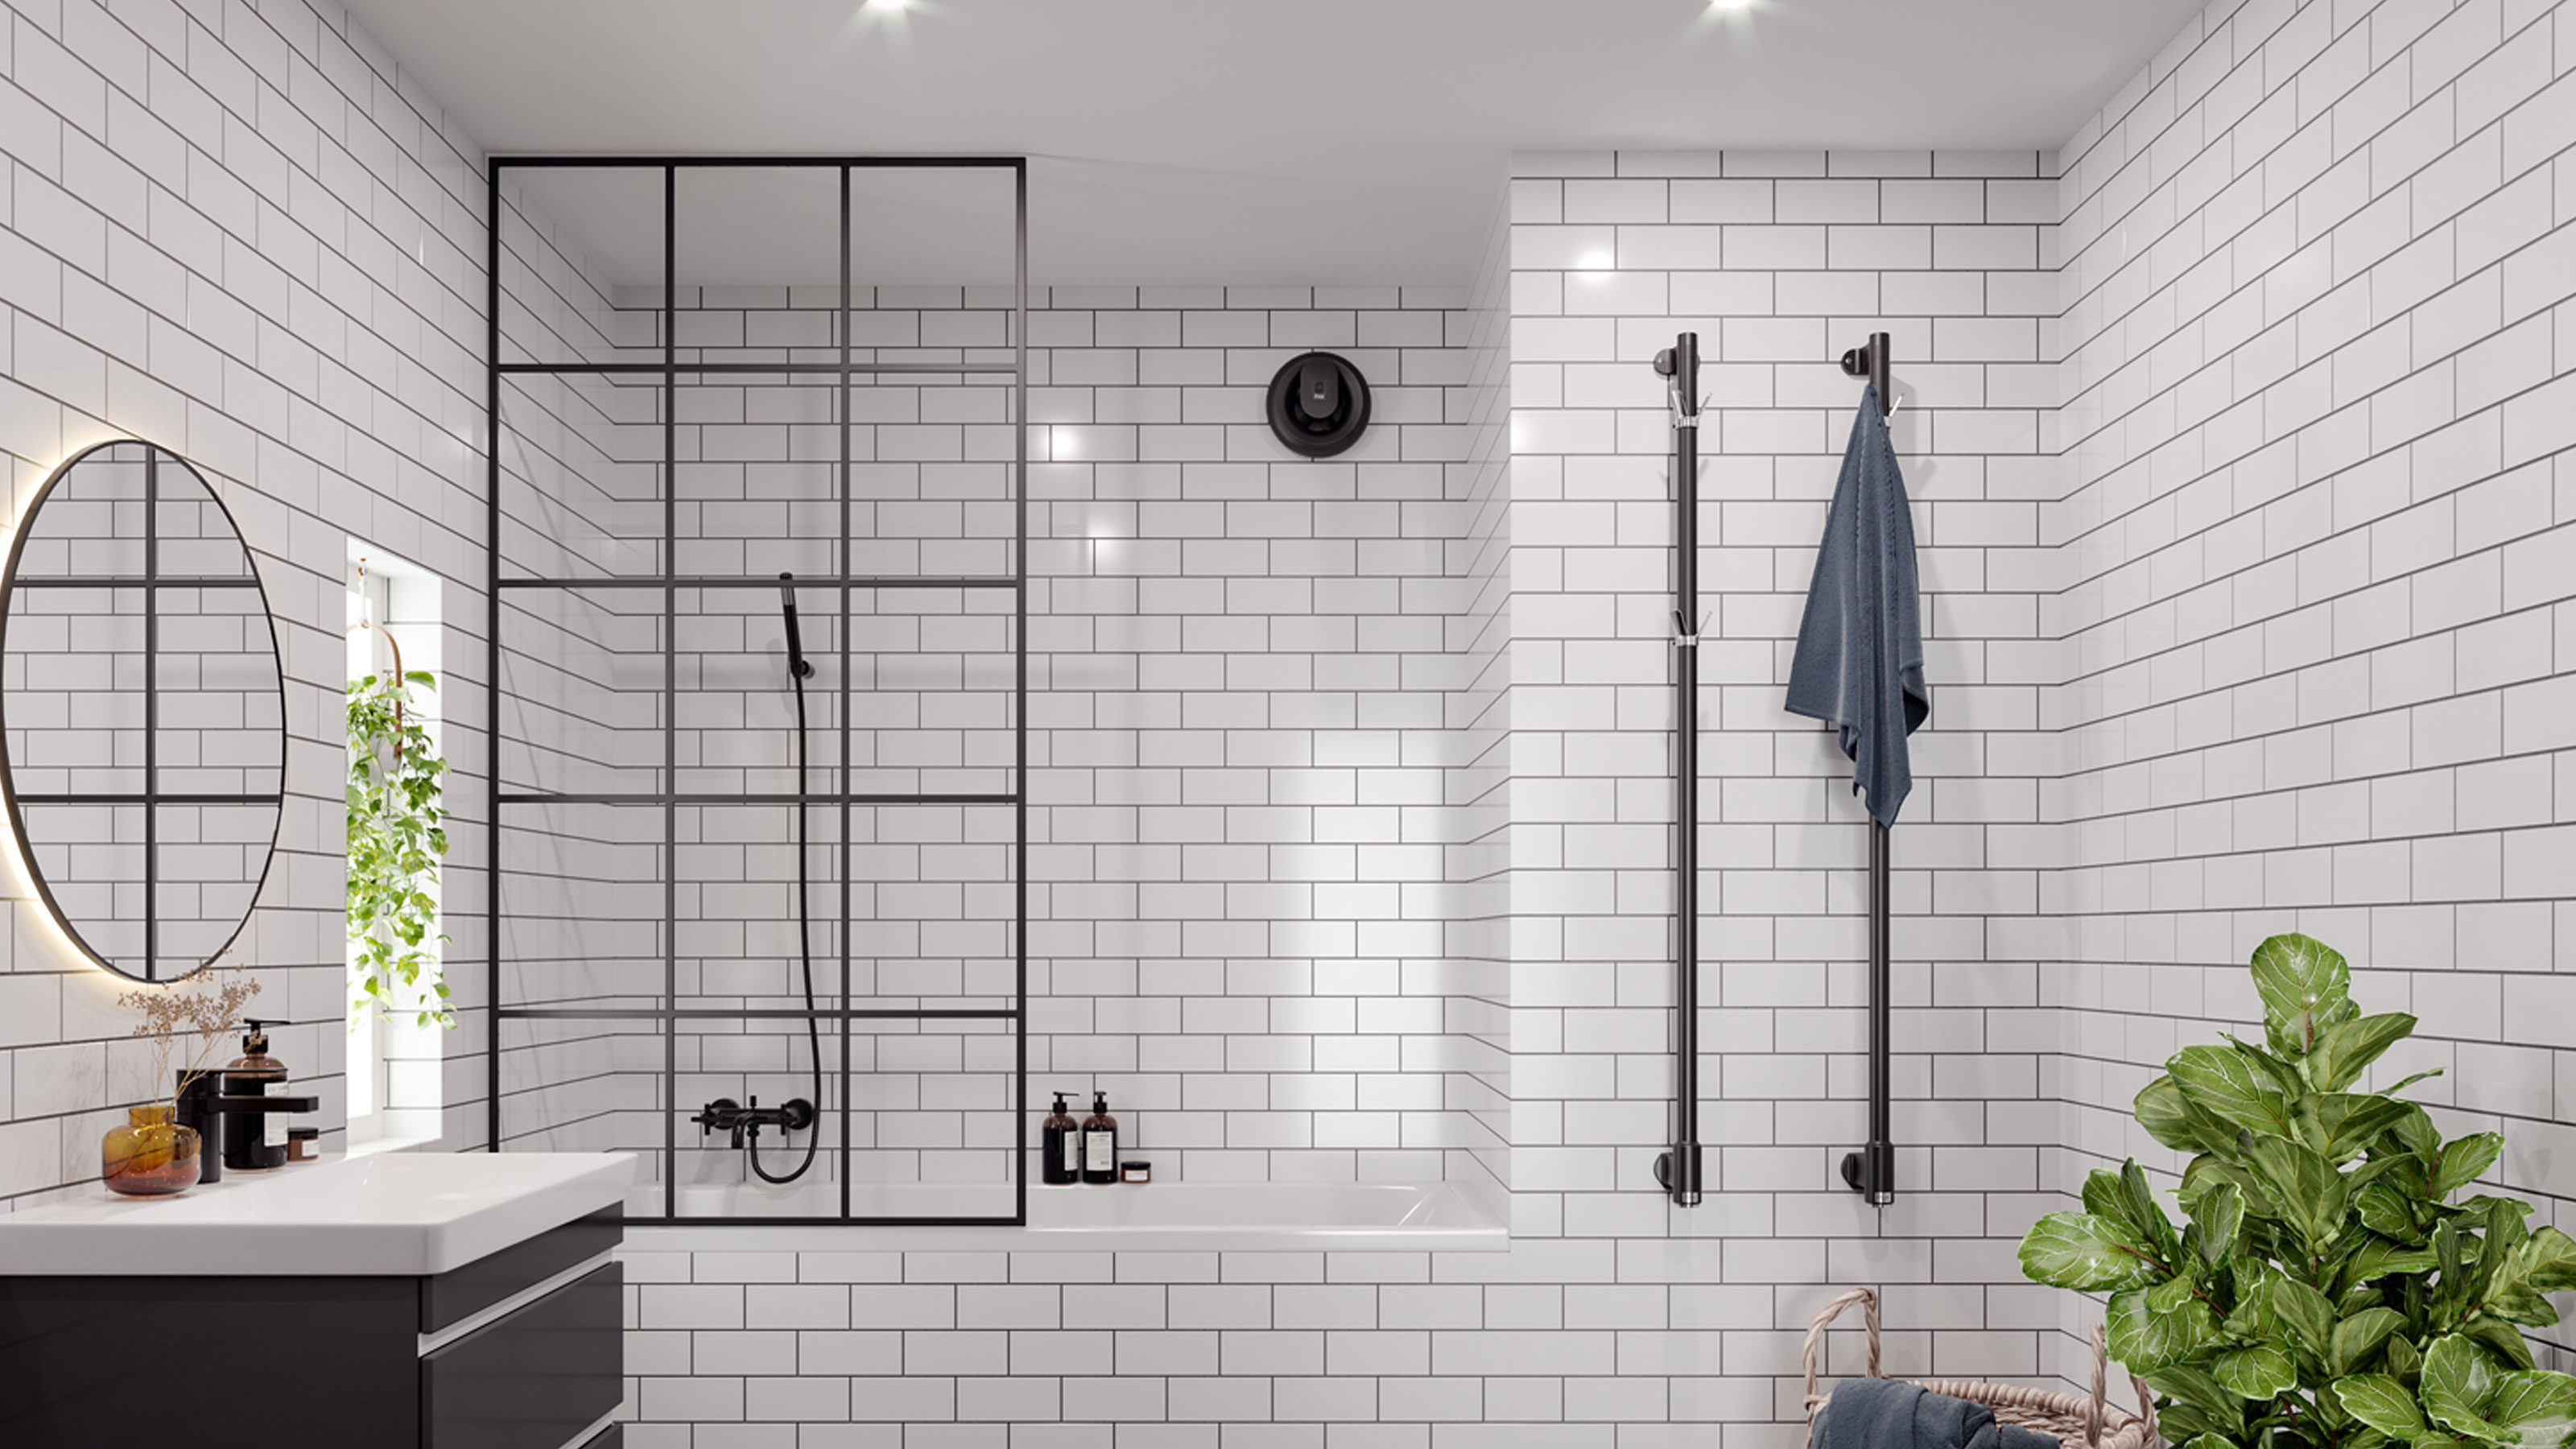
Knowing how to fit an extractor fan will make sure that that wall of steam in your bathroom or kitchen is gone as quickly as it appeared. The longer you leave moisture in the air the more problems it can cause around the home.
Extractor fans and kitchen fans are great at quietly removing moisture from the air and getting rid of it. And the key benefit is no condensation and no moisture, meaning there’s far less chance of mould creeping onto the ceiling and walls.
If you don't have a working extractor fan you need to get one – our advice on the best bathroom extractor fans is worth a look – and follow our guide to get it up and running today.
How to fit an extractor fan: step-by-step guide

Natasha King is the RMI Product Manager at market-leading ventilation manufacturer Vent-Axia. Here her role includes developing and launching new ventilation products for the private and public housing refurbishment market.
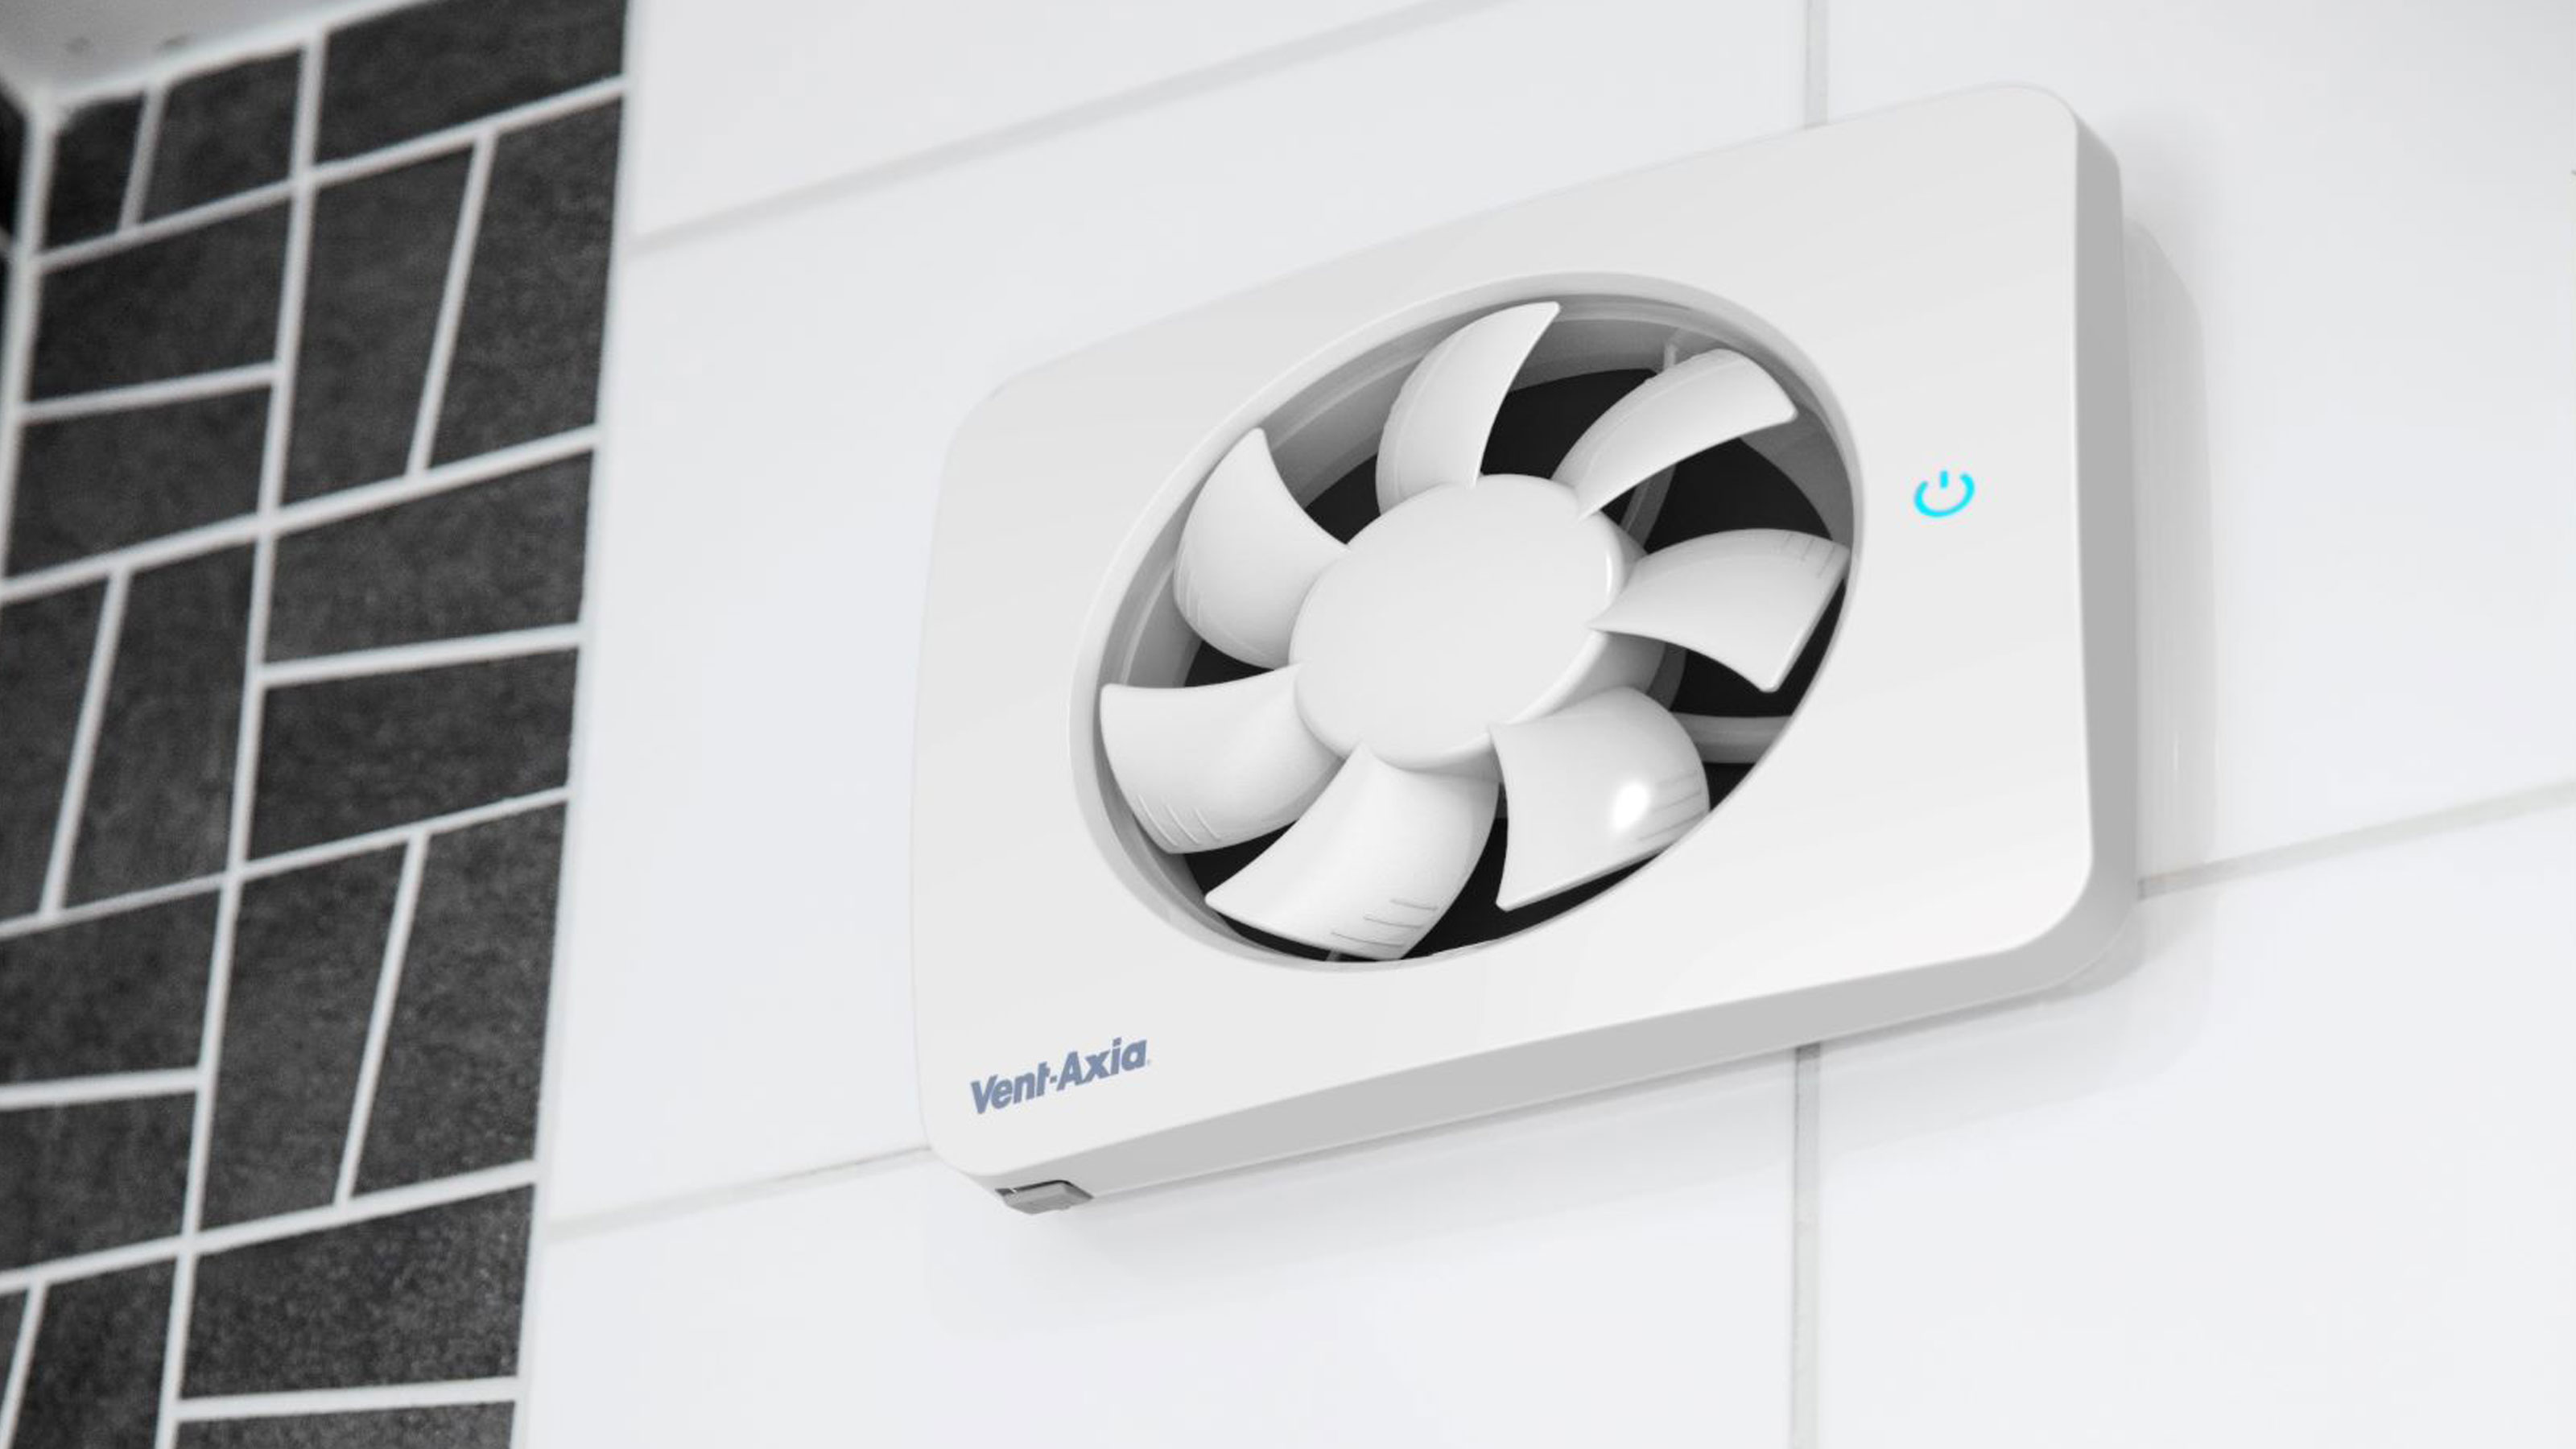
Natasha King, Product Manager at Vent-Axia runs through the steps needed to install an extractor fan and imparts some essential advice about selecting the right fan. ”Choose an extractor fan that provides at least the minimum required airflow for the room type. Part F (Means of Ventilation) of the Building Regulations gives guidance on the required level of airflow needed by room type and house size. Remember to also think about the location and length of any ducting that may be required and the external grill.”
As with any electrical work ensure that the mains supply is switched off before making any connections.
1. Select fan location
Select where you want to install the fan. The simplest installation is through an outside wall, but fans can also be mounted on the ceiling or in a window. In larger bathrooms, a fan can often be installed safely away from any sources of water spray. But in smaller rooms, such as an en-suite, this may not be possible.
In these cases, a fan with a minimum of IPX4 rating can be safely installed in the splash zone. It is important to check with the manufacturer documents that the fan selected is suitable for the location in relation to the water spray. Once you have selected a position, check the wall is clear of wiring and piping before drilling any holes.
2. Drill hole for extractor fan
Mark the centre of the hole required and drill using a suitable core drill. Slope the hole slightly downwards away from the room to ensure any condensation runs away from the fan.
Insert the wall sleeve, cut it to length and cement both ends into position flush with the wall faces.
Bring your dream home to life with expert advice, how to guides and design inspiration. Sign up for our newsletter and get two free tickets to a Homebuilding & Renovating Show near you.
3. Install the Fan
Fit the fan over the hole into the wall sleeve and secure using the correct fixings. Ensure the mains supply is switched off before making any electrical connections. All electrical connections should be carried out by a suitably qualified and competent person.
4. Check extractor installation
After installation, ensure the fan’s impeller rotates freely and no abnormal noises are heard. If an inline fan has been installed check that the fan is extracting from the room and not bringing air in.
How to fit an extractor fan FAQs
Where should I position an extractor fan?
Placement and type of extractor fan are important with certain rules needing to be followed as King explains, “There are some aspects of locating a fan that are covered in building regulations and these must be adhered to. For example, any extract fan/grill should be mounted as high as possible in the room, no more than 400mm from the ceiling and the discharge should be a suitable distance from any opening or flue.
She continues, “Often the easiest location to fit a fan is through an outside wall. Here you should choose an axial fan, which is designed to move air over short distances. Where long ducts are needed, using a ceiling mounted centrifugal or inline fan will ensure performance requirements are met. It may sound obvious but remember that the fan must discharge to the outside”.

What do I need to drill a hole for an extractor fan?
If you don’t already have a hole in your wall for an extractor fan you will need to create one. For this you will need a heavy duty drill like this Erbauer Cordless SDS+ drill from B&Q and a long 10mm masonry drill bit to get started. Now drill a pilot hole from the inside through to the outside.
Now you will need the right size diamond core drill bit to drill through the masonry. Read your extractor fan manufacturers guide for more information on what size hole you need. Typically, a 100mm fan will need a 115mm hole.
Ideally you want to drill from one side, so less debris falls into the cavity. Drilling in from the outside will mean you will only need to patch up the plaster and repaint on the inside.
Should an extractor fan go into the loft?
The simple answer is no if you are simply installing an extractor fan that vents directly into the loft space. The air in your loft space will be colder than the air that is being vented into the loft and will cause condensation.
This means water droplets will form on the roof and ceiling joists which can cause them to eventually rot and need replacing. It can also lead to the formation of mould around the top of the walls.
If you do have an extractor fan installed in the ceiling that is venting into your loft space it will need to be connected to a vent pipe that is connected to a vent hole that leads to the outside.
Should every bathroom have an extractor fan?
Every bathroom should have some form of ventilation, but this doesn’t necessarily mean an extractor fan. If you only have a toilet in a room then an opening window is considered good enough ventilation.
However, if you have a bath or shower you will need an extractor fan to help get rid of moisture in the air. The moisture will cause condensation which if left in a room will lead to mould, which will leave ugly dark stains. Removing mould from walls will not only make them look better, but will be better for your health as well.
Do you need an electrician to fit an extractor fan?
If you are a confident and competent DIYer who has previous experience working with electrics then you might be able to do the job yourself. But make sure you read all instructions carefully.
However, King from Vent-Axia suggests otherwise, “When fitting fans in a kitchen or bathroom, the electrical installation side of the work should be carried out by a suitably qualified and competent person.” If in any doubt at all, contact a local contractor to do the job.
How much does a professional charge to install an extractor fan?
This will depend on several factors including whether you are replacing an old fan or installing a new one. If you are replacing an old fan and the new fan is a direct replacement you should expect to pay around £75 for labour.
However, if a hole needs to be drilled in the outside wall and wires chased through the wall to the extractor fan then you should expect to pay at least £250.
How much does it cost to run an extractor fan?
This will depend on the size of the extractor fan and how often it is used. For example, if your extractor fan is connected to a light switch in a busy household it will be used more than in a quiet household. But extractor fans are cheap to run. According to fan manufacturer Envirovent the annual running costs for a standard extractor fan will be around £10.

Steve Jenkins is a freelance content creator with over two decades of experience working in digital and print and was previously the DIY content editor for Homebuilding & Renovating.
He is a keen DIYer with over 20 years of experience in transforming and renovating the many homes he has lived in. He specialises in painting and decorating, but has a wide range of skills gleaned from working in the building trade for around 10 years and spending time at night school learning how to plaster and plumb.
He has fitted kitchens, tiled bathrooms and kitchens, laid many floors, built partition walls, plastered walls, plumbed in bathrooms, worked on loft conversions and much more. And when he's not sure how to tackle a DIY project he has a wide network of friends – including plumbers, gas engineers, tilers, carpenters, painters and decorators, electricians and builders – in the trade to call upon.

