Electrical sockets explained: Understanding the power in your home
Discover the different parts of an electrical socket, what they do and whether or not you can replace one legally
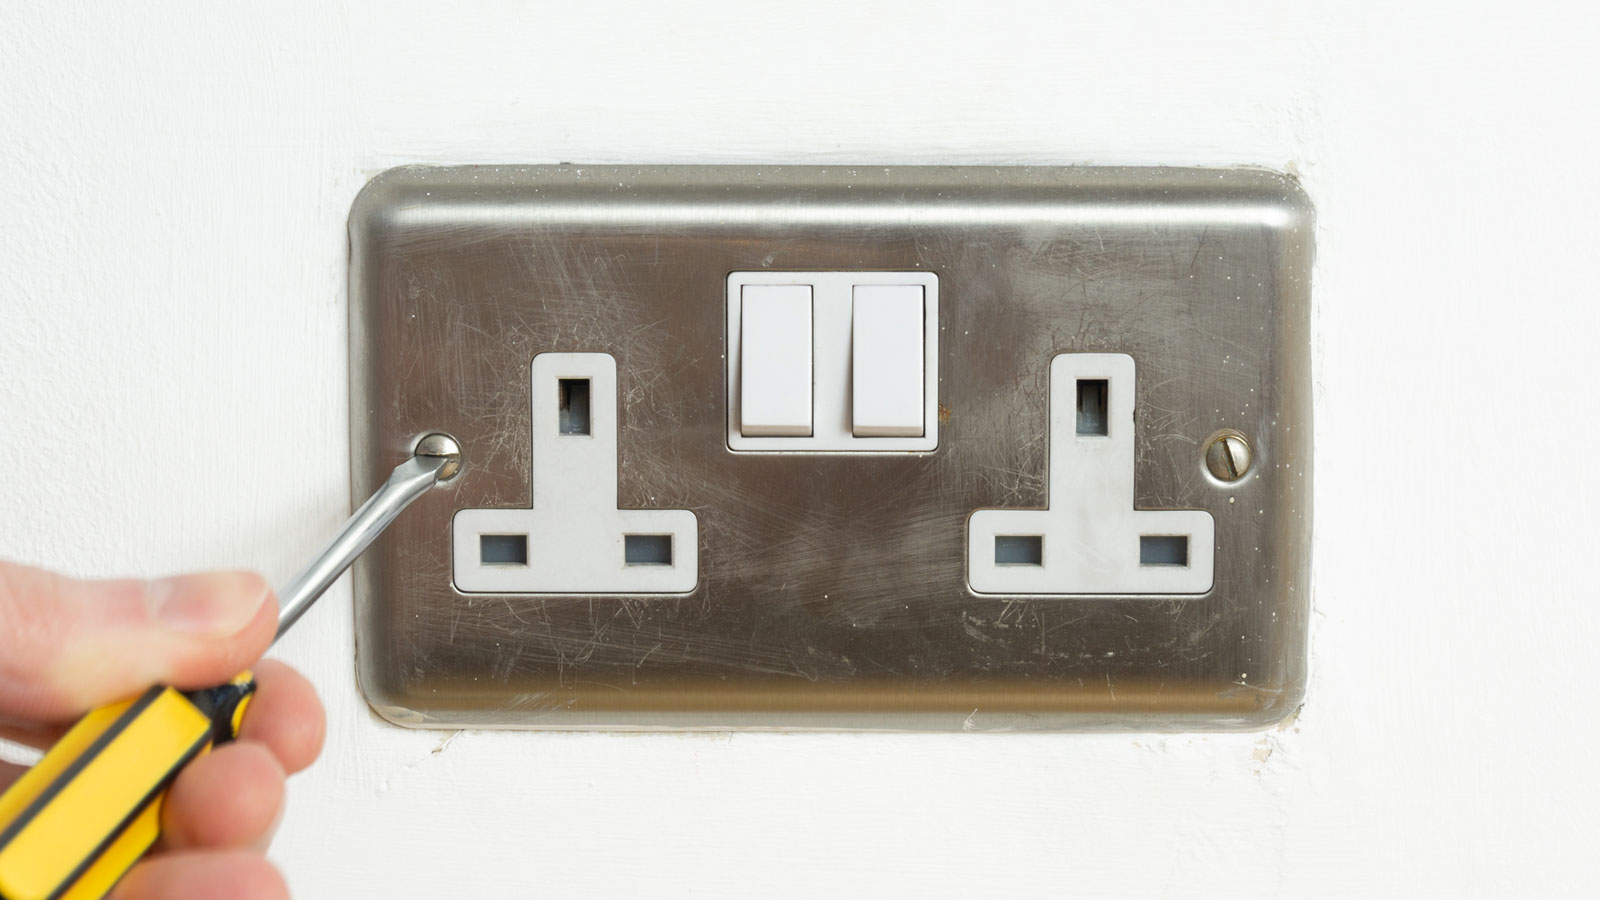
The humble electrical socket is found everywhere in the home; it powers numerous appliances and is essential to our everyday life. While your plain white sockets may be functional and blend seamlessly with most design aesthetics, you might want something more.
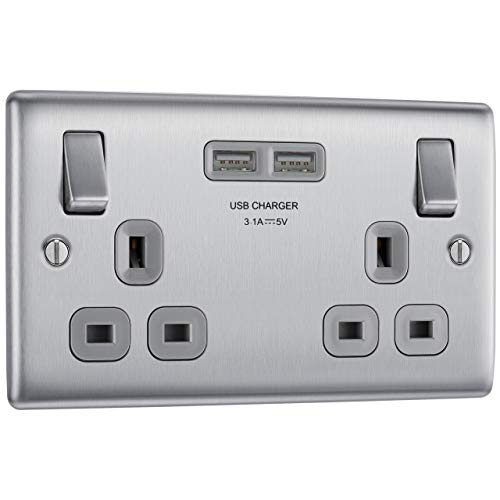
To elevate any home renovation, you can add contemporary brushed steel sockets or take a step into the present and introduce USB sockets. And reposition or add more to ensure you have all the electric sockets you want.
Here we look at the key components of an electric socket with a detailed diagram and discuss the precautions you should take when fitting yourself.

David Jackson is an approved electrician with over 30 years of experience. He has worked in both domestic and commercial properties throughout his entire career, starting with a 4-year electrical apprenticeship.
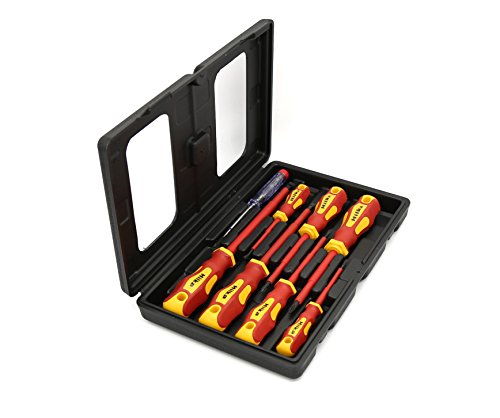
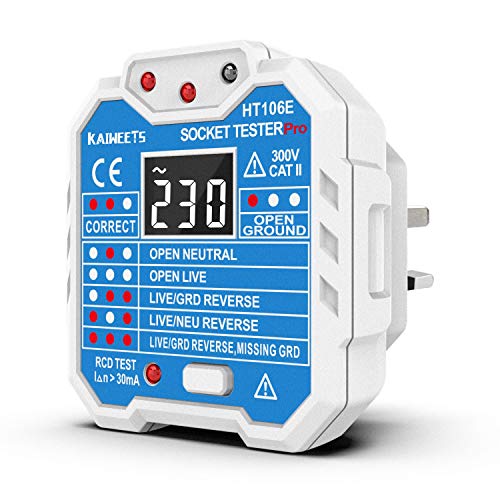
Try these tools to test and replace electric sockets
Electrical sockets explained: Anatomy of an electric socket
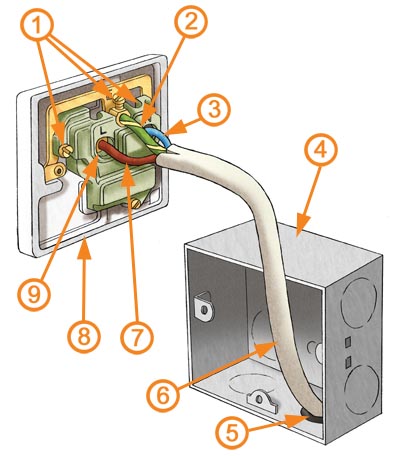
1. Terminal screws
These secure LIVE, EARTH and NEUTRAL within their TERMINALS. No bare wire should be exposed; if it is, cut it or fold over the end.
2. Earth
A safety wire which carries the same electricity as LIVE if something goes wrong, taking it to the ground. Earth is bare inside the CABLE and, when fixing, a green and yellow sheath is slipped over the end. Note how a bridge connects it to the FACE PLATE screws, for safety.
3. Neutral
After feeding the socket via LIVE, electricity passes along neutral to return to the house’s consumer unit, completing the circuit. Neutral is sheathed in blue, but prior to 2004 was black (see LIVE).
4. Mounting Box
Also known as a back box, this protects the TERMINALS and CABLE, which enters through a hole, usually at the bottom. This flush box is of galvanised steel, and can be fitted within hard plaster and plaster – board, but surface-mounted boxes tend to be plastic.
Bring your dream home to life with expert advice, how to guides and design inspiration. Sign up for our newsletter and get two free tickets to a Homebuilding & Renovating Show near you.
They are available in various depths, so if changing a FACE PLATE, measure it so you buy a box deep enough.
5. Soft Grommet
Available open or ‘blind’ (has no hole, so you can cut one to size) and usually of PVCu or rubber, this protects the CABLE from the MOUNTING BOX. The CABLE should only just be able to fit through the hole, to prevent the spread of fire.
6. Cable
A PVCu sheath encases the LIVE, EARTH and NEUTRAL wires. This is a 2.5mm2 ‘three-core circular sheathed cable’. In old circuits, sheaths may be rubber. This wiring must be updated by an electrician.
7. Live
Electricity flows along this wire from the consumer unit to the socket, as and when needed. This conductor is ‘switched’, so you can stop the flow of electricity.
The live wire is currently brown in colour, although prior to regulations changes in 2004 (to aid the colour-blind), it was red, so if you are changing a FACE PLATE or adding a new socket in an older house, this is what you will find.
8. Face plate
Available in a range of materials and designs, the socket’s facia houses the TERMINALS and is screwed to the MOUNTING BOX. The LIVE and NEUTRAL connectors are 22mm apart with shutters to prevent the insertion of anything other than a plug.
9. Terminal
These connect the LIVE, EARTH and NEUTRAL wires to conductors in the FACE PLATE, which ultimately transfers the electricity to a plug. They are secured in place by tightening the TERMINAL SCREWS with a flat-head screwdriver.
FAQs
What precautions should you take when wiring an electrical socket?
Working with electricity can be dangerous, so it makes sense to take precautions. David Jackson, electrical manager at Custom Heat points out what to check before you start, “Make sure the electrical system you are working on has a current safety certificate to ensure there are no faults or issues.”
The next step, continues Jackson, is “make sure the circuit is not live by using approved testing equipment and pre-testing it at a known source.”
If you don’t have testing equipment, switch off the electricity to your home via the main fuse box. This is a good time to check how old the wiring is and decide if it's time to replace it. Check our consumer unit replacement costs guide to see how much you can expect to pay.
Can A DIYer legally fit an electric socket?
You do not need to be a qualified electrician to fit or replace a like-for-like electrical socket. But if you have no experience with electrical work it's a job that should be carried out by a professional as Jackson shares, “Yes (a DIYer can fit an electric socket), although it's not recommended as an approved electrician will always test and demonstrate the work is safe.”
How much does an electrician typically charge to change a socket?
A qualified professional is recommended when fitting a socket. Jackson says, “Costs will vary, but expect to pay between £70 to £150 for one socket replacement.” This price typically covers single, double and USB sockets.
If wiring a plug is within your DIY skills (and it should be), then wiring up an electric socket is the next step. You might need a new socket to enhance your bedroom ideas, or make sure you have enough to match your new cottage kitchen ideas.
Melanie is an experienced homes journalist and editor of Period Living, Britain's best-selling period homes magazine. She has worked for Homes & Gardens and Real Homes, and is a former Deputy Editor of Homebuilding & Renovating, writing about modern design and architecture, and interviewing countless self builders and renovators about their experiences. In addition to undertaking her renovation projects, her other great passion is gardening.
