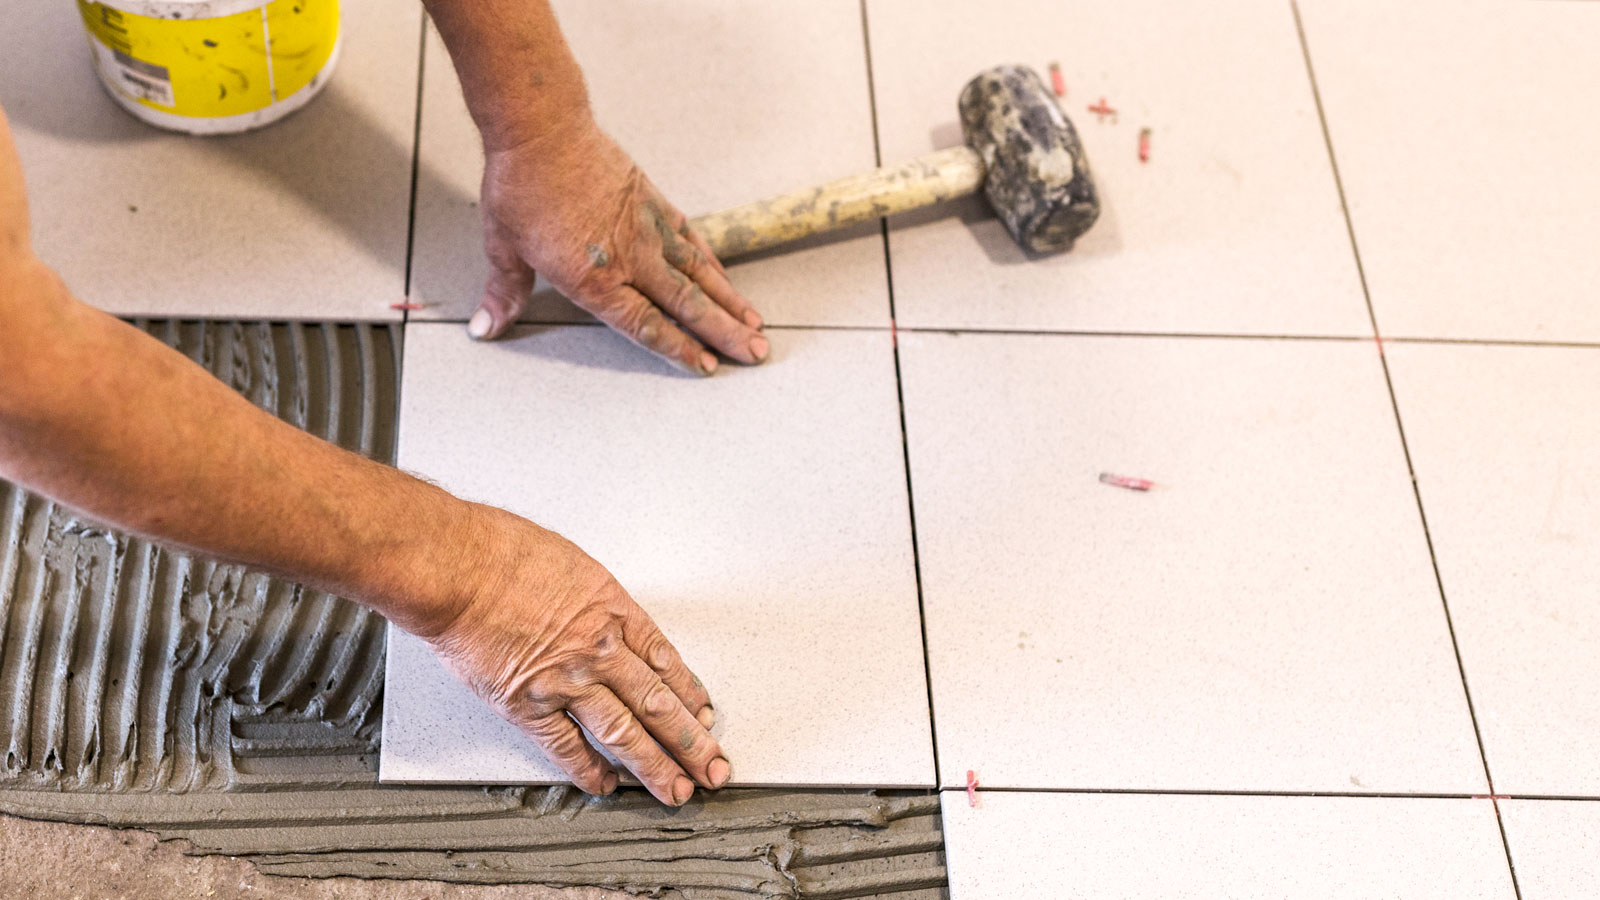
Waterproofing plywood protects against moisture and prevents rot. Try these five DIY methods to make it happen
Discover the best methods to protect your plywood and make sure it lasts longer
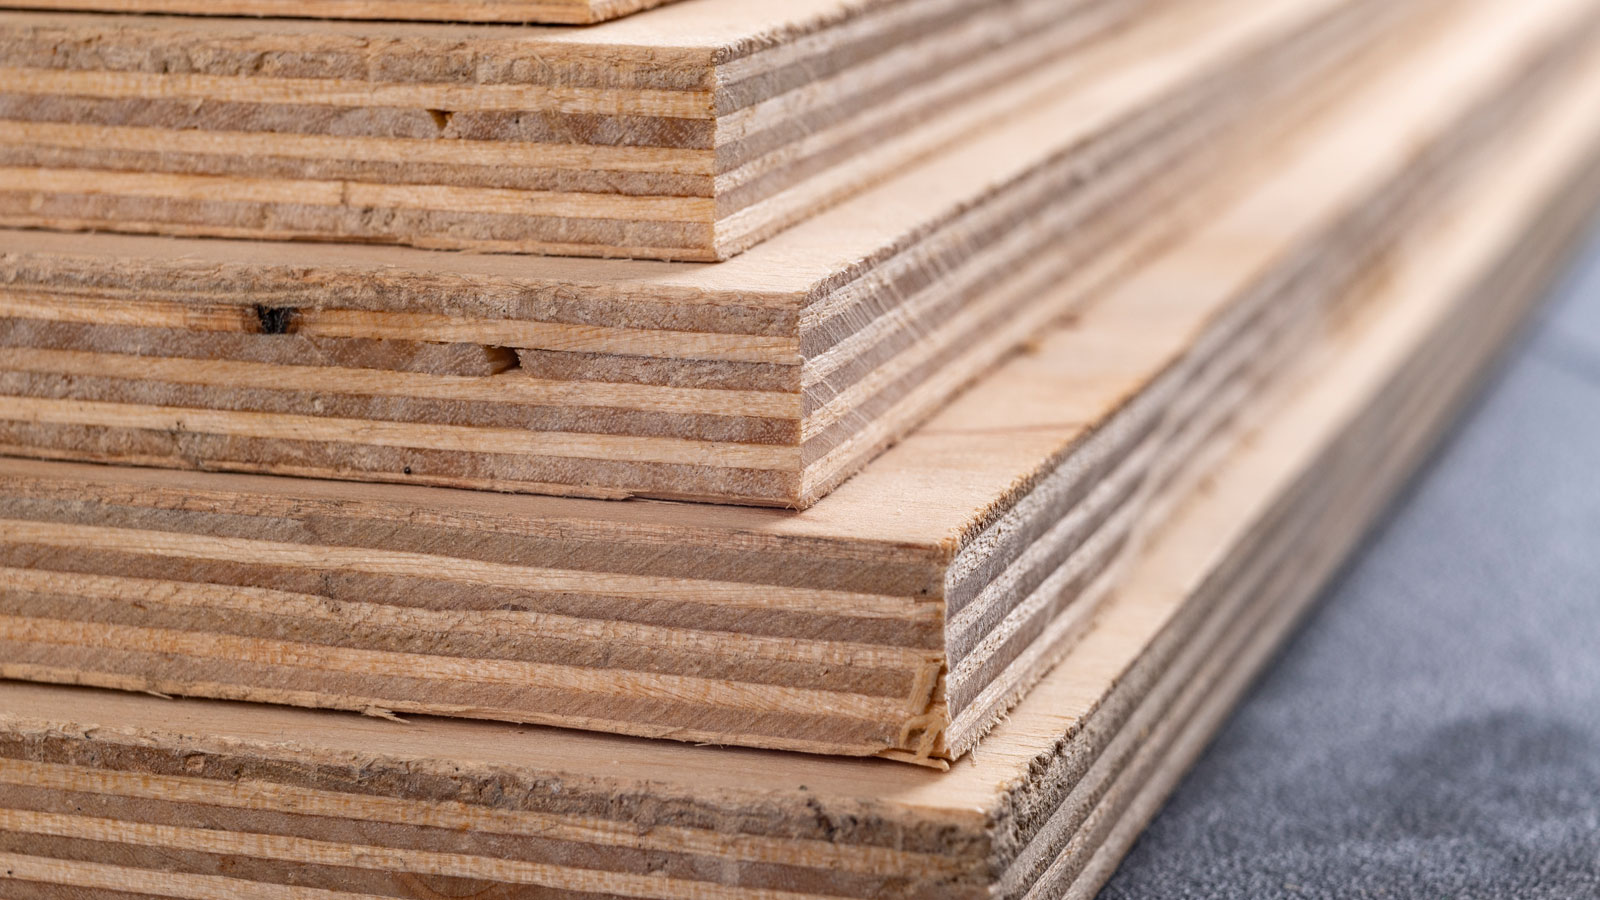
Plywood is a versatile material that can be used almost anywhere in the home. However, waterproofing plywood takes it to the next level, making it ideal for both moisture-laden interiors and exteriors. It is made from layers bonded together, so any water that gets between the layers can weaken the wood.
Introducing a sealant will help prevent this from happening, allowing you to safely use it in your bathroom, replace kitchen worktops, and build outside. The type of sealant you need to seal the plywood will depend on its intended use. Here, the experts reveal five options to ensure you choose the right one for your needs.

Steve Larkin is the CEO of Kitchen Door Hub with years of experience in kitchen and bedroom design, carpentry and fitting. Kitchen Door Hub are passionate about helping homeowners craft their dream spaces and is with them for every step of their renovation journey.
Reasons to waterproof plywood
Plywood is a cost-effective and multi-talented wood, but it absorbs water easily. This can lead to numerous issues, as Steve Larkin, CEO of Kitchen Door Hub points out, “Rotting, splitting, warping and weathering (if used outside) are common problems.”
He adds, “If left unsealed, plywood may need to be replaced regularly as it is more at risk of dry or wet rot, and taking on moisture can reduce the strength and structural integrity of the material.”
Once plywood has been waterproofed, it's a more versatile wood, continues Larkin, “Waterproofing plywood can be particularly beneficial in a kitchen, as it is an area that is prone to spills, steam and can have a high level of humidity, which will damage untreated plywood.”
He adds, “It is more likely to last longer, as it will be less vulnerable to warping, rotting and swelling. It can also reduce the need for and frequency of repairs or replacements, as cabinetry will be resistant to moisture and less likely to develop mould or mildew.”
The tools you’ll need to waterproof plywood
The process for waterproofing plywood only needs a few tools. You will need the following:
Bring your dream home to life with expert advice, how to guides and design inspiration. Sign up for our newsletter and get two free tickets to a Homebuilding & Renovating Show near you.
- Sandpaper and a sanding block for edges - like these Tockrop 2 Pack 5 Inch Hand Sanding Blocks from Amazon
- Electric sander for flat surface - like this Lumberjack Random Orbital Sander from B&Q
- Microfiber cloth - like these MR.SIGA Microfiber Cleaning Cloths from Amazon
- Sealant/waterproofing product
- PPE - gloves, mask and goggles
- Paintbrushes (or mini rollers) - like this Harris Trade Paint Brush Multi-Pack from Amazon
Try these materials to help waterproof plywood
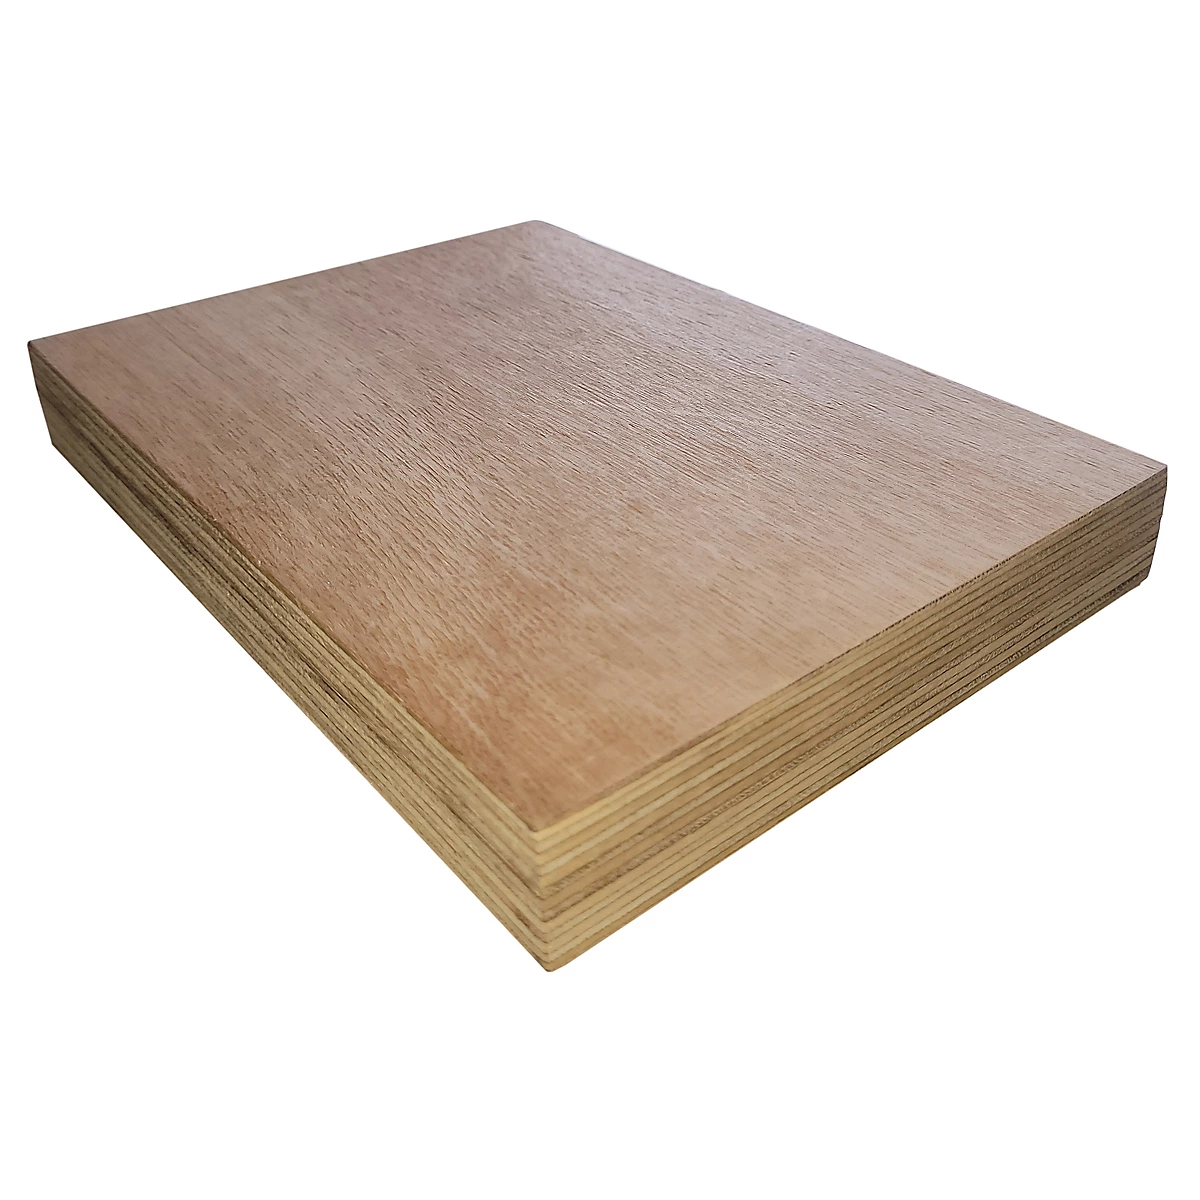
This marine plywood is made from durable hardwood veneers and water-resistant adhesives. This helps stop moisture penetration, making it ideal for most interior and exterior projects.
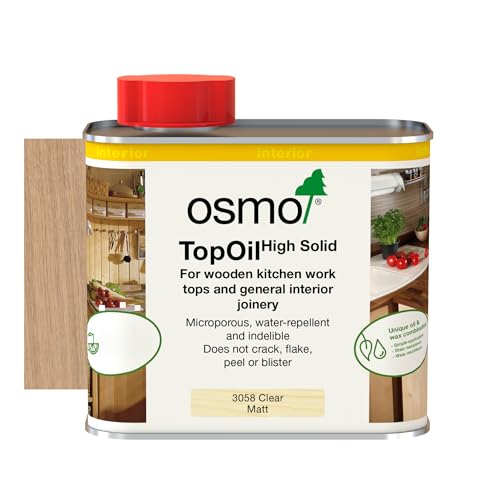
Ideal for wooden countertops in kitchens and elsewhere in the home. The oil enhances plywood's natural characteristics, providing an extremely durable finish that is highly water-repellent.
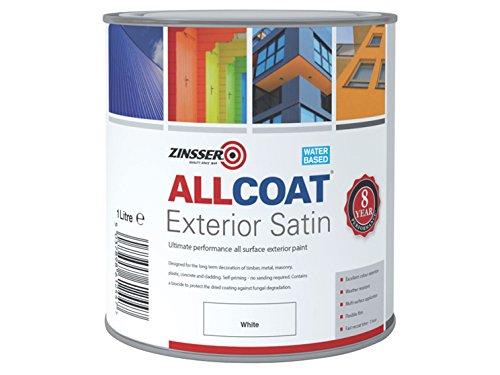
Designed for exterior use, it can also be applied to interior surfaces, including wood. It creates a vapour-permeable low maintenance, water-shedding coating that offers protection against moisture.
Methods for waterproofing plywood
There are various options for waterproofing plywood, depending on its intended usage. Here, Larkins lists the popular choices and their best uses.
- Oil - This is ideal if looking to retain the natural look of the plywood. Larkins says, “ The oil soaks into the wood to form a natural barrier, and although this does not provide a seal that is 100% waterproof, it still strengthens the wood and prevents moisture damage.” He adds, “This is best for outdoor decking or work surfaces.”
- Waterproof paint - Paint is resistant to water, but Larkins recommends exterior paint to protect plywood, “Water-based paints, specifically the kind meant for outdoor use, can be used to seal and waterproof plywood while also giving it colour.” He adds, “It may need to be sanded and touched up over the years, but it is still a long-lasting solution indoors and outdoors.”
- Varnish - This can be used to retain the natural look of plywood, Larkin says, “It provides a hard, fully moisture-resistant coating that has a shiny appearance.” It's also ideal for exterior wood, Larkin says, “Varnishes designed for exterior wood can expand and contract depending on the weather conditions, which can reduce peeling and cracking.”
- Other options - Larkin suggests liquid latex and epoxy as possible waterproofing options. “Epxoy can provide the wood with an additional layer of protection.” A thin layer of epoxy resin (such as this CRAFT RESIN 4L Table Top Epoxy Resin from Amazon) will dry hard and keep water out. Liquid latex is essentially rubber, making it suitable for waterproofing plywood used in floors, walls, and roofs.
Steps to waterproof plywood
Waterproofing plywood is a relatively straightforward DIY project, which includes sanding the plywood. The choice of sealant may result in slight variations. Here, Larkin runs through the process.
1. Sand plywood
Larkin says, “Start by using a fine sandpaper (120/180 grit is good) and sanding tool to gently sand down the entire surface of your plywood.” He adds, “Ensure that you use sandpaper by hand to sand the edges and crevices of the plywood.”
2. Clean up
“Remove any leftover dust from sanding using a cloth,” suggests Larkin. A damp cloth will help attract more of the dust. Ensure that the surface is free from dust and dry before continuing.
3. Apply sealant
As a general Larkin says, “Take a paintbrush and apply a thin layer of your sealant of choice to the plywood. Ensure that you follow the instructions on your sealant, as they will all have different requirements.” He adds, “Leave the sealant to fully dry and follow all of the instructions before using your plywood”.
Sealing plywood edges and joints
The edges of plywood are the weakest part of the board, making them more vulnerable to water ingress. If water penetrates between the layers, you will notice the surface start to ripple. Therefore, when waterproofing plywood, it's essential that edges and joints receive special attention.
Irving says, “When sealing plywood edges and joints, it’s important to start by sanding these areas thoroughly to ensure an even surface for the best application of the waterproof sealant.” He adds, “It can be difficult to seal edges and joints with an uneven surface, so this is an important step to avoid moisture damage over time.”
To help seal edges and joints Larkin suggests using a suitable wood filler: “You may wish to use a wood filler first to create a smoother surface to work with.” Apply with a filler knife and allow to dry before sanding.
To finish, apply your chosen sealant. Irving says, “Use a small, intricate brush or spray to ensure that the waterproof sealant covers all of the small crevices and fine lines in the edges and joints of the plywood”.

With over 20 years of experience in the building sector, Mark led Build & Plumb’s expansion into online marketplaces. Over the years working for Build & Plumb Mark has developed a wealth of knowledge surrounding building and renovating that he enjoys sharing with others who are looking to complete their own building projects.
FAQs
How long will plywood stay waterproof?
There isn’t a simple answer to how long plywood will stay waterproof, shares Irving, “How long plywood will remain waterproof depends on multiple factors, including the type of plywood, the method of waterproofing used and the location of the plywood.”
For example, plywood located outdoors will be exposed to more moisture, meaning it will need rewaterproofing more often. Larkins offers a more specific timeframe: “Generally, paint or stains can last for a few years before the plywood needs to be treated again. Other methods, such as epoxy, can last for between 4 and 8 years before resealing is needed.”
He adds, “Waterproof plywood can last potentially for decades if it is cared for and maintained properly.”
What is the difference between marine plywood and standard plywood?
Hardwood and softwood plywood are considered the standard. This type of plywood is commonly used to build furniture and is also suitable for boarding and flooring. However, when working in areas where moisture is more prevalent, you can use marine plywood like this
Irving shares how it differs from standard plywood and where it’s often used: “Marine plywood is composed of durable hardwood veneers bonded together using waterproof glue, making it highly water-resistant. This makes it ideal for humid or damp environments like wet rooms, kitchens, and bathrooms.”
However, be warned, continues Irving, “Marine plywood is only water resistant, not fully waterproof unless sealed or painted”.
If you want or need to use marine plywood for a project, you will need to check your budget. Generally, a sheet of marine plywood of similar size typically costs about twice as much as standard plywood.
Plywood is great for most construction projects, including how to build pantry shelves or how to build understairs storage. Check out our guide on straight cuts with a circular saw to help get a good fit and finish on your plywood projects.
Steve Jenkins is a freelance content creator with over two decades of experience working in digital and print and was previously the DIY content editor for Homebuilding & Renovating.
He is a keen DIYer with over 20 years of experience in transforming and renovating the many homes he has lived in. He specialises in painting and decorating, but has a wide range of skills gleaned from working in the building trade for around 10 years and spending time at night school learning how to plaster and plumb.
He has fitted kitchens, tiled bathrooms and kitchens, laid many floors, built partition walls, plastered walls, plumbed in bathrooms, worked on loft conversions and much more. And when he's not sure how to tackle a DIY project he has a wide network of friends – including plumbers, gas engineers, tilers, carpenters, painters and decorators, electricians and builders – in the trade to call upon.

