Mould removal: The best ways to get rid of mould for good
We look at how to eliminate mould stains from every nook and cranny in your home and how to stop them returning
Bring your dream home to life with expert advice, how to guides and design inspiration. Sign up for our newsletter and get two free tickets to a Homebuilding & Renovating Show near you.
You are now subscribed
Your newsletter sign-up was successful
If you have been looking for the best mould removal methods then call off the search. Our top five tips are here to save the day.
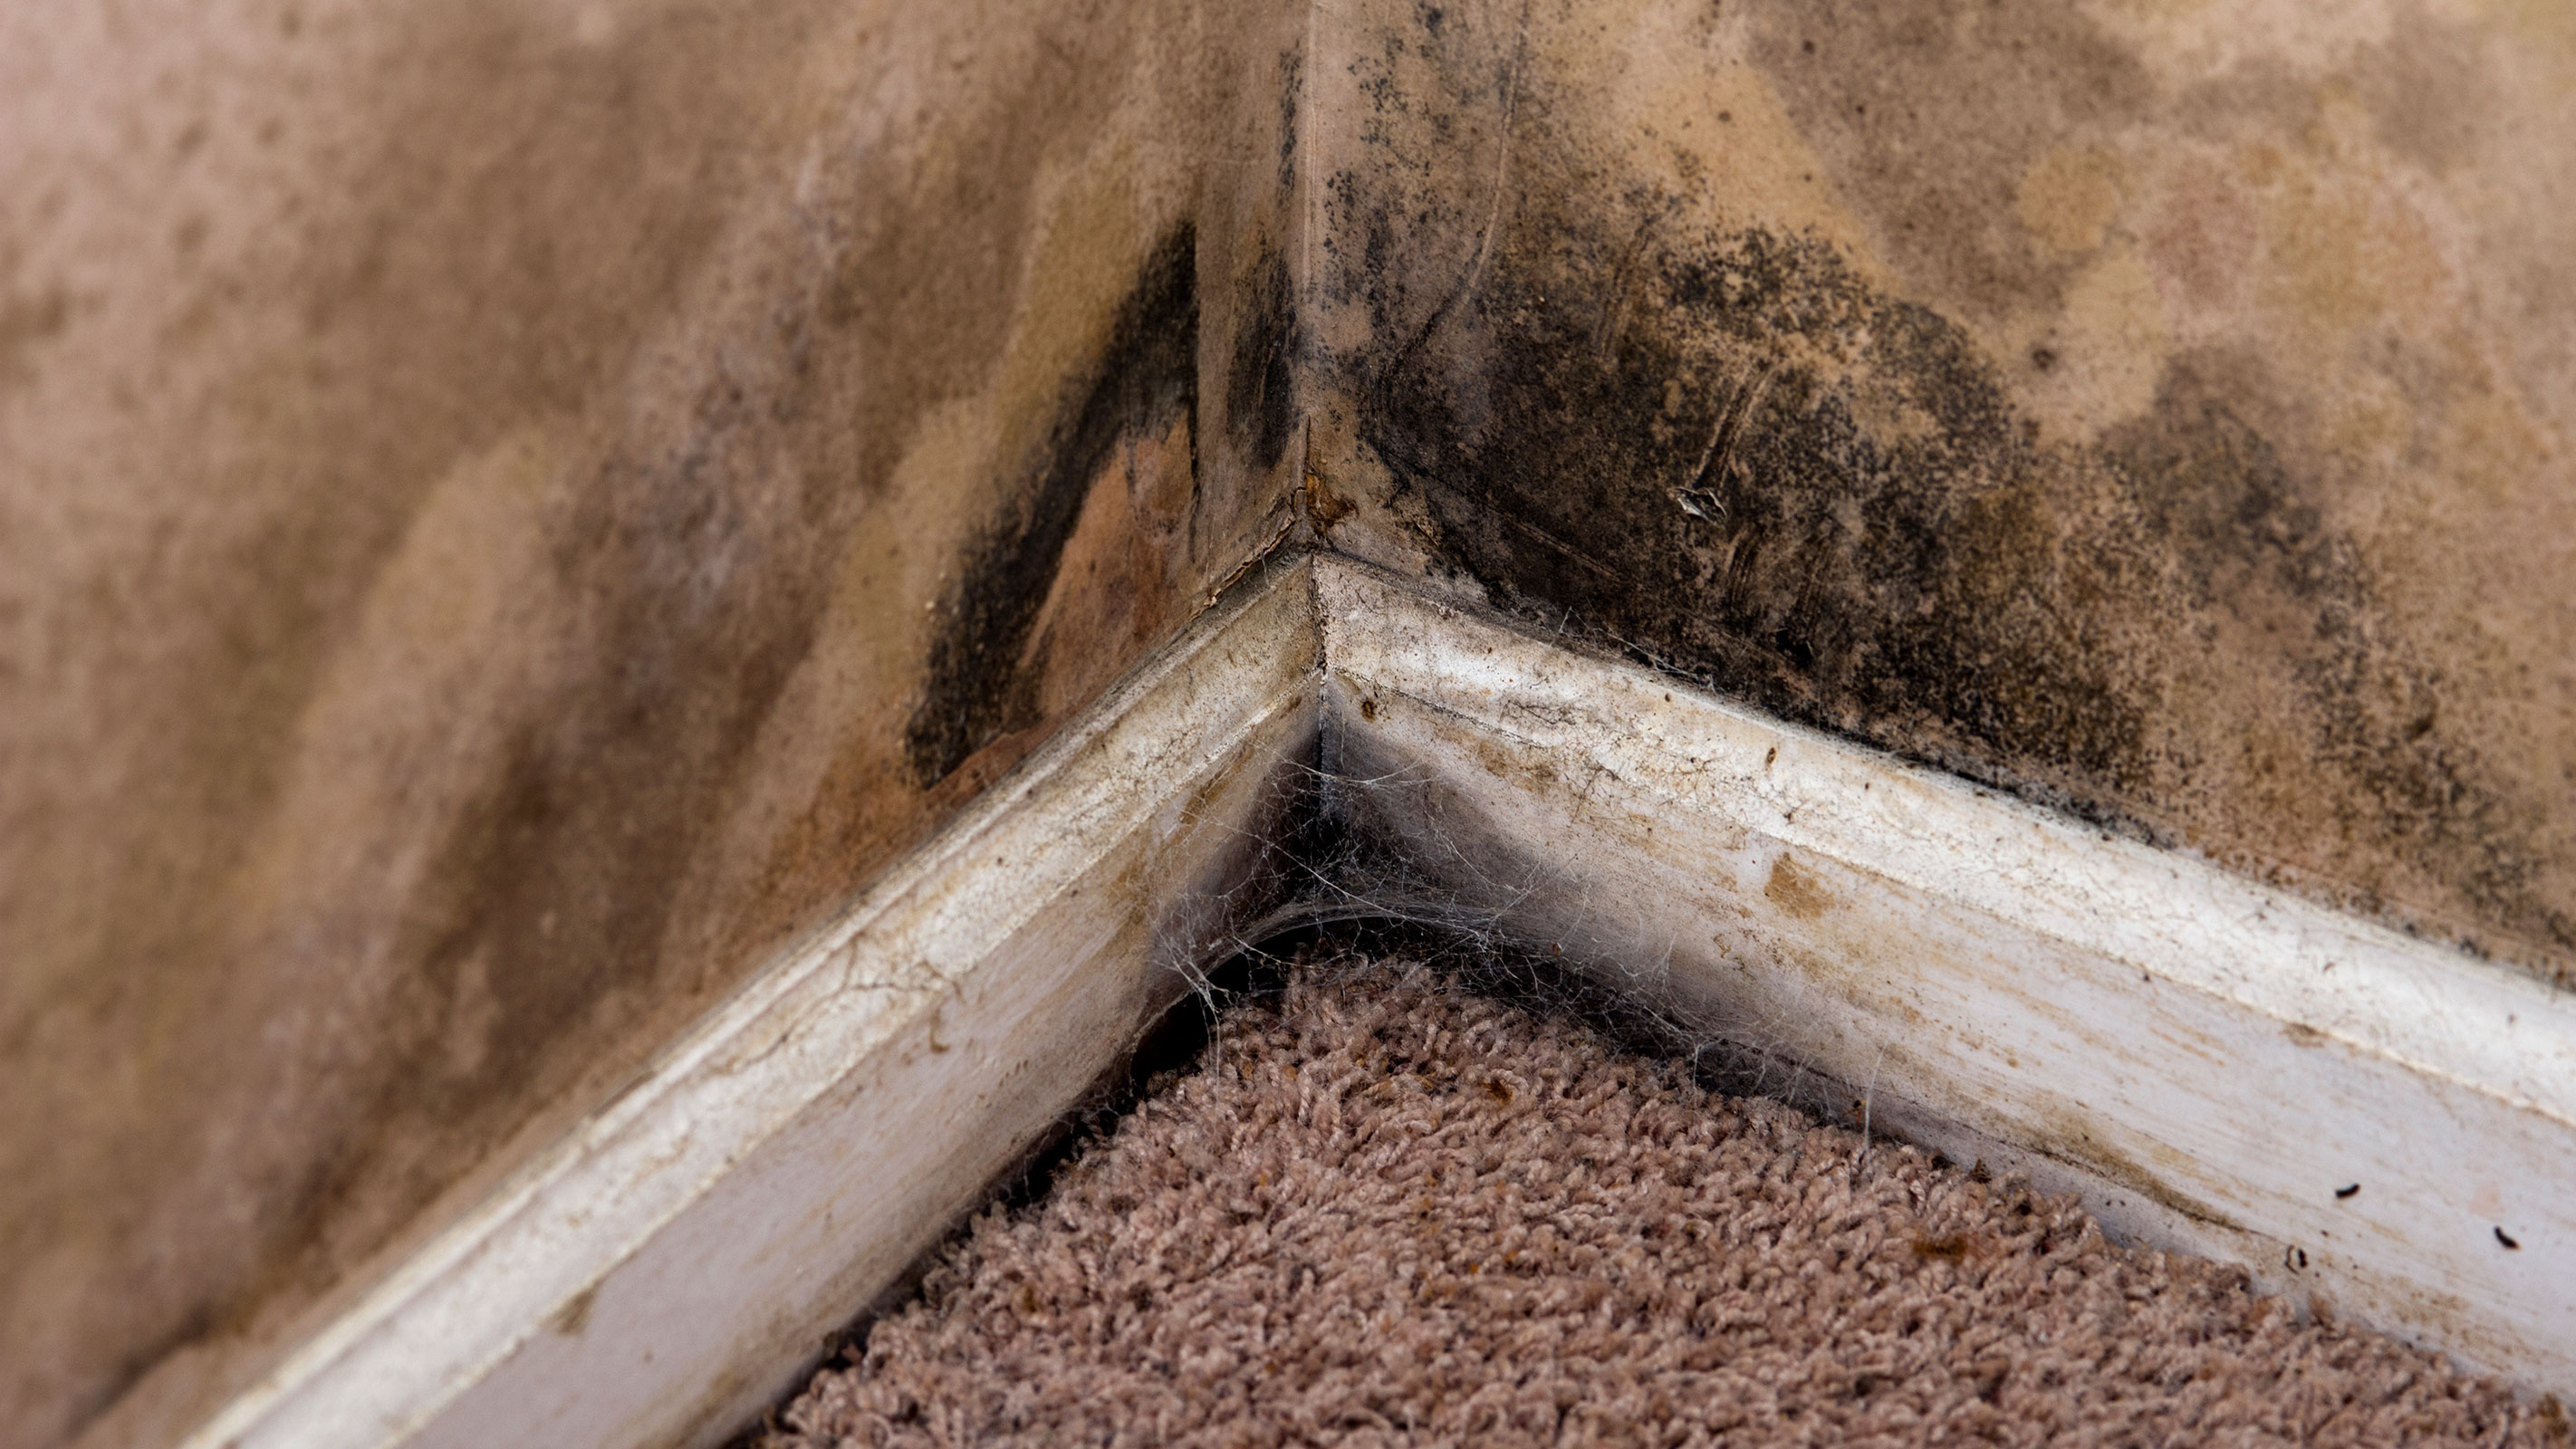
Whether you are removing mould from walls, have found it growing on skirting boards, around windows or springing up on your sealant around baths and sinks you will undoubtedly want to get rid of it as quickly as possible.
The presence of any kind of mould problem in the home is worrying for a number of reasons — not only does mould look downright gross, but it can also cause health issues, such as breathing problems, if left unchecked.
Here, we take a look at the most commonly suggested techniques for dealing with this unpleasant problem and advise on where they might work best.
What type of mould removal is best for you?
Before you can work out what type of cleaning method is going to get you the best results, it is really useful to get to grips with the type of mould you are dealing with — while it can be tempting to throw every harsh chemical you can get your hands on at unsightly mould growth, this may not be the best solution.
"Knowing what sort of mould you have in your property can help you to treat it — either by yourself or with help from a professional," says Chris Michael, Managing Director at Meaco. "The climate in the UK, with its colder, wetter autumns and winters, means that many properties can find themselves dealing with mould. And that’s particularly true in older properties that might not be well enough ventilated."
According to Chris, there are three main types of mould:
Bring your dream home to life with expert advice, how to guides and design inspiration. Sign up for our newsletter and get two free tickets to a Homebuilding & Renovating Show near you.
- Black mould: The most common type of mould in the UK, this can crop up pretty much anywhere, from bathrooms to utility rooms. "It can occur anywhere where there’s a combination of humid air from showers or tumble driers and a lack of ventilation to keep that humidity down," says Chris Michael.
- Cladosporium: Another frequent type of mould, looking like cluster of black, yellow or green spots and often found on fabrics and wood surfaces — curtains, floorboards and in the insides of cupboards are common spots to find it.
- Alternaria: This is commonly found in the summer months and, like any other mould, loves damp, dark and humid environments. Appearance-wise, it often appears as dark green or grey spots, which can spread. It releases spores and a musty smell and can present health risks with long exposure. "You might find this under sinks or baths, where water might escape," says Chris.
How to stop mould forming in your home
Before we get into the best ways to clean mould, you really need to make yourself aware of how to prevent it forming so that once your home is mould free you won't need to tackle the issue again any time soon.
Your four main enemies when it comes to the battle against mould are:
- Excess humidity: Too much humidity causes damp — and damp causes mould. Aim to reduce the moisture in any rooms harbouring mould. A dehumidifier is a good investment in rooms with condensation and damp problems.
- Poor ventilation: Good ventilation is key to keeping rooms fresh and condensation, damp and mould-free. Good extractor fans, MVHR and dehumidifiers can all help — as can regularly opening windows.
- Dirt: "Mould and mildew like dirt," says Chris Michael. "So make sure you clean regularly, paying particular attention to areas where you think mould might become a problem"
- Water ingress: Damp is a major cause of mould — but what causes damp? Sometimes the causes can be linked to the use of inappropriate materials such as cement-based plasters in old houses compromising their 'breathability' while other times, water may be seeping through the walls due to leaking pipes, blocked gutters and the like.
Once you have found what is causing your mould problem and put it right, it is time to get stuck in removing that ugly mould once and for all. Here, we give you the top methods to try.
"First, because mould can be nasty, and because some of the products to deal with are strong, it’s important to wear gloves when you clean. You might also want to wear a face mask so that you don’t breath any of the mould in. This is particularly important in areas with a lot of mouldy growth," advises Chris Michael.
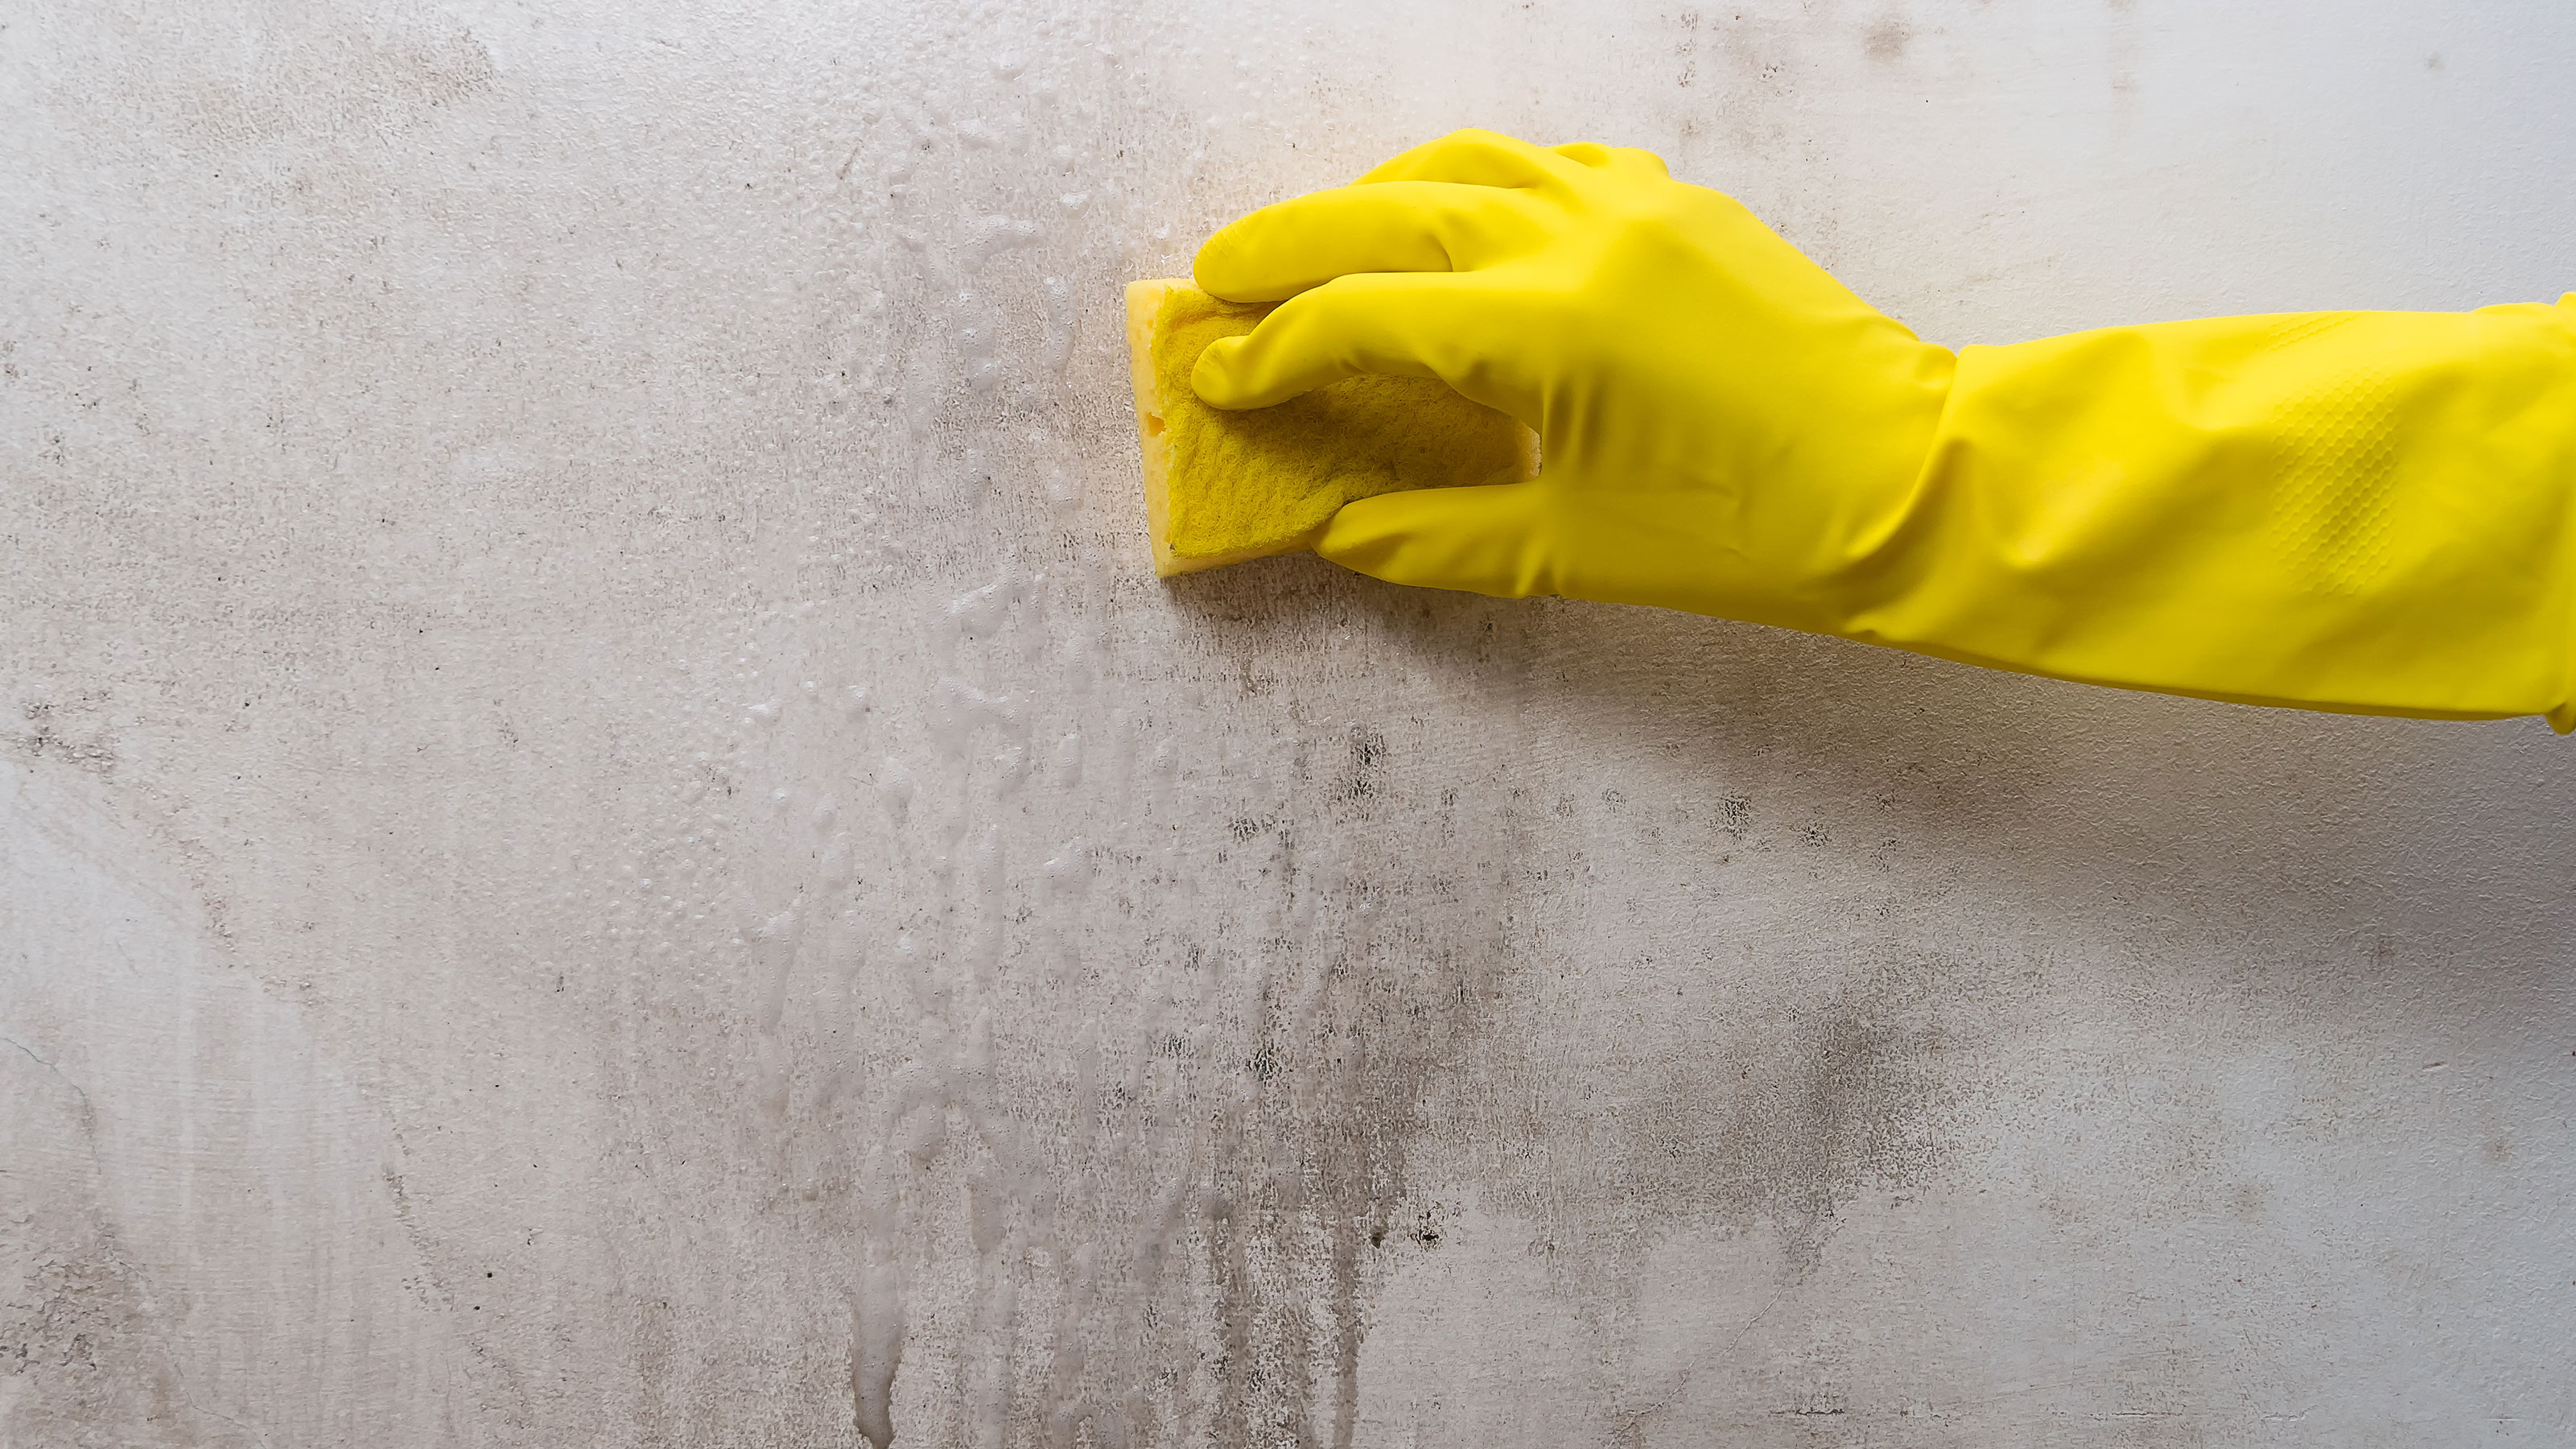
1. Dig out the baking soda
Baking soda is good for more than just biscuits — it also serves as a natural disinfectant thanks to it having pH levels of 8-8.1, which is too high for mould to survive, according to experts in ventilation, Envirovent.
Many people swear by baking soda (also called bicarbonate of soda) for removing a whole host of household nasties, mould included.
"Baking soda fights bacterial growth," confirms Chris Michael. "All you need is a spray bottle, some lukewarm water and around 1/4 tablespoon of baking soda. Fill the bottle, add the soda and shake well. Then use as you would a dirt remover spray."
You can try this method for removing mould on skirting boards, walls, around windows and even on fabrics. Aim for a ratio of two cups of water to 1/4 tablespoon of baking soda and scrub the affected area with a brush, before rinsing clean and treating the area again for good measure.
Another benefit of this method is that it helps eliminate any musty odours associated with mould — plus it is safe for those with pets and children.
On the downside, being a natural remedy, it is not as potent as many chemical-based cleaners and might not be effective on stains that have permeated surfaces — as is often the case with mould on wood.
2. Vinegar could be your best friend
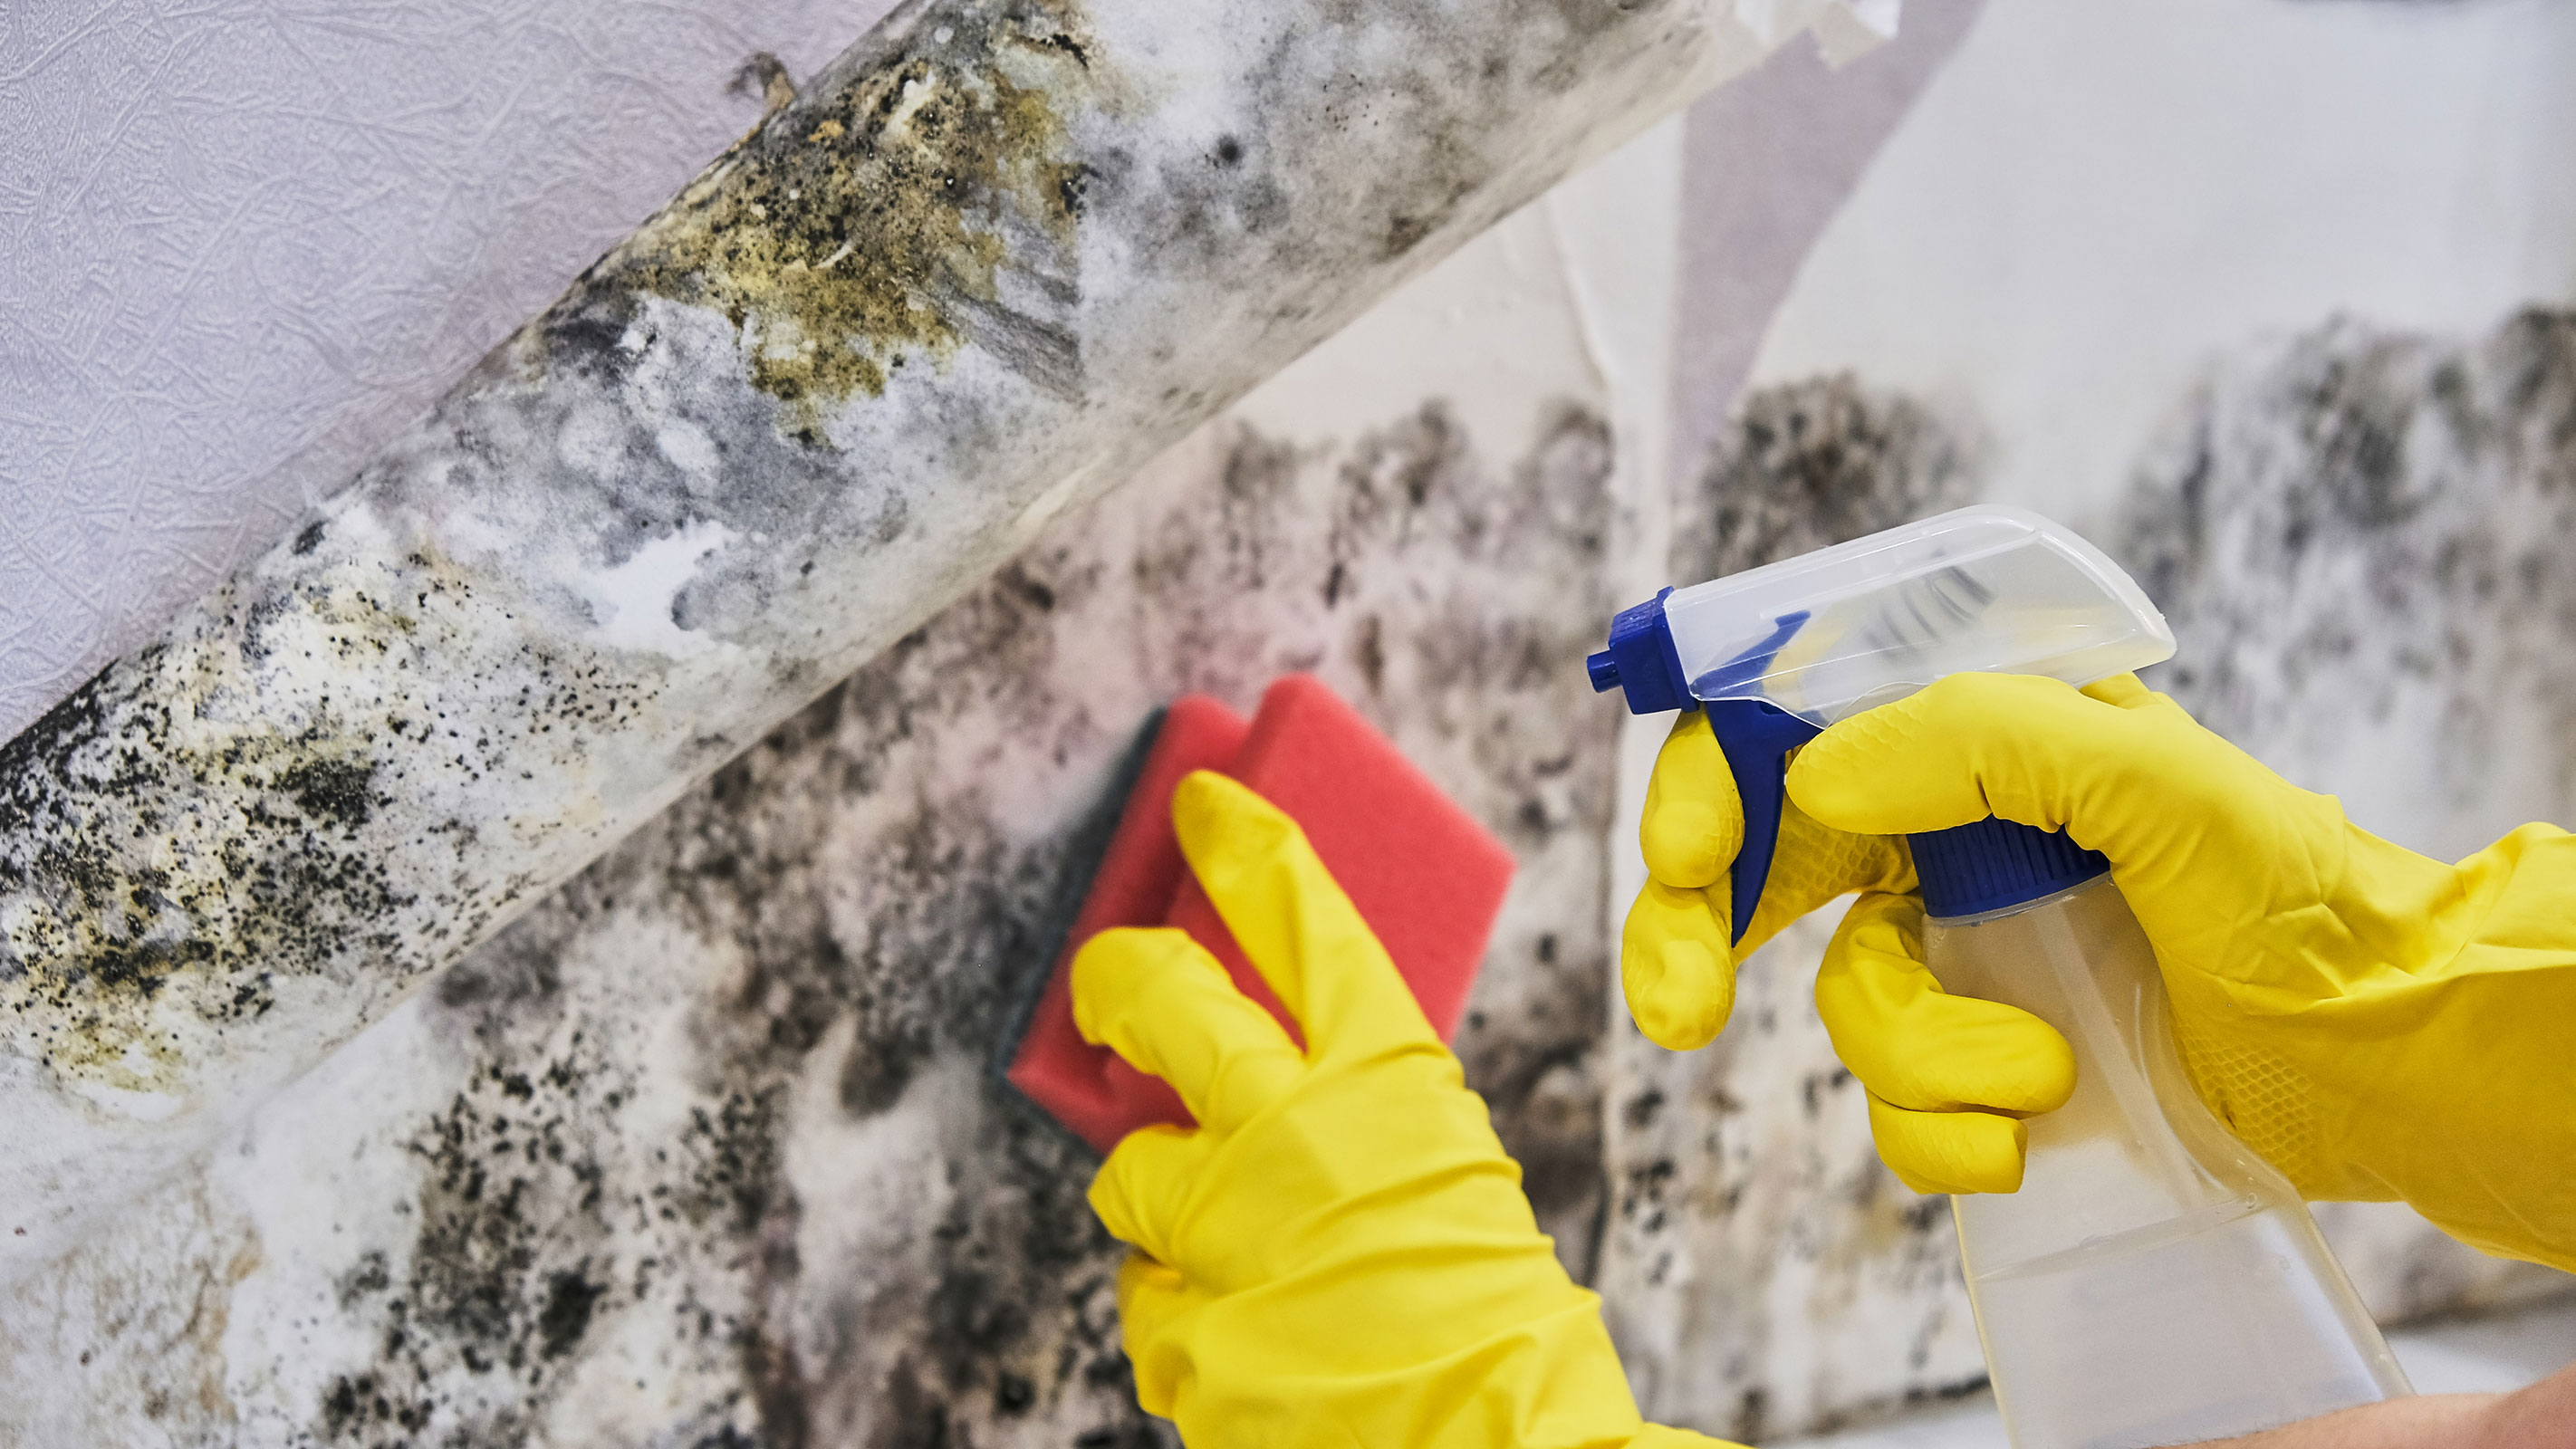
Next up, another chemical-free remedy — vinegar.
"The acids in vinegar are good for breaking down mould," says Chris Michael. "You can put neat vinegar onto the mould, leave for a while and then wipe off. Regular household vinegar is fine – you don’t need anything special."
The way this works is that the acids in the vinegar attack the structure of the mould and will eventually kill it. Using a spray bottle to apply the vinegar is an effective application method and leaving it for around 15 minutes or so will allow it to get to work. You can then simply wipe it away with a clean, damp cloth.
The main disadvantage of this method is the chip shop odour that is likely to be left behind, although this will fade after a time. Again, this is a method best suited to mild cases of mould.
3. Revisit your chemistry class
If neither of the above seem to being having the desired effect, it might be time to get that mixing bowl out and make up your own DIY mould remover.
This is a great tip for anyone wondering how to remove black mould from silicone sealant.
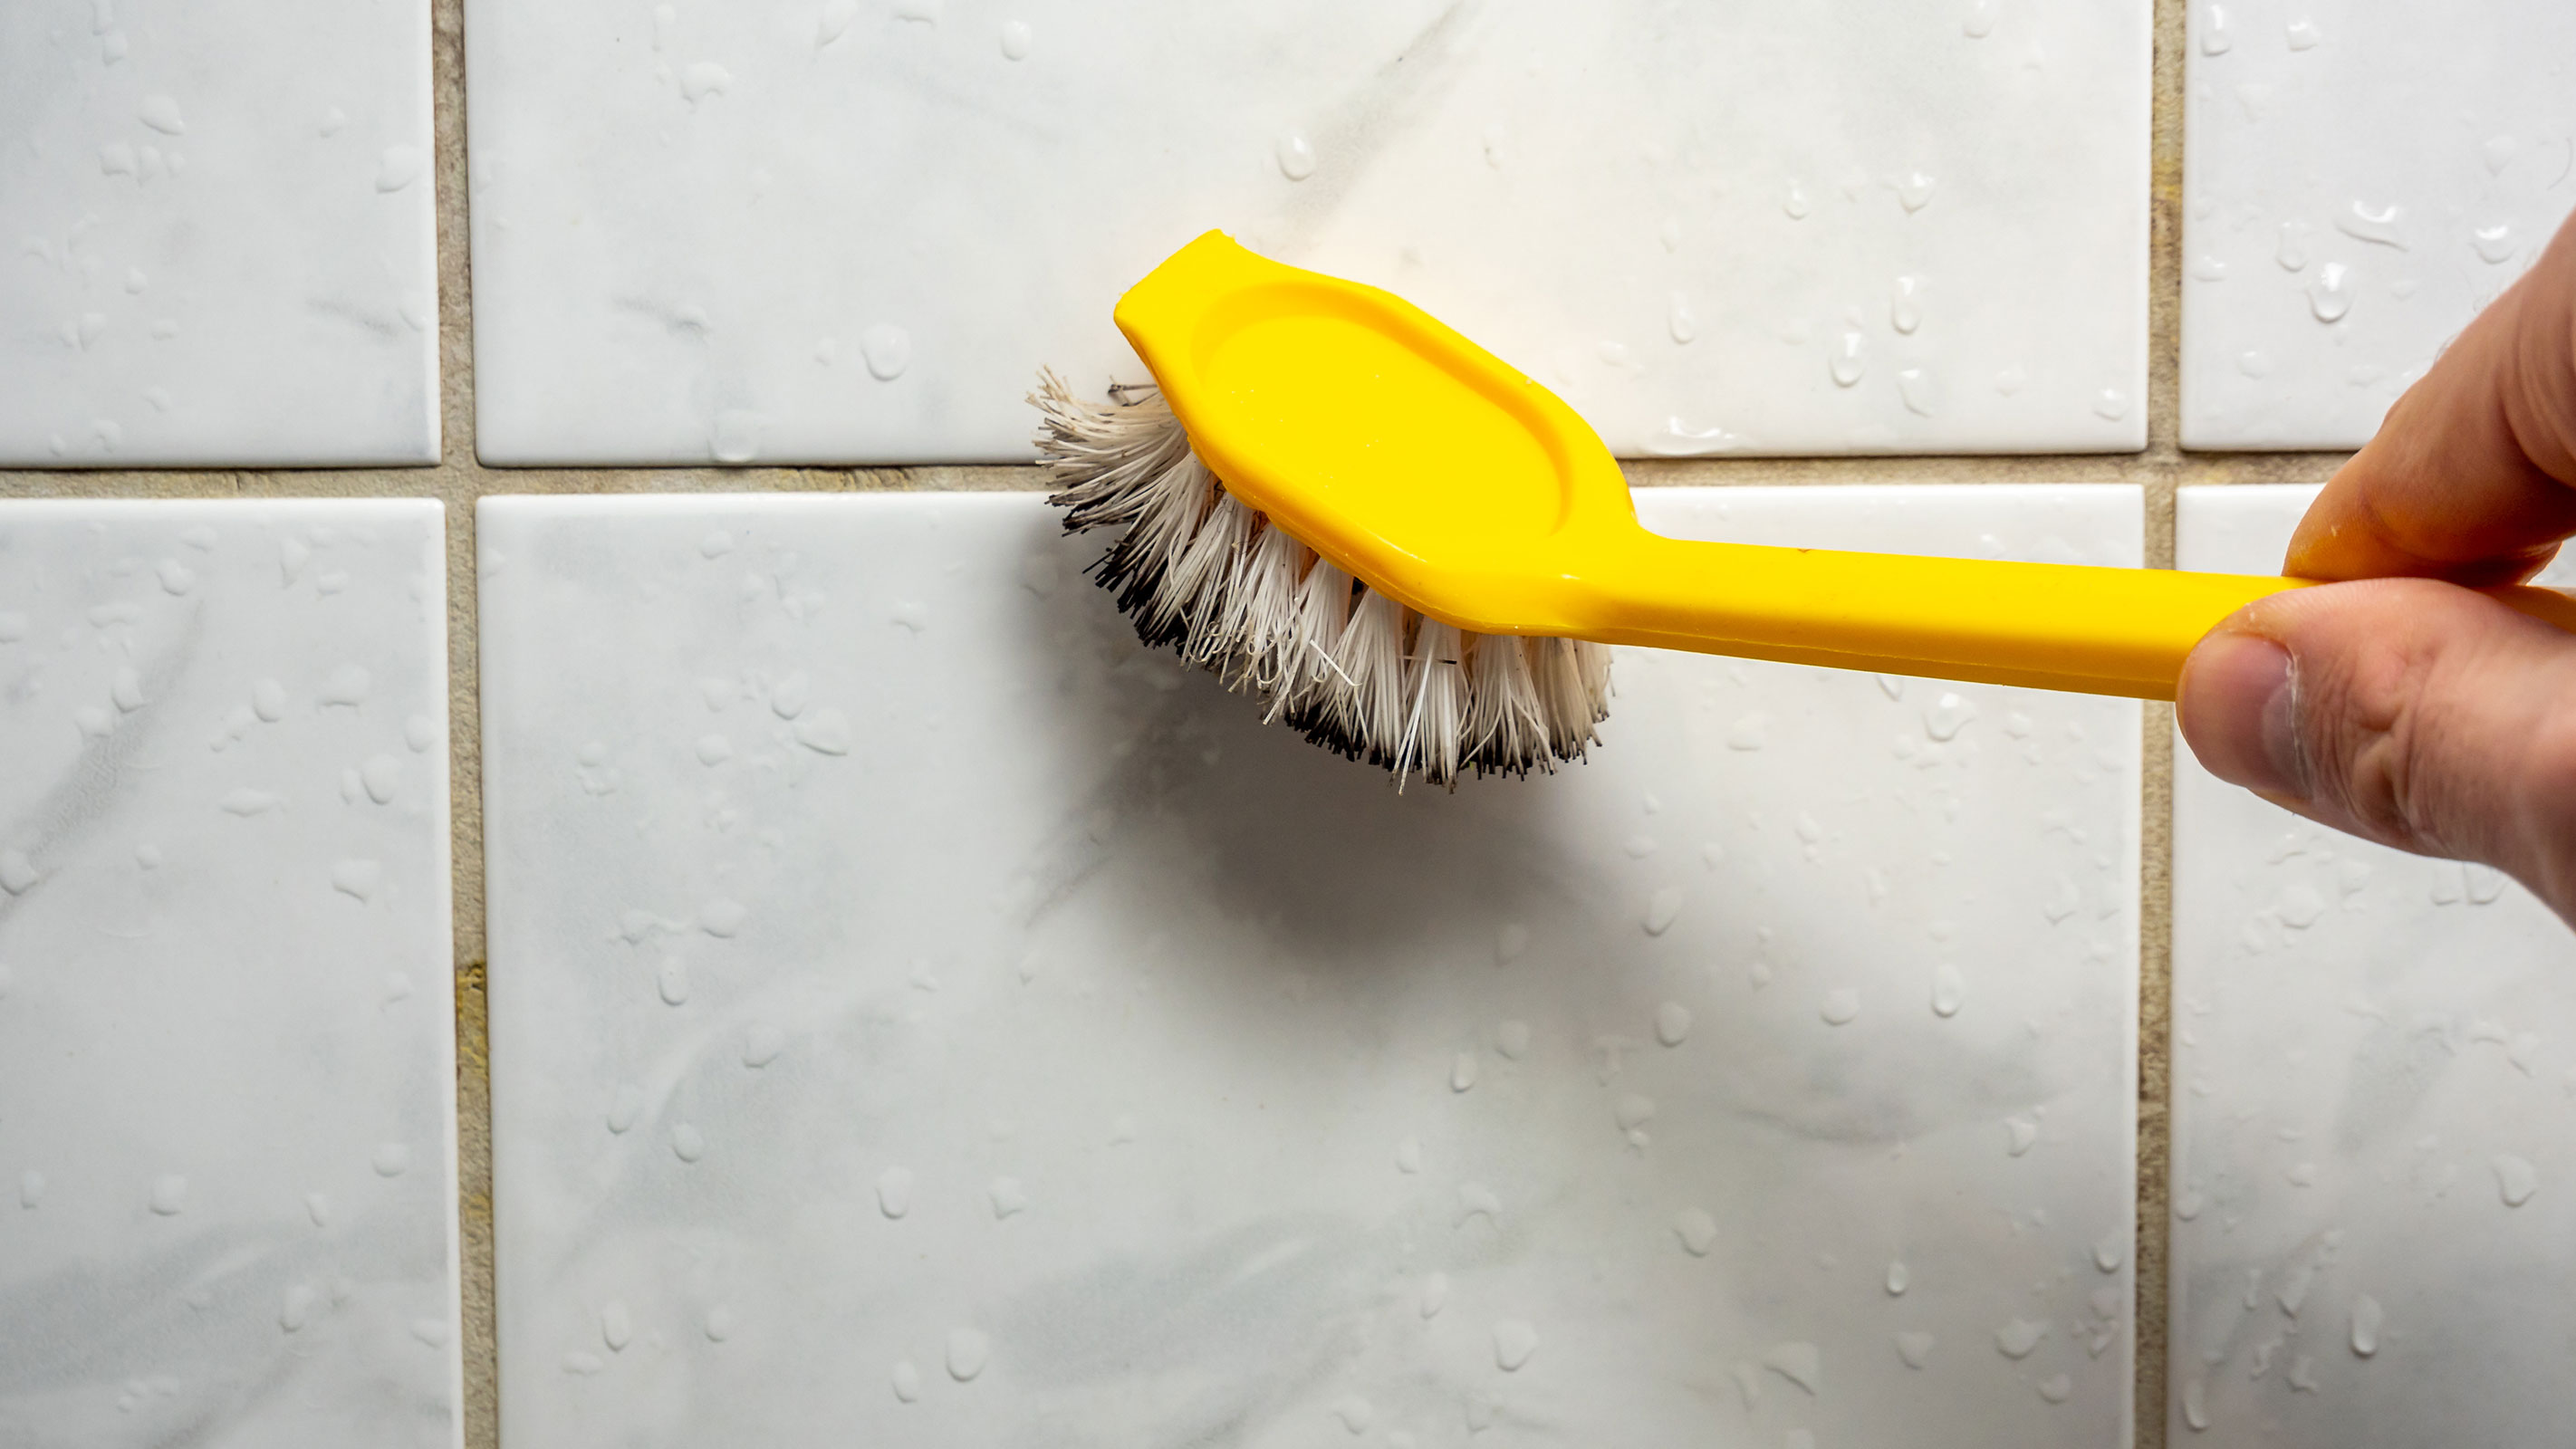
Simply make a thick paste using one cup of white vinegar and two or three teaspoons of baking soda. Work this mixture into the mouldy areas around baths, sinks and windows, leaving a thick layer there to sit for around five minutes and up to an hour — the longer the better.
When it comes to removing the paste, use a stiff-bristled nail brush or an old toothbrush to scrub the paste and mould away. Finally, use a clean sponge, dampened with cold water, to rinse the are clean.
This is a method that can work on silicone sealant, grout and walls. To make sure all the mould spores have been killed off, finish by spraying the area with a mist of water and vinegar and leave to dry.
4. Use bleach — with care
Bleach is usually a staple product in most people's cleaning cupboards, but does it work on getting rid of mould?
"If you don't want to go out and buy a specialist mould removal product, you can give clear (don't use blue toilet bleach!) bleach a go," says Homebuilding & Renovating's Amy Willis, , who has tried various mould removal methods in her own home. "You'll need to use one that contains chlorine as this is the active ingredient, according to H&G."
The key here is to be careful where you use bleach. If you are wondering how to remove mould from walls without damaging paint, then you should probably avoid the use of bleach altogether.
However, it can be a great way to get rid of light mould stains in bathrooms and on grout. On tougher stains bleach will not always get rid of them all together, as Amy found out when trying the technique out on her bathroom ceiling.
"I applied it at the recommended strength but found myself tipping more bleach in as the mould wasn't disappearing particularly quickly," she says. "After leaving it for a good 15 minutes and a bit of scrubbing, the results were much improved but not completely gone."
If you fancy giving this method a try, wear gloves and old clothes and keep children and pets well away.
"Mix one part bleach to four parts of water," says Chris Michael. "Be careful where you clean with bleach though. Unsurprisingly, it will lighten or even remove the colour of painted walls or wallpapers, so best to use it on grouting, tiles and bathroom fittings."
5. Invest in a specialist cleaning solution
If the DIY remedies above are not producing the results you had hoped for it is probably time to get to the shops and invest in one of the many specialist mould cleaners available.
They vary in how effective they are, but one that seems to receive rave reviews time and time again is HG Mould Spray, available from Amazon.
Kilrock Mould Spray, £6.38 from Amazon is another product that comes out highly rated.
Do take care when using some of the more potent formulas and open windows to get some fresh air flowing through the room. Depending on the product, it is often necessary to leave the solutions to get to work for a while before wiping them away.
Even these might not help you if you are looking at how to clean mould off wood — bare wood is pretty porous and as such you may find your only option is to sand the wood until the mould stains are gone. Staining, painting or varnishing the wood afterwards could protect it from a future mould outbreak.
Natasha was Homebuilding & Renovating’s Associate Content Editor and was a member of the Homebuilding team for over two decades. In her role on Homebuilding & Renovating she imparted her knowledge on a wide range of renovation topics, from window condensation to renovating bathrooms, to removing walls and adding an extension. She continues to write for Homebuilding on these topics, and more. An experienced journalist and renovation expert, she also writes for a number of other homes titles, including Homes & Gardens and Ideal Homes. Over the years Natasha has renovated and carried out a side extension to a Victorian terrace. She is currently living in the rural Edwardian cottage she renovated and extended on a largely DIY basis, living on site for the duration of the project.

