Learn how to fit a shower with this easy to follow step-by-step DIY guide
If you want to know how to fit a shower yourself and save on costs you’ve come to the right place. Here you’ll discover the tools, materials and techniques you need to get the job done
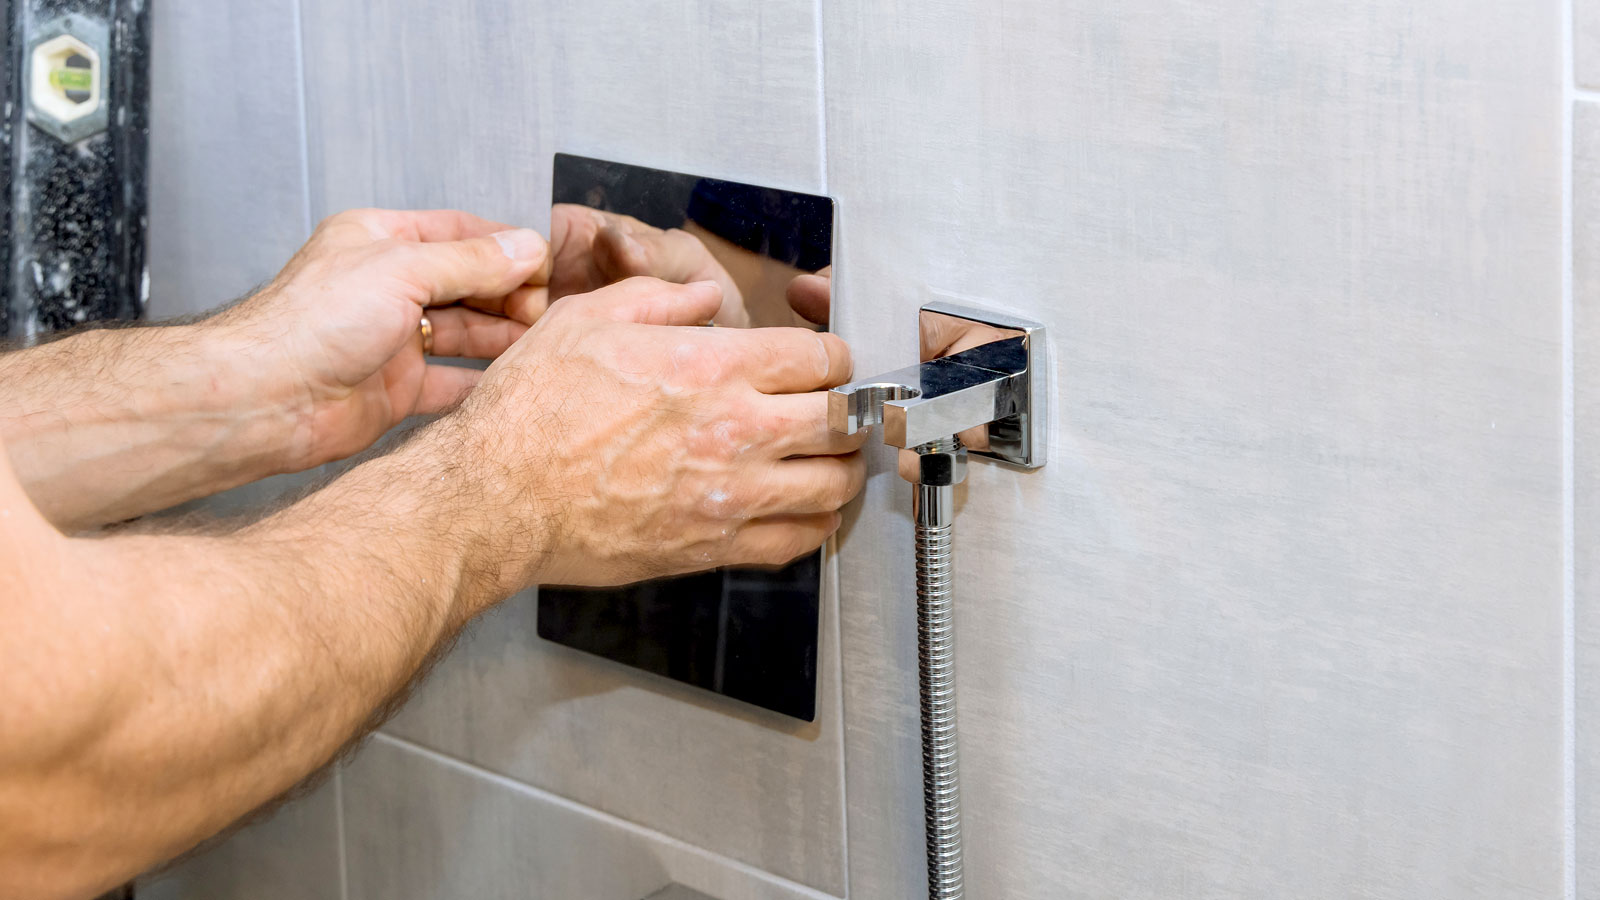
There’s nothing worse than standing under a shower and it suddenly switches from hot to cold. But learning how to fit a shower – or more specifically a thermostatic mixer shower will help to eradicate this problem.
Jamie Heath, plumbing & heating development manager at Build & Plumb explains what they do, “Thermostatic mixer showers utilise your homes hot and cold-water supplies mixing them to achieve a comfortable showering temperature.”
The clever bit is how they work, adds Heath, “A built-in thermostatic valve helps control the temperature automatically adjusting and maintaining the water temperature from your mixer shower whilst protecting you from any fluctuations in the water supplies and hot and cold spikes".
The best part about making a new thermostatic mixer shower part of your shower room ideas is that they works with most heating systems as Heath shares, “Most thermostatic mixer showers are very flexible, meaning that they work well with the majority of heating systems including combi boilers, unvented mains pressure and gravity systems.”
Realistically, there are only two distinct types of thermostatic mixer showers, surface-mounted or recessed. Here we show you how to fit a surface-mounted valve, but the same basic principle can be applied when fitting a concealed valve.

Jamie is a highly experienced manager with over 24 years of expertise in the Plumbing & Heating sector, having worked for both national and regional merchants. He now brings his knowledge to Build & Plumb, an online retailer, supplying top-quality products for DIYers, renovators, and trade professionals alike.
The tools you'll need to fit a shower
Tool list
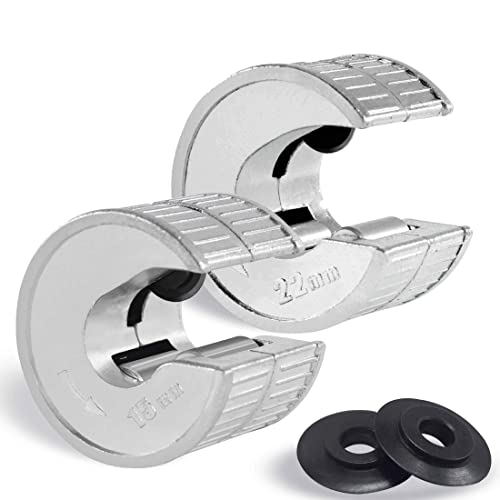
- Pipe cutters for plastic and copper pipe
- Pencil
- Tape measure (like this Stanley Bi-Material Tape from Amazon)
- Dust sheets
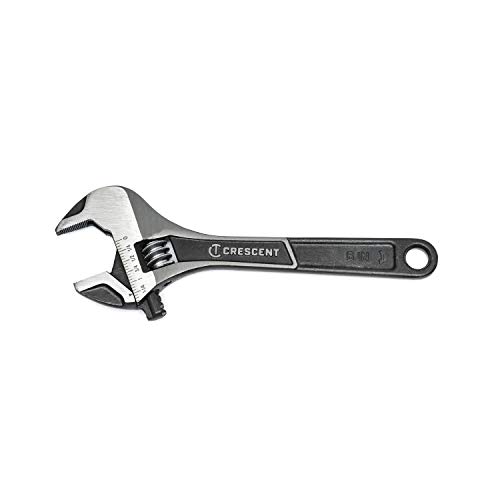
- Adjustable spanner
- Tile drill
- Spirit level (like this Stabila 80cm Spirit Level from Amazon)
Materials needed
- Thermostatic shower mixer
- Connecting shower head
- Plastic and copper pipe (15mm)
- Plastic and copper connections (tees and elbows)
- Shut-off valves
- Double-sided tape
Try these tools to help fit a shower
How to fit a shower
1. Choose water supply
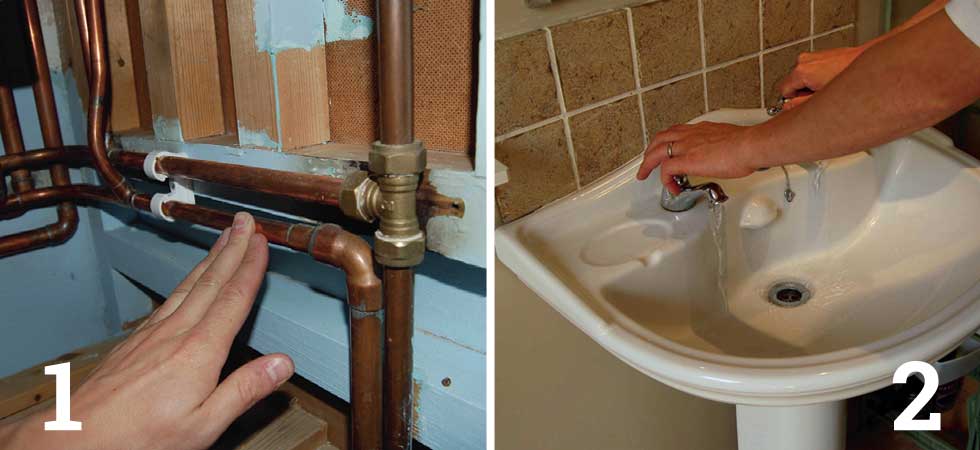
Decide where you are going to take your hot and cold supplies from. If you are fitting the shower above a bath then you can tee into the tap supplies. If you are fitting the thermostatic shower to a separate cubicle you can tee into the nearest hot and cold pipes.
These are often found under floorboards, or, as here, concealed in a cupboard. To check which is which, trace the pipes back from the nearest hot and cold taps. You can feel the flow of water through the pipe with the tap running. Run each tap in turn – the hot water pipe warms up very quickly.
Bring your dream home to life with expert advice, how to guides and design inspiration. Sign up for our newsletter and get two free tickets to a Homebuilding & Renovating Show near you.
2. Isolate water supply
Before you start work on the water system you’ll have to isolate the supply. Turn off the stopcock (often positioned under the sink) and then open the hot and cold taps to drain away the water in the pipes.
3. Set up pipework
Tee into the hot and cold supplies and run the pipework towards the shower. Check the instructions that come with the valve and make sure that you feed the hot and cold supplies to the correct sides (normally hot left, cold right).
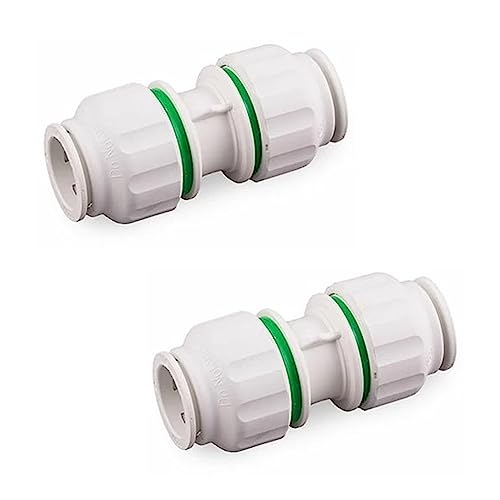
Plastic pipe is the easy-to-use plumbing solution for running under floorboards and up behind stud walls. Always use pipe inserts at joints to stop plastic pipe deforming. Include a shut-off valve on both hot and cold supplies as close as possible to the shower.
We’ve found it’s easier to tighten up compression-type joints (used with these shower valves) on a copper pipe. So slot in a length of copper pipe at the end of your plastic pipe runs. Put plastic stop ends on these pipes, turn the stopcock back on and check for leaks on the new pipe runs.
4. Flush pipework
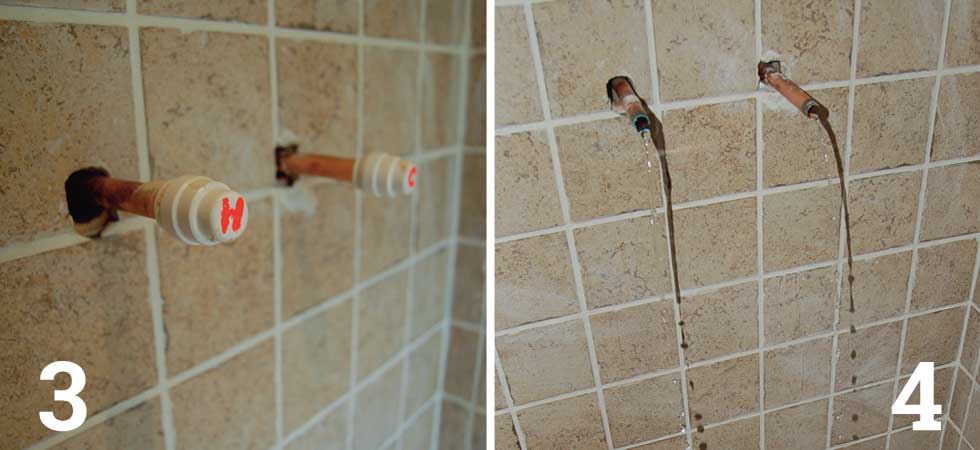
Thermostatic shower valves can be damaged if there is any dirt in the water flowing through them. To avoid this you should flush the new pipework through. Turn the water off, remove the stop ends and ask someone to hold a bucket under the outlets while you briefly turn the water back on. Shut the stopcock off when you have finished flushing.
5. Measure for outlet pipe
Offer up the shower valve and mark off the amount of outlet pipe required to allow the valve to fit flush to the wall.
6. Cut pipework
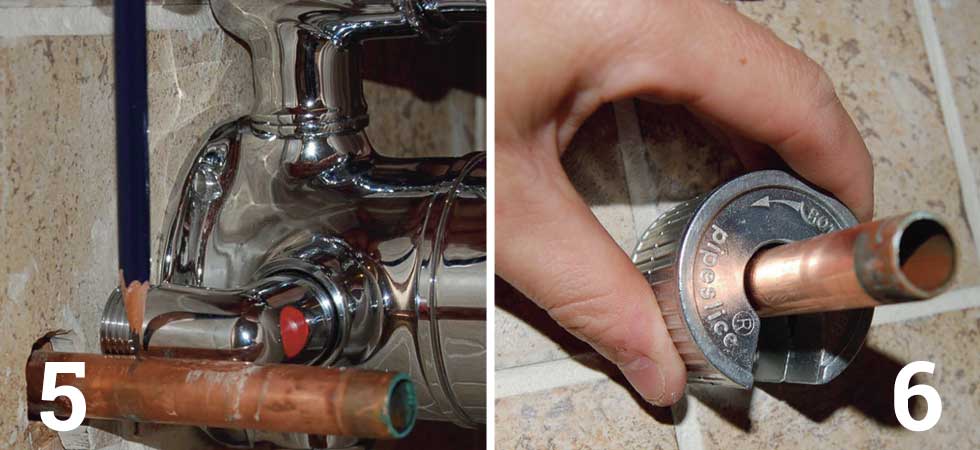
Cut both outlet pipes to length. A circular pipe slice-style cutter like this works brilliantly in tight spots.
7. Drill holes
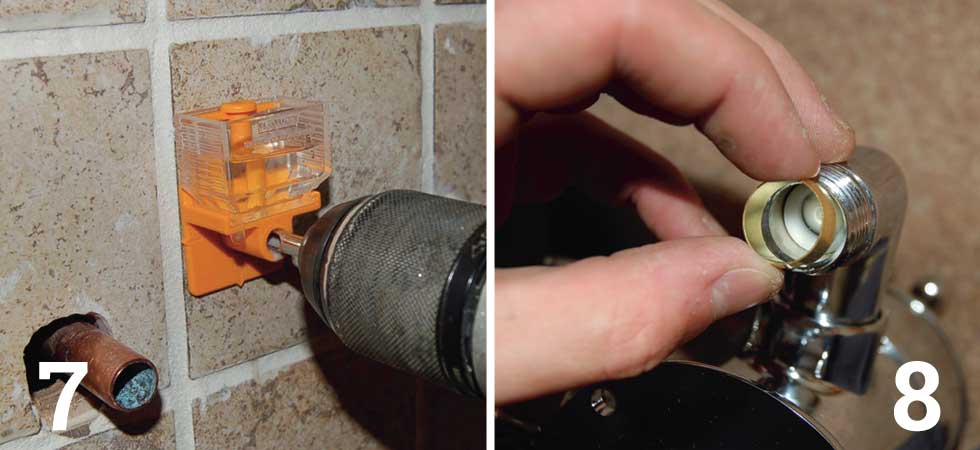
Mark off and drill the holes for the thermostatic valve. If you are drilling into tiles use a diamond-tipped tile drill bit, which can be found on Amazon. Drilling into tiles creates a lot of heat so we used a kit with a water-cooled drill guide, also found on Amazon, that created perfect holes very quickly.
8. Secure valve
Put a collapsible olive into each inlet on the thermostatic shower valve and secure by screwing the retaining nut on by one turn.
9. Check for leaks
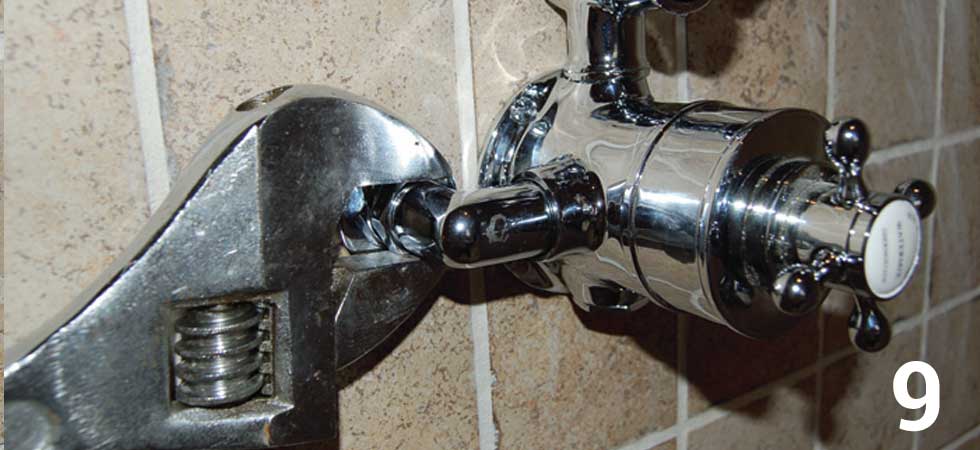
Align the shower valve with the supply pipes and make sure they slide into the inlet pipes fully. Screw the valve to the wall and then tighten the retaining nuts with an adjustable spanner.
Make sure the shower tap is turned off and then turn the stopcock back on and check for leaks at the inlet pipes.
10. Install hose
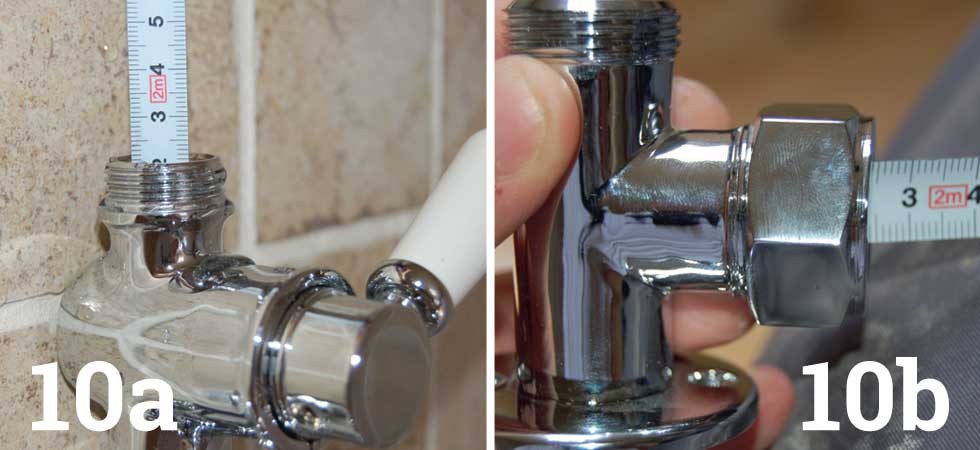
The flow of mixed hot and cold water from the thermostatic shower valve is taken to the shower head either by a conventional flexible shower hose that screws into the top of the valve, or by a solid riser pipe.
If your kit uses a flexible hose all you have to do now is connect it up and fit the bracket that holds the shower head in place. This kit has a solid riser pipe. It was supplied over length to suit different-height ceilings.
If you need to cut your riser rail down, first measure the depth of the recess that the pipe sits in on the thermostatic valve and then on the bracket that secures the top of the riser.
11. Cut riser
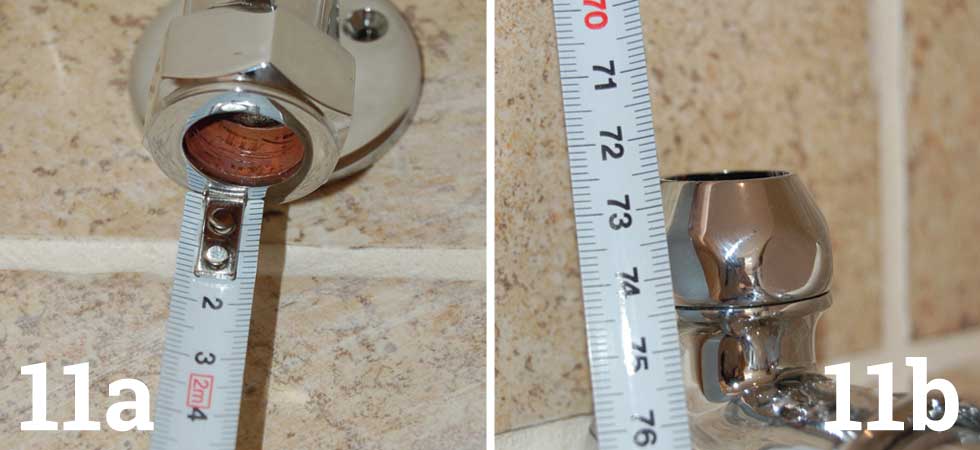
Put some double-sided tape on the top bracket and stick it at the height you want it to be above the shower valve. Now measure between the bottom of the bracket and the top-mounting nut on the valve.
Add this measurement to those you made in step ten and cut the riser pipe to this length. Cut the pipe with a pipe cutter, not a hacksaw.
12. Fit riser
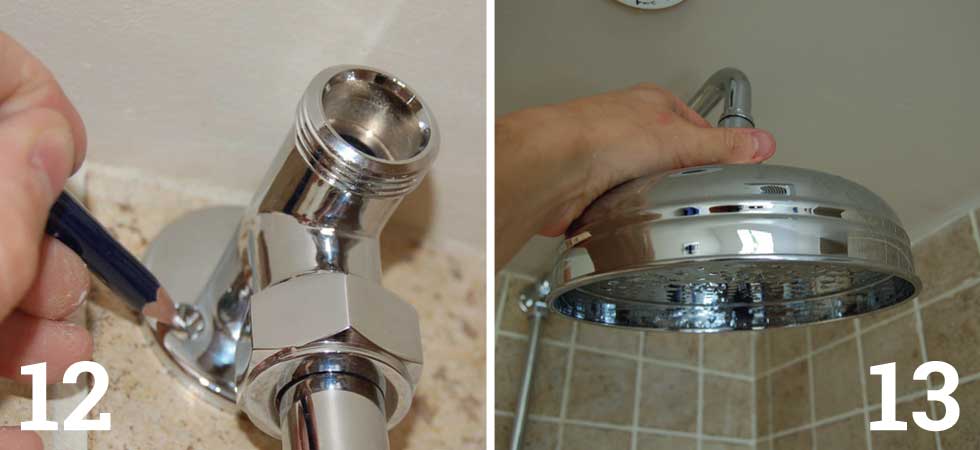
Trial fit the riser pipe between the valve and bracket. Make sure the pipe is vertical using a spirit level and then mark off the top-bracket mounting holes. Drill and plug the holes.
13. Finish and check for leaks
Fully fit the riser and tighten the nuts top and bottom. Some kits feature an extension piece that attaches to the riser’s top bracket and takes the shower head. Fit this and then screw on the shower head.
Run the shower and check for leaks. Make sure the thermostat works by switching on taps and checking that the shower temperature remains constant.
Shower kits typically comes with a shower head, but you might want something different to get what you want. Check out our best shower heads guide for help.
For more shower inspiration and ideas take a look at shower over bath ideas and wet room ideas before you get started.
Ben is a writer and a keen DIYer, and has undertaken a multiple of tasks from installing loft insulation, tiling, painting windows to fitting garden fences and reviving period fireplaces. He has also converted his loft on a DIY basis.
