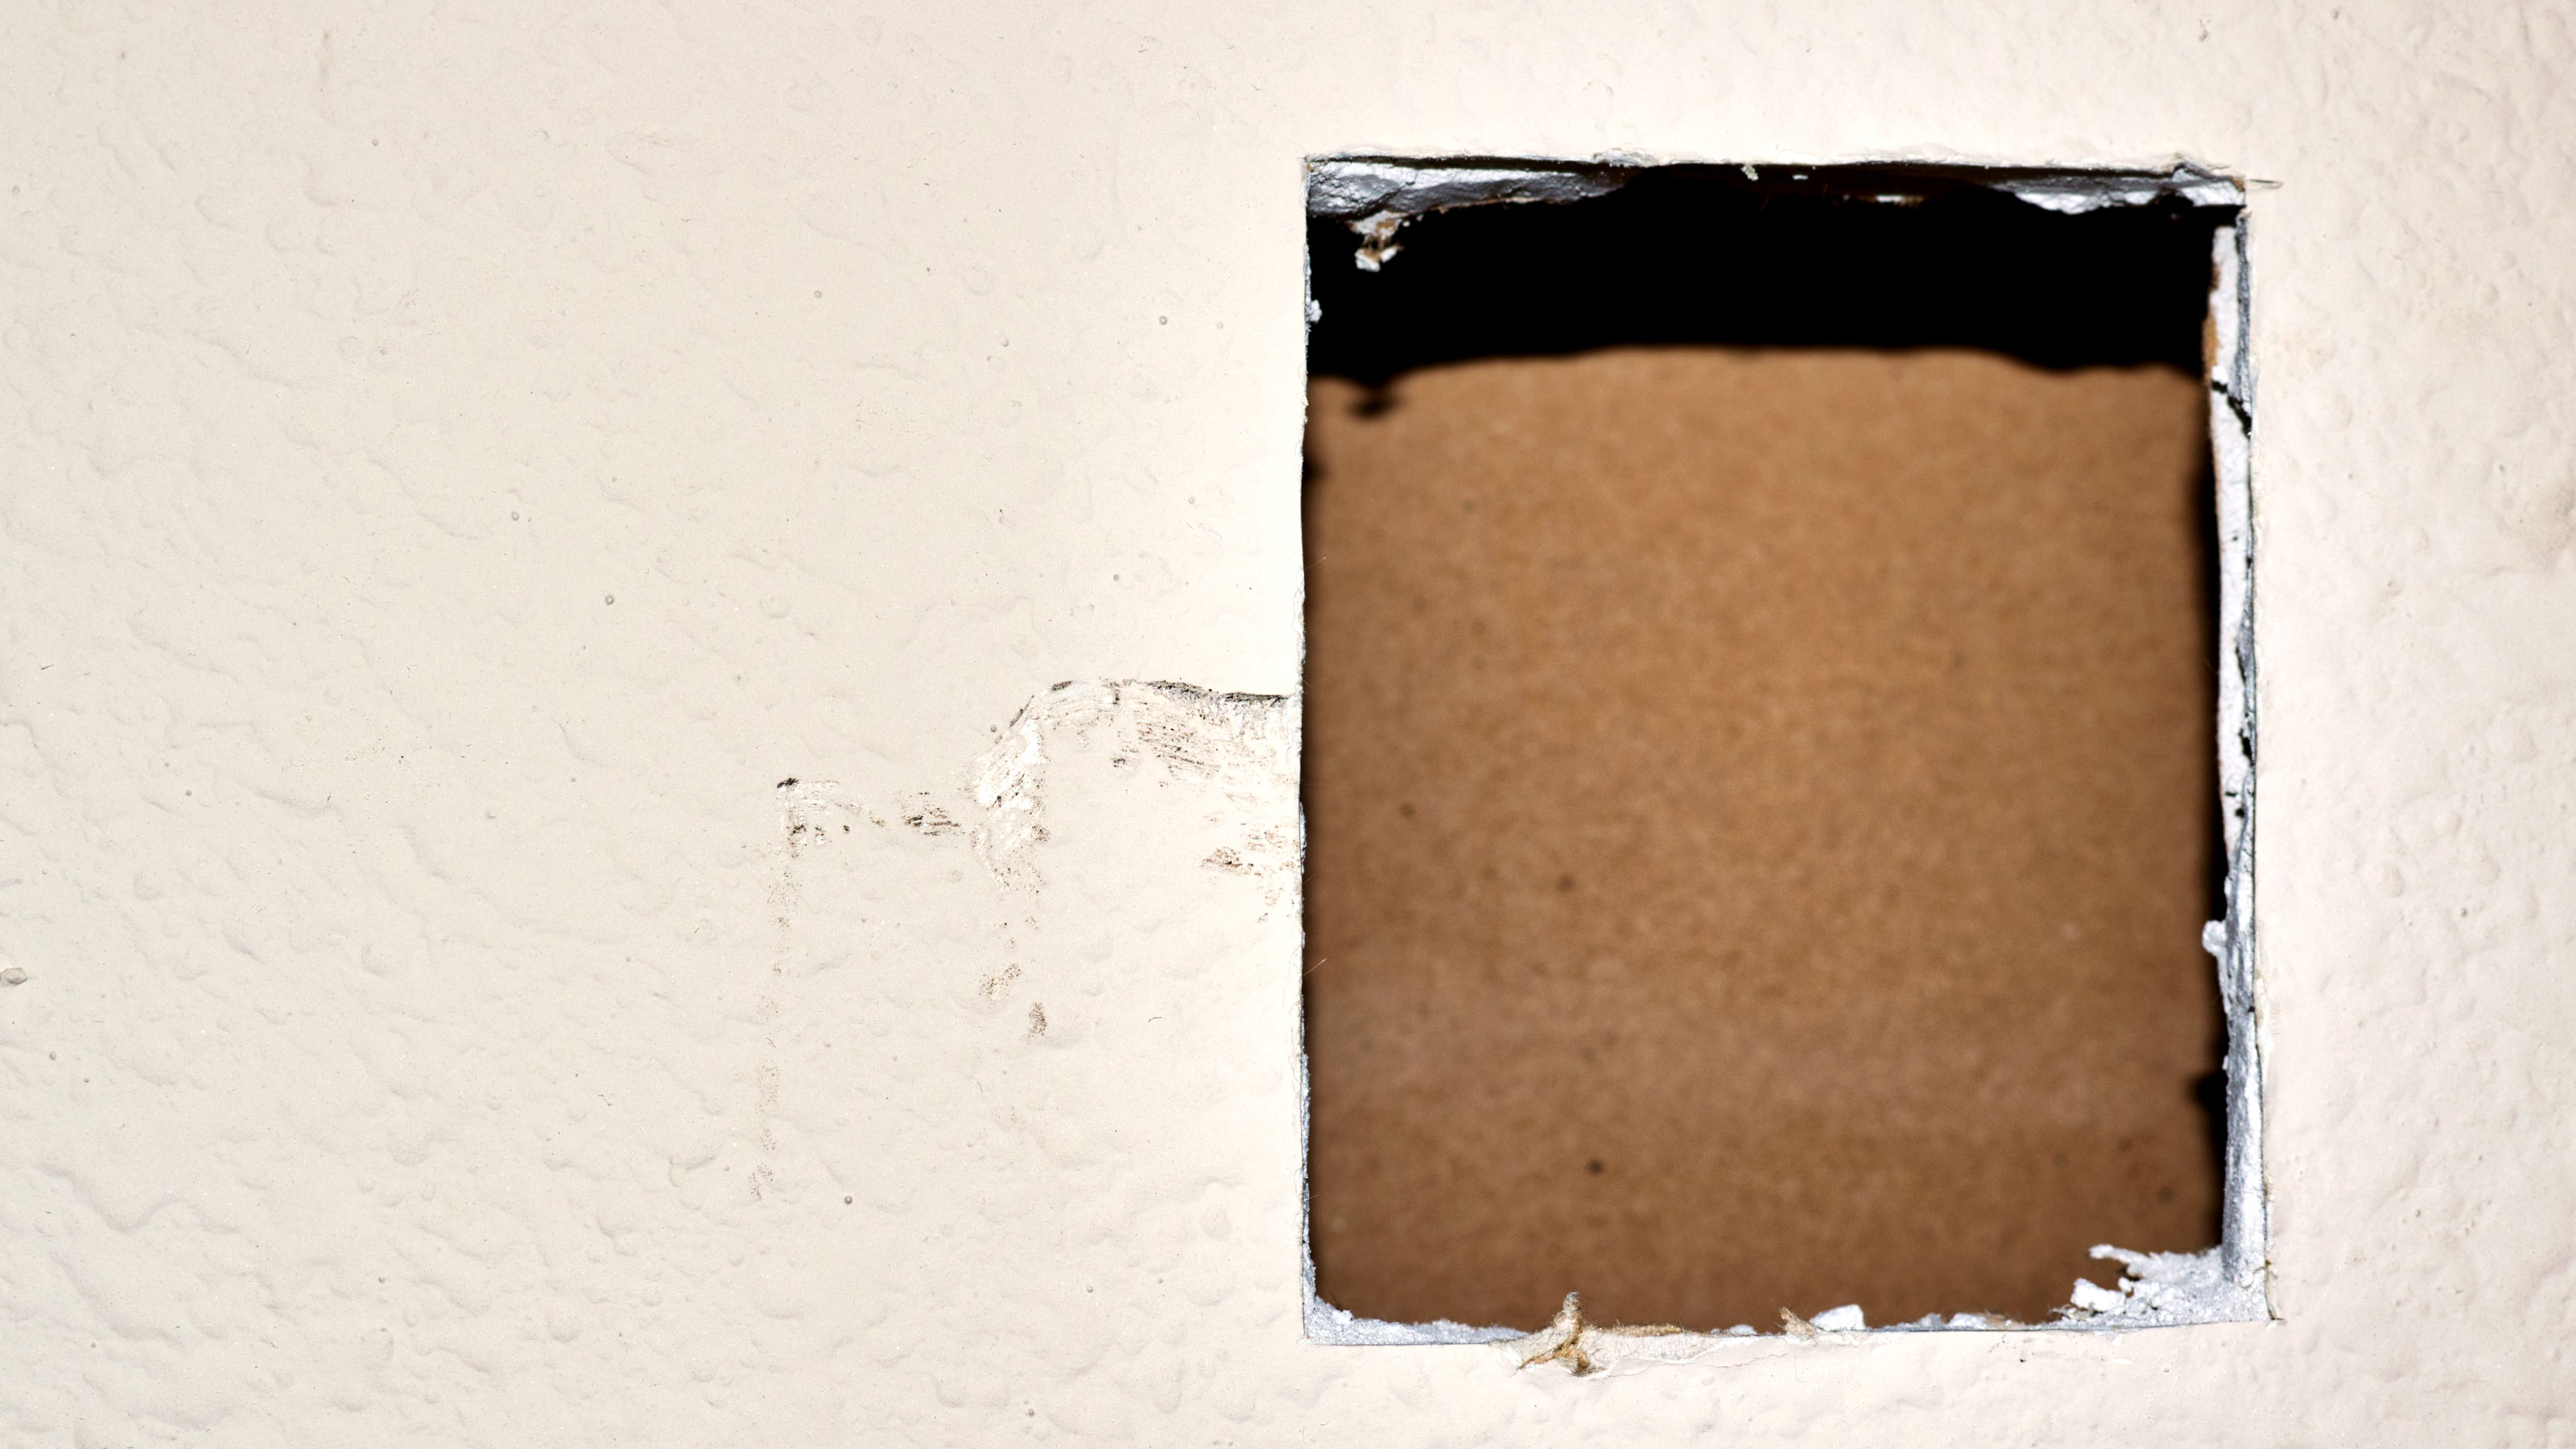
Fill Holes in Plasterboard: A How-to Guide to Patching Walls
Want to know how to fill holes in plasterboard? We give you the lowdown on how to repair small and large holes in your walls and ceilings

Bring your dream home to life with expert advice, how to guides and design inspiration. Sign up for our newsletter and get two free tickets to a Homebuilding & Renovating Show near you.
You are now subscribed
Your newsletter sign-up was successful
Got an unwelcome dent or hole in the wall? You can fill holes in plasterboard pretty quickly and easily with a few tools and some standard DIY skills.
Small screw or nail holes are really easy to tackle, while a bigger hole measuring around 1-6 inches is still a pretty quick job, but you will need a few more tools, materials and know-how.
Anything beyond a 6-inch hole requires more work, but it won't take long to get the basics done. Once you have a patch in place it will be time to fill, or it might be time to think of plastering walls to get a great all around finish.
Check out our quick and easy to follow step-by-step guide to hole-free walls and ceiling.
Fill Holes in Plasterboard: How To Deal With Small Holes
If you have a small hole, around 1-6 inches then this method is pretty straight- forward.
1. Tidy up hole
The first thing to do is to cut out a rectangle around the hole using a steel rule and a Stanley knife. Alternatively, mark out with a pencil and ruler and cut out with a jab saw.
Bring your dream home to life with expert advice, how to guides and design inspiration. Sign up for our newsletter and get two free tickets to a Homebuilding & Renovating Show near you.
2. Cut and apply patch
Cut a piece of plasterboard that is slightly narrower than the hole but an inch or so longer top and bottom. Screw in a long screw in the middle of the patch; this will be used to position the patch in place.
Add plasterboard adhesive – top and bottom – to the patch. Now manoeuvre into the hole and pull the patch using the screw so it sticks to the existing wall and leave to dry.
3. Fill and finish
Once the patch is dry and firmly in position, gently remove the screw. Use patching plaster, all purpose filler or multi-finish plaster — mix up enough to cover the patch and gently press into the hole and spread with a putty knife that is larger than the hole to help get a smooth finish.
Once dry, you can gently rub down the plaster or filler, and then paint the repaired area to match the surrounding wall.
How to Fill Large Holes in Plasterboard
If you have a large hole in a wall there is a bit more work involved compared with a small hole.
1. Locate the studs
First locate the studs in the wall behind the plasterboard. You'll need to locate those either side of the hole in the wall, and mark the middle of each stud with a straight pencil line. To find them, tap the wall until you get a duller knock, this is where the vertical stud is. However, the best way to find them is with a digital stud detector.
Now draw two lines across the gap to create a rectangle around the hole. Cut out the existing plasterboard with a sharp Stanley knife or use a small jab saw.
2. Fix noggins
Now you need to measure and cut two noggins (horizontal wood that bridges the gap between the studs). Use a bit of 2 x 4 inch – approximately 100mm x 50mm – timber to create the noggins. Nail or screw them into position, between the studs, from the sides. This will create an area to fix your new plasterboard patch to.
3. Patch the plasterboard
Now you will need a piece of plasterboard to fill the hole. Ideally this needs to be thinner than the current plasterboard. Measure and cut to fill the hole. Fix in place against the noggins with plasterboard screws or nails.
4. Finish
Mix up a batch of multi-finish plaster and patch over with a plastering trowel. Ideally use two thin coats rather than one thick coat. Remember to leave to dry as per manufacturer's instructions. Rub down with fine grit sandpaper to finish.
Depending on the size of the patch now might be a good time to think about skimming plasterboard to get a smooth, long-lasting finish.

Can I Use Caulk To Fill Holes?
Yes you can use decorators' caulk to fill small holes such as nail and screw holes, but it's not really suitable for holes any bigger than quarter of an inch. Add a dollop of caulk and smooth out with a putty knife or a wet finger for nail and screw holes.
For a bigger and deeper hole it might well be a two-step process. First add a dollop that nearly fills the hole and leave to dry. Now go back and fill the hole as best as you can, spray with water, smooth out with a putty knife and leave to dry.
Caulk can’t really be sanded down so you need to get it as smooth as possible. For any larger holes you are much better served by a more suitable filler.
How Do You Fill Screw Holes In Plasterboard?
Very small holes such as screw holes are really simple to fix. All you need to do is remove any debris and rough edges around the hole and fill. You will need a putty knife – any size will do – and some jointing compound or filler suitable for plaster such as Everbuild All Purpose Ready Mixed Filler. This is ideal as you can use it on wood and brick as well as plaster.
Spread a small blob over the hole and wait for it to dry. Once dry, get a 180-220 grit sandpaper and rub down until smooth and blended with the current surface.
How do You Fix a Hole in Plasterboard on the Ceiling?
This method is very similar to fixing holes in plasterboard on walls. If it’s a small screw hole or nail hole just use a putty knife and a suitable filler, and smooth out. Rub down when finished.
For a small hole, cut a patch, add adhesive and screw, place in position, and leave to dry.
For larger holes locate the joists either side of the hole in the ceiling and mark the middle with a straight pencil line and create a rectangle around the hole. Cut out and add two noggins to bridge the gap between the joists.
Measure and cut a new piece of plasterboard to fill the hole. Fix in place with plasterboard screws or nails. Mix up plaster, apply and leave to dry.
Finally when painting new plaster you will first need to add a mist coat to seal the surface ready for the next couple of coats of emulsion.
Steve Jenkins is a freelance content creator with over two decades of experience working in digital and print and was previously the DIY content editor for Homebuilding & Renovating.
He is a keen DIYer with over 20 years of experience in transforming and renovating the many homes he has lived in. He specialises in painting and decorating, but has a wide range of skills gleaned from working in the building trade for around 10 years and spending time at night school learning how to plaster and plumb.
He has fitted kitchens, tiled bathrooms and kitchens, laid many floors, built partition walls, plastered walls, plumbed in bathrooms, worked on loft conversions and much more. And when he's not sure how to tackle a DIY project he has a wide network of friends – including plumbers, gas engineers, tilers, carpenters, painters and decorators, electricians and builders – in the trade to call upon.

