Need to repair sink cracks and chips? Follow these must-know steps from an expert
Doing sink crack repairs yourself is not as hard as you might think. Find out what tools and techniques you need to make it happen
Bring your dream home to life with expert advice, how to guides and design inspiration. Sign up for our newsletter and get two free tickets to a Homebuilding & Renovating Show near you.
You are now subscribed
Your newsletter sign-up was successful
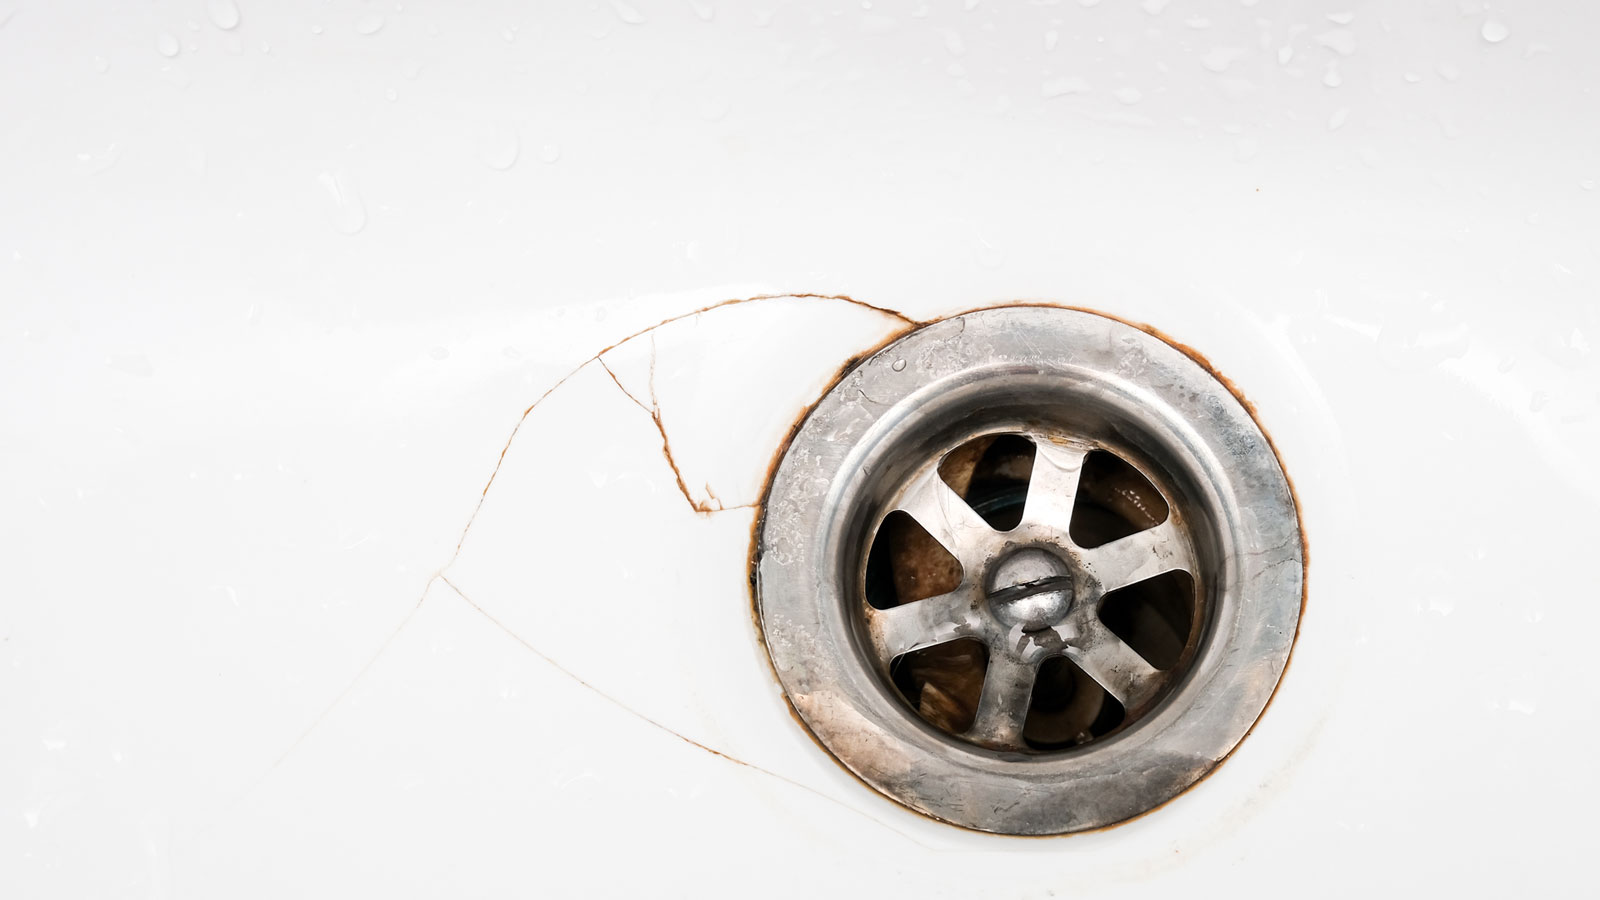
When a hairline crack appears in your sink, you don’t want to leave it untreated. Fine cracks in porcelain or ceramic will soon allow water to seep through, causing damage to cabinets and flooring. If left unaddressed, the problem will only worsen, leading to costly repairs and ultimately necessitating the replacement of the sink.
Even the best kitchen sinks can become damaged, so addressing cracks and chips promptly is essential to restoring the sink to its optimal condition. It’s a task that a competent DIYer can handle. You’ll just need a few simple tools and materials, along with a bit of patience and care, to fix your sink.

Jess Thomas is the Managing Director of Drainage Central and an expert in the drainage and plumbing industry. Jess continually provides valuable insights on a wide range of industry topics and is dedicated to helping homeowners find effective solutions to their drainage problems.
Can I fix a cracked/chipped sink myself?
Anyone with good DIY skills can easily repair a cracked or chipped sink themselves. Jess Thomas, MD of Drainage Central, points out, “It can be more cost-effective than waiting for a professional to do so.”
He adds, “A damaged sink can allow water to seep through, potentially causing leaks and resulting in costly water damage.” The longer the issue is left, the more damage it can cause, so it makes sense to fix it as quickly as possible.
Try these tools to fix a cracked or chipped sink

To finish up a sink crack repair job, you can use a touch-up paint like this white enamel paint, which dries in 30-40 minutes. Simply use the integrated brush to apply.

This filling and scraping set features four different blade widths (47mm, 71mm, 95mm, and 115mm), allowing for easy tackling of both large and small cracks.
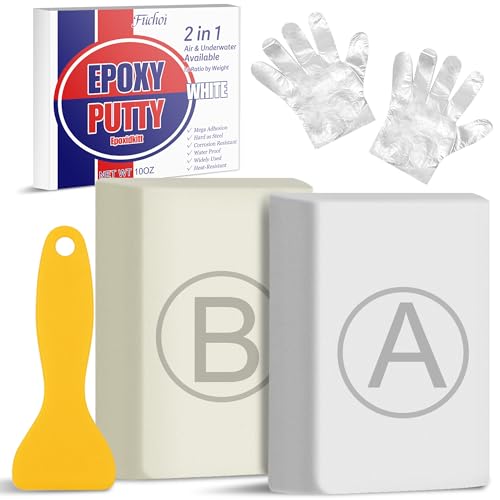
A two-part white epoxy putty that repairs metal, plastic, stone, ceramic and acrylic. It boasts a non-shrink formula, is resistant to water and fully cures in 24 hours.
Repair a hairline crack in a sink
Before you can start a repair, ensure you have the correct tools. Thomas recommends: epoxy putty, a putty knife, sandpaper (like this Premium Wet Dry Waterproof Sand Paper from Amazon), clean cloths and all-purpose cleaner.
Once you have gathered all the essential tools and materials, it's time to start. Thomas outlines the steps you need to follow.
1. Clean crack
Before attempting to fix the crack, you will first need to clean it, as dirt can accumulate within the crack. Clean the area thoroughly using an all-purpose cleaner and a clean cloth.
Bring your dream home to life with expert advice, how to guides and design inspiration. Sign up for our newsletter and get two free tickets to a Homebuilding & Renovating Show near you.
2. Measure and mix
Measure the crack, and then cut a piece of epoxy putty to roughly the same size as the crack. Mix the putty together according to the manufacturer's instructions.
3. Apply, smooth and sand
Apply the putty to the crack, smoothing it over with a putty knife. Check the manufacturer's instructions, as the putty may need time to cure. Finally, gently sand the putty with a 240-320 grit sandpaper until it is flush with the sink's surface, and allow it to dry.
Repair a chipped sink
Fixing a chipped sink bears a lot of similarities to fixing a cracked sink. You will need the same tools and materials, but you will need to tackle the job in a slightly different way.
Here Thomas explains the process when you have the chipped sink piece to use.
1. Sand and clean
Gently sand the chipped sink piece and the area that is chipped. Use a clean cloth to wipe away any dust from the area created by sanding.
2. Mix and fix
Prepare the epoxy adhesive according to the manufacturer's instructions. This will usually require you to mix a resin and hardener together. Apply the adhesive to the chipped area, and carefully place the chipped piece back into position. Gently apply pressure to the piece to ensure that it fits snugly.
3. Clean up
Wipe away excess adhesive with a clean cloth, and allow the adhesive to dry for the recommended time. Do not use the sink until the adhesive is fully dry.
Fix a chipped sink
If you do not have the chipped piece of the sink, the alternative is to use epoxy putty to fill the gap. However, if you have a large chip, it's probably time to invest in a new sink.
1. Clean and mix
Clean the gap with an all-purpose cleaner and allow it to dry. Cut a piece of the epoxy putty to the size of the chip in the sink. Mix the putty until it is a uniform colour, and then apply it to the chipped area to fill in the hole.
2. Smooth and sand
Use a putty knife to smooth the putty, attempting to get it as flush with the sink's surface as possible. If the putty is not completely flush with the sink, gently sand it with fine sandpaper.
Ensure the putty is allowed to dry for the recommended amount of time, and refrain from using the sink for at least 24 hours to allow it to cure properly.
FAQ
How much does a pro charge to repair a sink?
While you can attempt to fix a cracked sink yourself, you might feel that your DIY skills are up to the task, or you simply lack the time. If so, consider hiring a professional.
Thomas outlines the expected costs: “The cost of hiring a professional to repair a sink can vary between £130 and £300, with the final amount depending on the severity of the damage and the material of the sink is made of.”He adds, “If the damage is severe enough that it affects the sink’s structural integrity, you may be advised to replace the sink entirely.” This is another project that a confident DIYer can tackle. Follow our bathroom sink installation guide to do it yourself.
If you decide to call in a professional, Thomas offers some advice: “Although a plumber can fix any leaks or damaged parts caused by a cracked or chipped sink, repairing the actual crack or chip is better suited to a handyman or a sink repair specialist.”
Fixing a cracked sink is a cost-effective solution to the problem. But it could be the perfect time to replace the sink. Explore our bathroom sink ideas, small bathroom sink ideas, and kitchen sink ideas for inspiration.
Steve Jenkins is a freelance content creator with over two decades of experience working in digital and print and was previously the DIY content editor for Homebuilding & Renovating.
He is a keen DIYer with over 20 years of experience in transforming and renovating the many homes he has lived in. He specialises in painting and decorating, but has a wide range of skills gleaned from working in the building trade for around 10 years and spending time at night school learning how to plaster and plumb.
He has fitted kitchens, tiled bathrooms and kitchens, laid many floors, built partition walls, plastered walls, plumbed in bathrooms, worked on loft conversions and much more. And when he's not sure how to tackle a DIY project he has a wide network of friends – including plumbers, gas engineers, tilers, carpenters, painters and decorators, electricians and builders – in the trade to call upon.

