
Replacing door locks has cost me a small fortune over the years. Hiring different locksmiths to do what often turns out to be a relatively simple job on my doors and windows made me realise just how much money I’ve wasted.
However, after watching a few UK-based videos showing me how to replace a door lock myself, I realised I could have saved £100s and a huge amount of time with just a bit of research.
It’s a skill that almost everyone will need at least once in their life, so learning from these videos will serve you well. Take it from me - you’ll want to see these before you spend a single penny on someone else.

Best advice for replacing a Euro cylinder lock
Euro cylinder locks are one of the most common types you’ll find on UK doors, and I’ve learned that replacing them yourself can save a surprising amount of money.
Dad Showed Me demonstrates how to save around £150 in locksmith costs with just a Phillips head screwdriver and a tape measure, and he makes it look completely doable.
All it takes is a few simple steps: remove the old lock, pull out the cylinder, measure to find the right size, buy the replacement, and fit the new locking mechanism. Simple.
Changing the lock cylinder is straightforward when you know what to do, and watching the video made me feel like, as Dean Commodore says in the video, like I had a “DIY dad” guiding me every step of the way.
Best advice for replacing a Yale or nightlatch lock
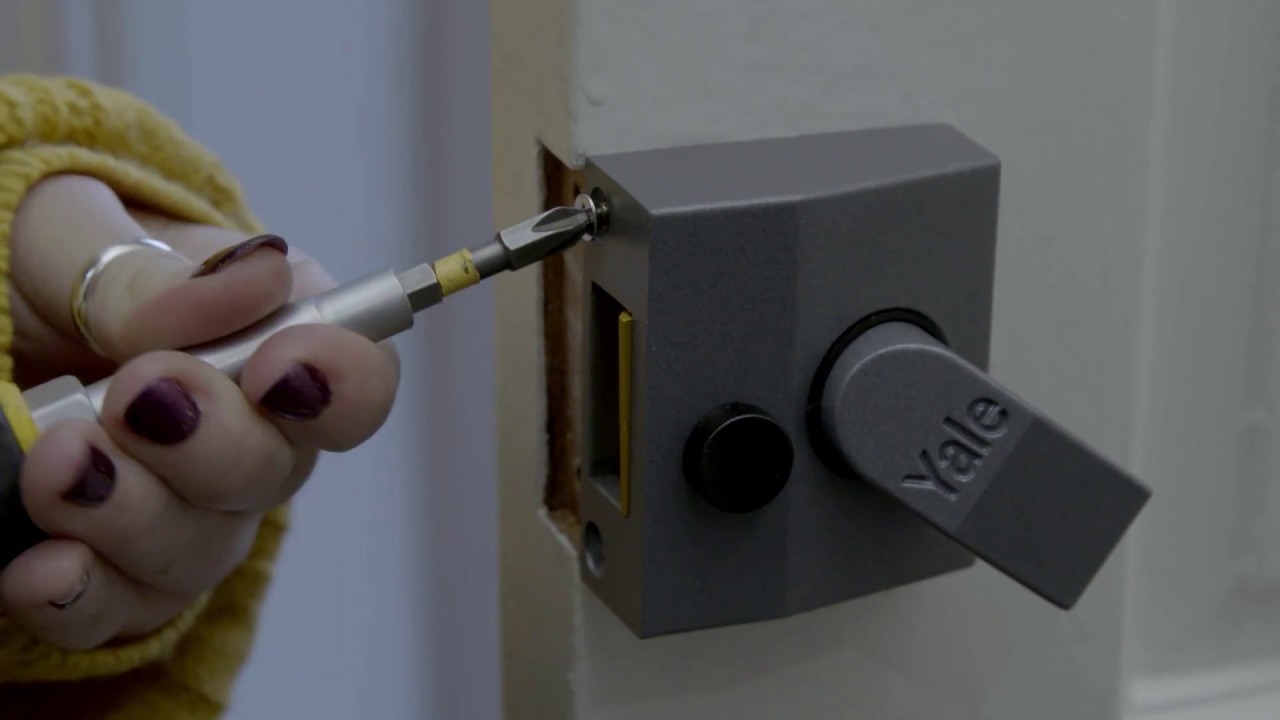
Why not go straight to the horse’s mouth when it comes to replacing locks? I went to the Yale YouTube channel, and their video really gave me everything I needed for this slightly more complicated lock type.
The video walks through every step clearly and shows all the tools you need: “Before starting, you’ll need the following tools: a drill, 3mm drill bit, chisel, hammer, crosshead screwdriver, flat-ended screwdriver, fine-tooth hacksaw, pencil and ruler.”
It then explains how to remove the existing lock safely: “Firstly, you’ll need to remove your existing nightlatch by taking out the connecting screws and removing the lock case. Remove the two screws retaining the cylinder in position while supporting the cylinder so it doesn’t drop out.”
Once the old lock is out, the video shows exactly how to fit the new one, including adjusting the connecting bar: “Measure the connecting bar, then use a fine-tooth hacksaw to shorten the flat connecting bar so that it projects 12 millimetres beyond the surface of the mounting plate.”
I hope I won’t need this video often – I only have one of these locks - but it’s great to know it’s there if I do. Having this step-by-step visual guide makes me feel confident that I could tackle a Yale nightlatch myself without paying a locksmith.
Best advice for multi‑point UPVC door lock replacement

Easily the most common type of lock I've had to replace are multi‑point UPVC door lock, so seeing this Ultimate Handyman video will probably be the one which will save me the most going forward.
Chez Rossi, managing director of Ultimate Handyman LTD, shares advice that applies to almost any multi-point lock in a UK home. Here are the key steps and practical tips I learned from him:
- Remove the Euro cylinder first: “We need to put a key in the door, remove the screw which holds in the Euro cylinder, turn until the cam lines up and we can remove the Euro cylinder.”
- Keep moving parts secure while working: “We need to ensure the bottom shoot bolt doesn’t drop down and prevent us from opening the door again.”
- Remove screws in order: “There’s a series of screws that we need to remove before we can pull the lock out from the door.”
- Test the lock before closing the door: “Before I actually close the door, I lift it to the locking position, lock with the key and make sure that works.”
By following these four steps, I'll now be able to comfortably replace the locks on my conservatory doors and windows whenever they get stuck or break, which will probably be in the next week or so.

Chez Rossi is a UK-based handyman and the Managing Director of Ultimate Handyman LTD. With years of hands-on experience, he helps homeowners tackle everything from routine repairs to complex lock and door replacements.
Shop the best door locks

The Viscount 5-Lever Mortice Sashlock is ideal for both replacement and new-build projects, providing reliable long-term security for your doors.

The Yale 6 Pin Euro profile cylinder offers a reliable and convenient everyday locking solution for your home. Supplied with three keys, it’s suitable for PVCu, timber, and composite doors that need a standard level of security.

The ERA Saracen Surelock Centre Gearbox is a durable, adjustable replacement for multipoint locking systems, designed to fit securely into your existing door mechanism.
Best advice for replacing a mortice lock
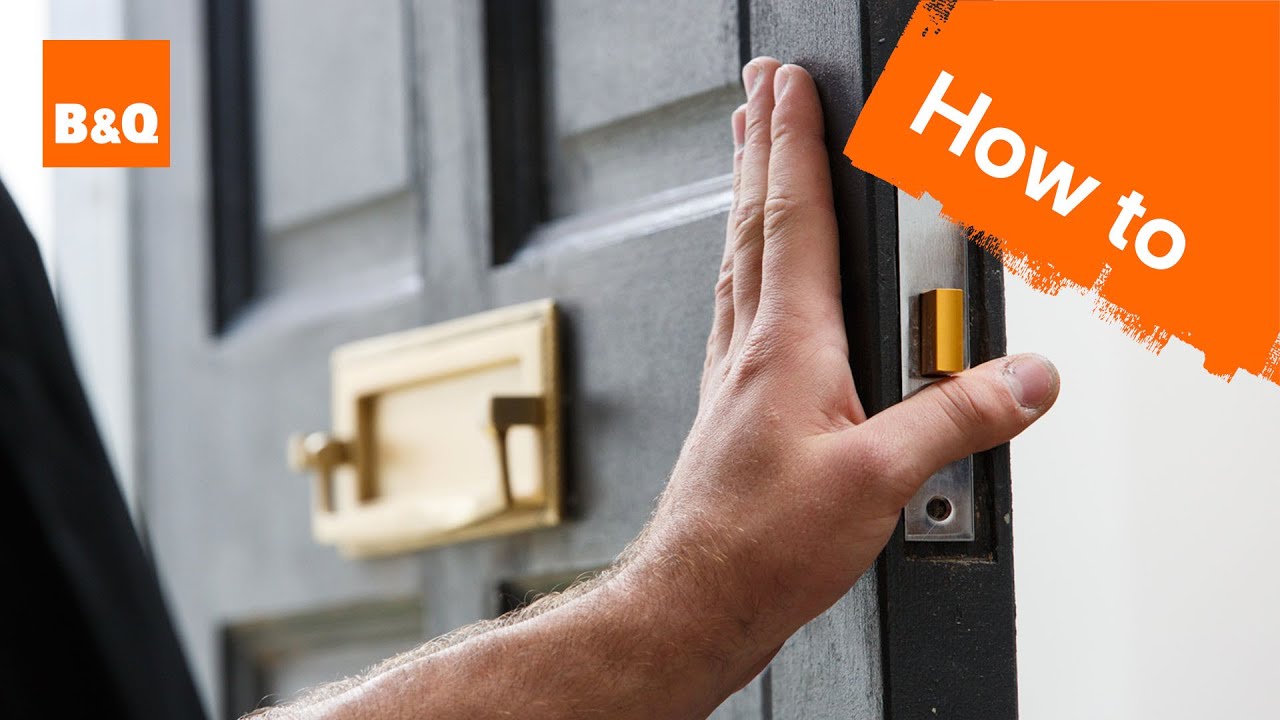
You may recognise the person giving the next advice. Ben Hillman, from A Place in the Sun. He previously worked for B&Q, and his 2013 video, although slightly older, is just as useful today for replacing this pesky lock.
Ben starts by explaining the types and measuring: “There are two types of mortice lock: the mortice sash lock… and the mortice deadlock… They’re both fitted in the same way.” He explains: “First measure the backset of your existing lock… for a sash lock, measure from the keyhole to the handle spindle. Note the faceplate height.”
When it comes to actually swapping the lock, the key points are simple: “Remove the screws from the lock faceplate, handles and spindle… use pliers to grip the bolt and pull the lock from the door”, “Push the new lock into the mortice hole, fit the faceplate, and fix it” and then “Fit the new keep into the frame and check the lock with the door open.”
Even though it’s only a 3-minute video, Ben packs in all the essentials. Following his guidance made replacing a mortice lock feel straightforward, and it’s a skill that can save you a lot of money.

Ben Hillman is a British TV presenter, designer and DIY personality. He is also a brand ambassador for Black & Decker, where he helps demonstrate tools and home improvement solutions to everyday DIYers, empowering people with practical, confidence‑boosting advice for projects around the house.
I’ve paid someone to replace each one of these locks at some point, so it stands to reason that I’ll probably need to do it again in the future.
Although I’ve already spent over the odds on jobs I could have done myself, I now have all the information I need to avoid repeating the same mistake - and now, so do you.

